React AI Chatbot Tutorial: Build a Streaming Chat UI with OpenAI and Node.js
Build a streaming React AI chatbot with a secure Node proxy using OpenAI’s Responses API. Code, SSE streaming, model tips, and production guidance.
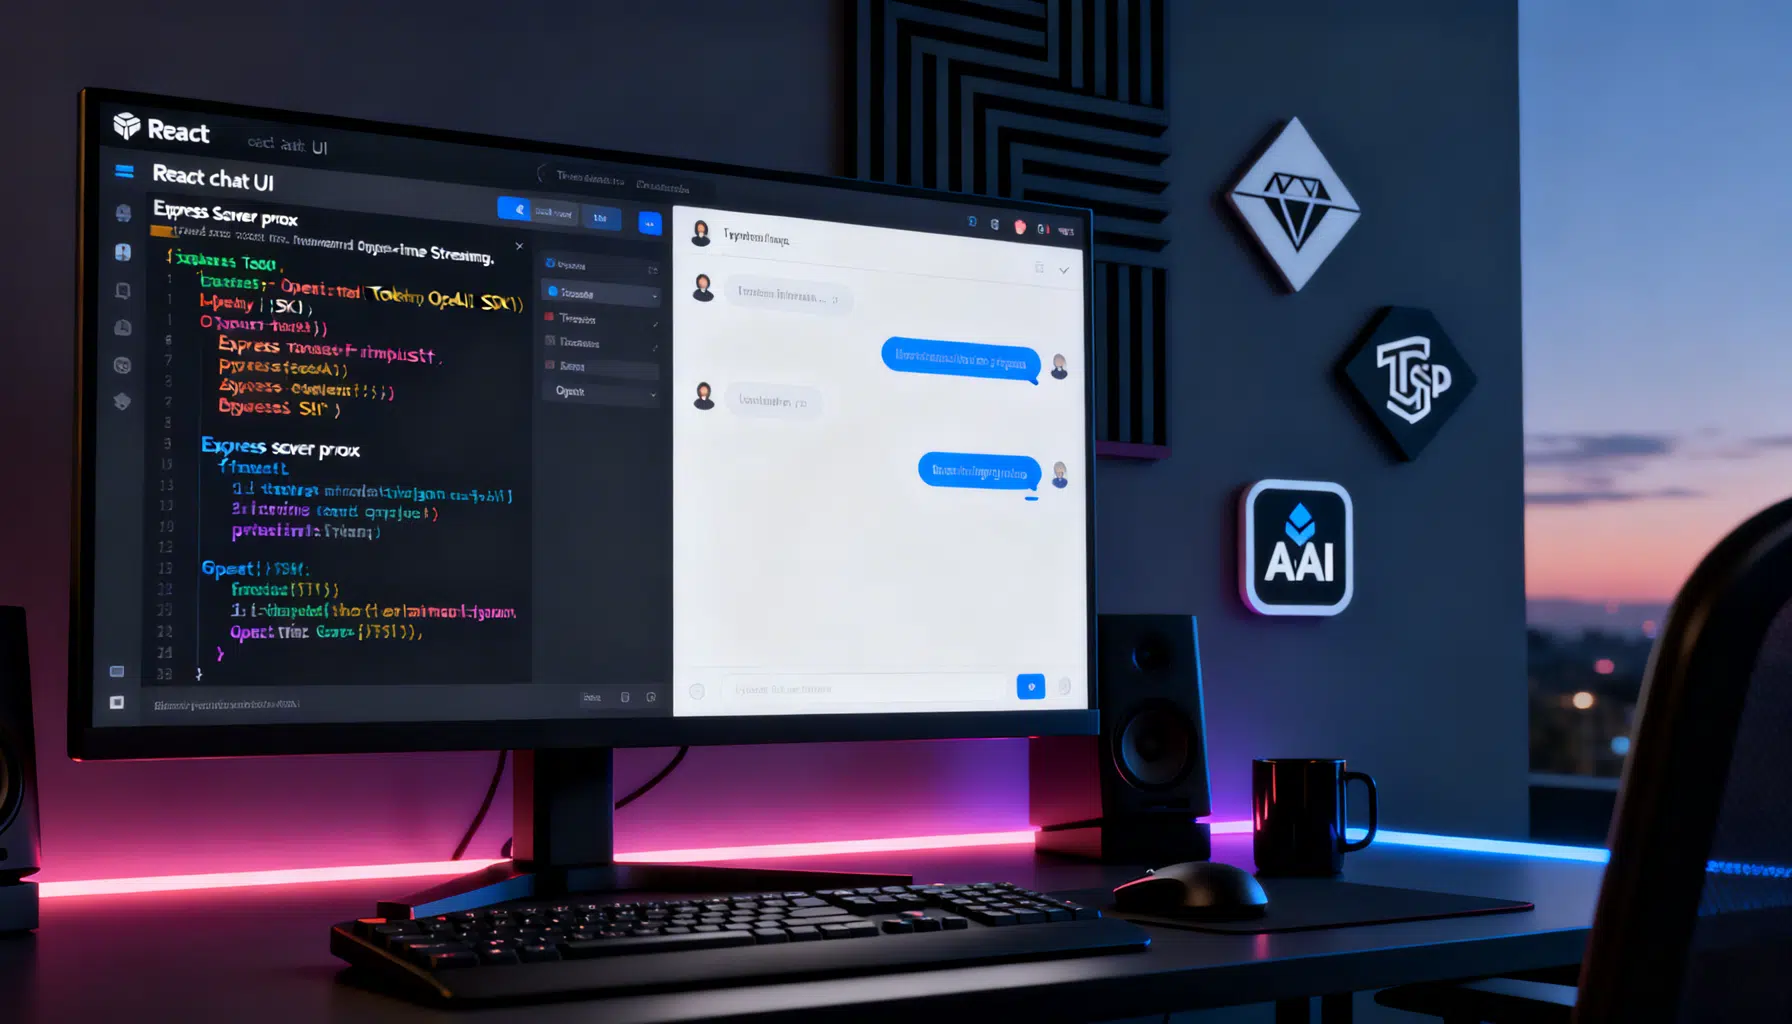
Image used for representation purposes only.
Overview
In this tutorial, you’ll build a production‑ready React AI chatbot that streams responses token‑by‑token, keeps chat history, and safely talks to OpenAI through a tiny Node.js proxy. We’ll use the official OpenAI JavaScript SDK and the Responses API, which is OpenAI’s recommended interface for new projects. (platform.openai.com )
What you’ll learn:
- Project setup with Vite (React) and a minimal Express API proxy
- Securely calling OpenAI from your server (never the browser)
- Streaming model output to the UI with Server‑Sent Events (SSE)
- Managing chat history and roles (system, user, assistant)
- Optional: structured outputs and voice/Realtime paths
If you already use the legacy Assistants API, note it’s deprecated in favor of Responses; plan to migrate before August 26, 2026. (platform.openai.com )
Architecture at a glance
- React (Vite) frontend renders chat bubbles and sends messages to your backend.
- An Express server exposes POST /api/chat. It forwards input to OpenAI’s Responses API and relays streamed tokens back to the client via SSE.
- The OpenAI JavaScript SDK handles requests, including streaming events like response.output_text.delta. (platform.openai.com )
Why this shape?
- Keep the API key on the server (env var). The browser must not hold secret keys.
- SSE gives responsive UX without complex sockets, and OpenAI supports streaming natively. (platform.openai.com )
Prerequisites
- Node.js 18+ and npm
- Basic React knowledge
- An OpenAI API key (set as OPENAI_API_KEY in your server environment)
1) Bootstrapping the project
Create a new Vite + React app and a Node server in the same workspace.
# 1) React app
npm create vite@latest react-ai-chat -- --template react-ts
cd react-ai-chat

# 2) Dependencies (frontend + backend)
npm i -D concurrently
npm i openai express cors dotenv
Add scripts to run client and server together.
// package.json (scripts)
{
  "scripts": {
    "dev": "concurrently \"npm:dev:client\" \"npm:dev:server\"",
    "dev:client": "vite",
    "dev:server": "node server/index.mjs"
  }
}
2) Install and configure the OpenAI SDK
Install the official SDK and read your API key from the environment. The SDK’s default usage is the Responses API. (platform.openai.com )
# Already installed above, shown here for clarity
npm i openai
Create a .env file at the project root:
# .env (do NOT commit this)
OPENAI_API_KEY=sk-...
PORT=5174
3) Build a minimal streaming API proxy (Express)
Create server/index.mjs:
// server/index.mjs
import 'dotenv/config';
import express from 'express';
import cors from 'cors';
import OpenAI from 'openai';

const app = express();
app.use(cors());
app.use(express.json());

const client = new OpenAI({ apiKey: process.env.OPENAI_API_KEY });

// Utility: convert simple [{role, content}] into Responses API input
function toInput(messages) {
  return messages.map(m => ({
    role: m.role,
    content: [{ type: 'input_text', text: m.content }]
  }));
}

app.post('/api/chat', async (req, res) => {
  try {
    const { messages, model = 'gpt-4o', temperature = 0.7 } = req.body || {};

    // SSE headers
    res.setHeader('Content-Type', 'text/event-stream');
    res.setHeader('Cache-Control', 'no-cache');
    res.setHeader('Connection', 'keep-alive');

    // Start a streaming response from OpenAI
    const stream = client.responses
      .stream({
        model,
        input: toInput(messages),
        temperature
      })
      .on('response.output_text.delta', (event) => {
        // Send token chunks to the browser
        res.write(`data: ${event.delta}\n\n`);
      })
      .on('response.completed', () => {
        res.write('data: [DONE]\n\n');
        res.end();
      })
      .on('response.error', (event) => {
        res.write(`event: error\n`);
        res.write(`data: ${JSON.stringify(event.error)}\n\n`);
      });

    // If client disconnects early, best-effort cleanup
    req.on('close', () => {
      try { stream.abort?.(); } catch {}
    });
  } catch (err) {
    res.status(500).json({ error: 'Server error', detail: String(err) });
  }
});

const port = Number(process.env.PORT || 5174);
app.listen(port, () => console.log(`API listening on http://localhost:${port}`));
The event names above (for example, response.output_text.delta) come from the Responses streaming guide and SDK helpers. (platform.openai.com )
Model choice: gpt‑4o is a strong, versatile default for chat and supports text+image inputs if you later expand your UI. You can swap in newer models as OpenAI releases them. (platform.openai.com )
4) React chat UI with token streaming
Create src/App.tsx with a minimal chat surface and a streaming fetch reader.
// src/App.tsx
import { useEffect, useRef, useState } from 'react';

type Msg = { role: 'system'|'user'|'assistant'; content: string };

export default function App() {
  const [messages, setMessages] = useState<Msg[]>([
    { role: 'system', content: 'You are a helpful assistant.' }
  ]);
  const [input, setInput] = useState('');
  const [loading, setLoading] = useState(false);
  const abortRef = useRef<AbortController | null>(null);

  async function send() {
    if (!input.trim() || loading) return;
    const next = [...messages, { role: 'user', content: input }];
    setMessages(next);
    setInput('');
    setLoading(true);

    abortRef.current = new AbortController();

    // Begin streaming
    const resp = await fetch('http://localhost:5174/api/chat', {
      method: 'POST',
      headers: { 'Content-Type': 'application/json' },
      body: JSON.stringify({ messages: next }),
      signal: abortRef.current.signal
    });

    if (!resp.body) { setLoading(false); return; }

    // Add a placeholder assistant message we’ll stream into
    setMessages(curr => [...curr, { role: 'assistant', content: '' }]);

    const reader = resp.body.getReader();
    const decoder = new TextDecoder('utf-8');
    let buffer = '';

    while (true) {
      const { value, done } = await reader.read();
      if (done) break;
      buffer += decoder.decode(value, { stream: true });

      // Parse SSE frames (lines separated by \n\n, each frame starts with `data: `)
      const frames = buffer.split('\n\n');
      buffer = frames.pop() || '';

      for (const frame of frames) {
        if (!frame.startsWith('data: ')) continue;
        const data = frame.slice(6);
        if (data === '[DONE]') { setLoading(false); return; }
        setMessages(curr => {
          const copy = [...curr];
          const last = copy[copy.length - 1];
          if (last?.role === 'assistant') {
            last.content += data; // append streamed tokens
          }
          return copy;
        });
      }
    }
    setLoading(false);
  }

  function stop() {
    abortRef.current?.abort();
    setLoading(false);
  }

  useEffect(() => {
    const el = document.getElementById('end');
    el?.scrollIntoView({ behavior: 'smooth' });
  }, [messages]);

  return (
    <div style={{ maxWidth: 720, margin: '40px auto', padding: 16 }}>
      <h1>React AI Chatbot</h1>
      <div style={{ border: '1px solid #ddd', borderRadius: 8, padding: 16, minHeight: 360 }}>
        {messages.filter(m => m.role !== 'system').map((m, i) => (
          <div key={i} style={{
            margin: '8px 0',
            whiteSpace: 'pre-wrap',
            background: m.role === 'user' ? '#eef6ff' : '#f7f7f7',
            padding: 12, borderRadius: 8
          }}>
            <strong>{m.role === 'user' ? 'You' : 'Assistant'}:</strong> {m.content}
          </div>
        ))}
        <div id="end" />
      </div>

      <form onSubmit={e => { e.preventDefault(); send(); }} style={{ marginTop: 12, display: 'flex', gap: 8 }}>
        <input
          value={input}
          onChange={e => setInput(e.target.value)}
          placeholder="Ask anything..."
          style={{ flex: 1, padding: 12, borderRadius: 8, border: '1px solid #ddd' }}
        />
        <button disabled={loading} type="submit">Send</button>
        <button disabled={!loading} type="button" onClick={stop}>Stop</button>
      </form>
    </div>
  );
}
Run it:
npm run dev
# Open http://localhost:5173 (Vite) — the API listens on 5174
5) Keeping conversations grounded and useful
- System prompt: keep a concise, explicit instruction in the system message to set tone, scope, or persona.
- Temperature: 0.2–0.7 for most chat UX; raise for more creative output.
- Tokens: keep recent turns; prune older context to control latency and cost.
- Safety & UX: display a stop button; catch and surface server errors gracefully.
6) Structured outputs (optional, but powerful)
The Responses API can emit validated JSON using “Structured Outputs.” For TypeScript apps, you can define schemas (e.g., Zod) and stream parsed fields as they arrive. This is great for tool calling, forms, or dashboards. (platform.openai.com )
Sketch (server‑side) of structured streaming:
import { OpenAI } from 'openai';
import { z } from 'zod';
import { zodTextFormat } from 'openai/helpers/zod';

const openai = new OpenAI();
const Weather = z.object({ city: z.string(), tempC: z.number() });

const stream = openai.responses
  .stream({
    model: 'gpt-4o',
    input: [{ role: 'user', content: [{ type: 'input_text', text: 'Paris weather now' }] }],
    text: { format: zodTextFormat(Weather, 'weather') }
  })
  .on('response.output_text.delta', e => process.stdout.write(e.delta));

const final = await stream.finalResponse();
7) Choosing a model
- gpt‑4o: fast, capable, supports text and images; a solid default for chat. (platform.openai.com )
- For voice or ultra‑low latency, consider OpenAI’s Realtime models via WebRTC/WebSocket (see next section). (platform.openai.com )
Always check model docs or the dashboard for the most current options and costs for your date of deployment. (platform.openai.com )
8) Optional: voice/Realtime path
If you want live audio or ultra‑snappy back‑and‑forth, OpenAI’s Realtime API connects the browser directly (WebRTC with ephemeral tokens) or your server (WebSockets). This is ideal for voice agents but also usable for rapid text chat UIs. (platform.openai.com )
High‑level flow for browser WebRTC:
- Your server creates a short‑lived (ephemeral) token for the client.
- The browser sets up a peer connection to OpenAI Realtime.
- Send/receive events on the data channel; stream audio or text. (platform.openai.com )
9) Production tips
- Secrets: keep OPENAI_API_KEY server‑only. Never embed it in client code.
- Timeouts & retries: wrap OpenAI calls; surface friendly errors.
- Observability: log input size, model, latency, and token counts.
- Rate limits: queue or backoff to handle spikes.
- Caching: cache stable system prompts; consider response caching for FAQs.
- Content controls: add server‑side filters for user input before forwarding to the API.
- Webhooks/background jobs: for long jobs, kick off background responses and track progress via webhooks. (platform.openai.com )
10) Troubleshooting checklist
- “Nothing streams to the UI”: confirm SSE headers and that you’re listening for response.output_text.delta. (platform.openai.com )
- “I see my API key in DevTools”: stop — move calls to your backend; browsers must not hold secrets.
- “Model not found or deprecated”: verify the current model list and guidance. (platform.openai.com )
- “I’m on Assistants API”: migrate to Responses ahead of the deprecation date. (platform.openai.com )
Where to go next
- Read the JavaScript SDK guide for additional features and examples.
- Explore streaming patterns (delta events, structured outputs, tool calling) for richer UX.
- Try Realtime for voice, or upgrade your UI with attachments and image inputs. (platform.openai.com )
You now have a clean, secure React chatbot with fast, incremental rendering. Extend it with tool calls (search, database lookups), add message persistence, or embed it anywhere you need conversational UX.
Related Posts
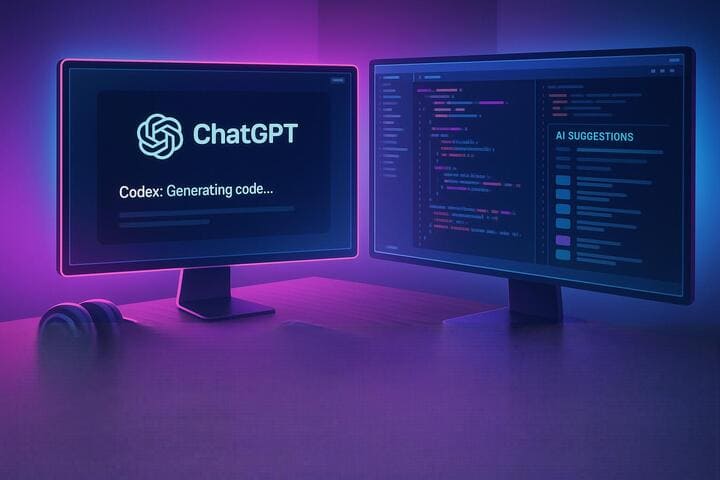
OpenAI Unveils Codex: Revolutionary AI Coding Agent in ChatGPT
OpenAI launches Codex, a cloud-based AI software engineering agent powered by codex-1, integrated into ChatGPT for Pro, Team, and Enterprise subscribers. Learn about its features, availability, and industry impact.
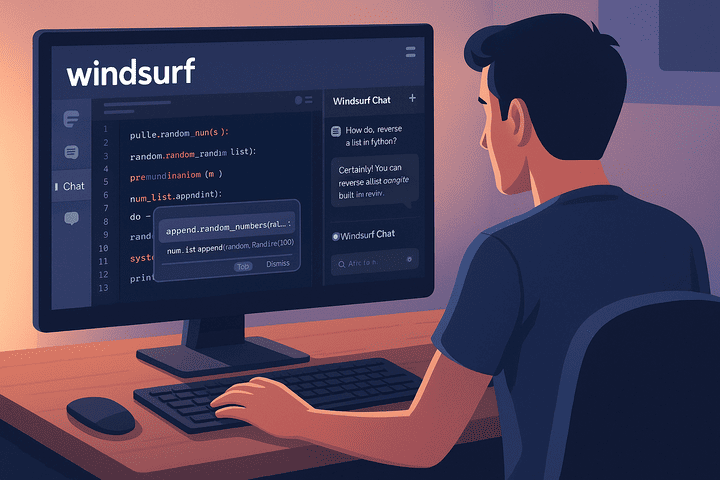
How to Use Windsurf: The Ultimate AI Coding Assistant
Learn how to harness Windsurf (formerly Codeium), the agentic AI IDE and coding assistant, to supercharge your development workflow across 70+ languages and 40+ editors.
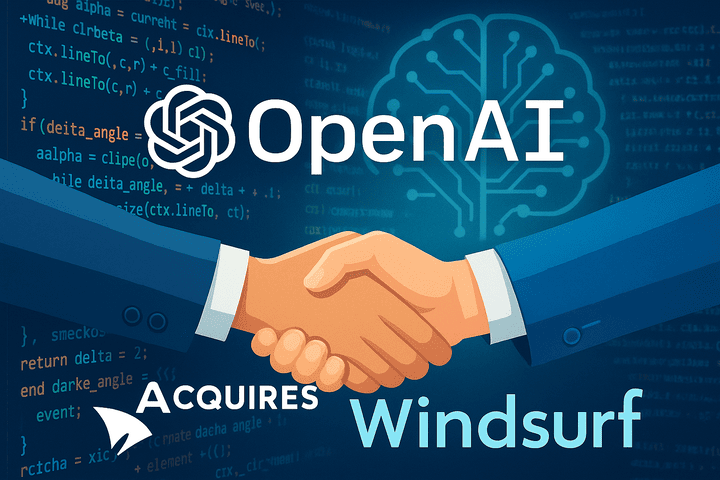
OpenAI Acquires Windsurf: A $3 Billion Bet on AI Coding Tools
OpenAI’s largest acquisition yet—Windsurf, the AI-assisted coding tool formerly known as Codeium, for about $3 billion. Explore the deal’s details, background, expert insights, and what this means for the future of AI-driven development.