AI Voice Assistant API Integration in Flutter: A Practical End-to-End Guide
Step-by-step Flutter guide to integrate an AI voice assistant API with STT, TTS, streaming patterns, security, and UX best practices.
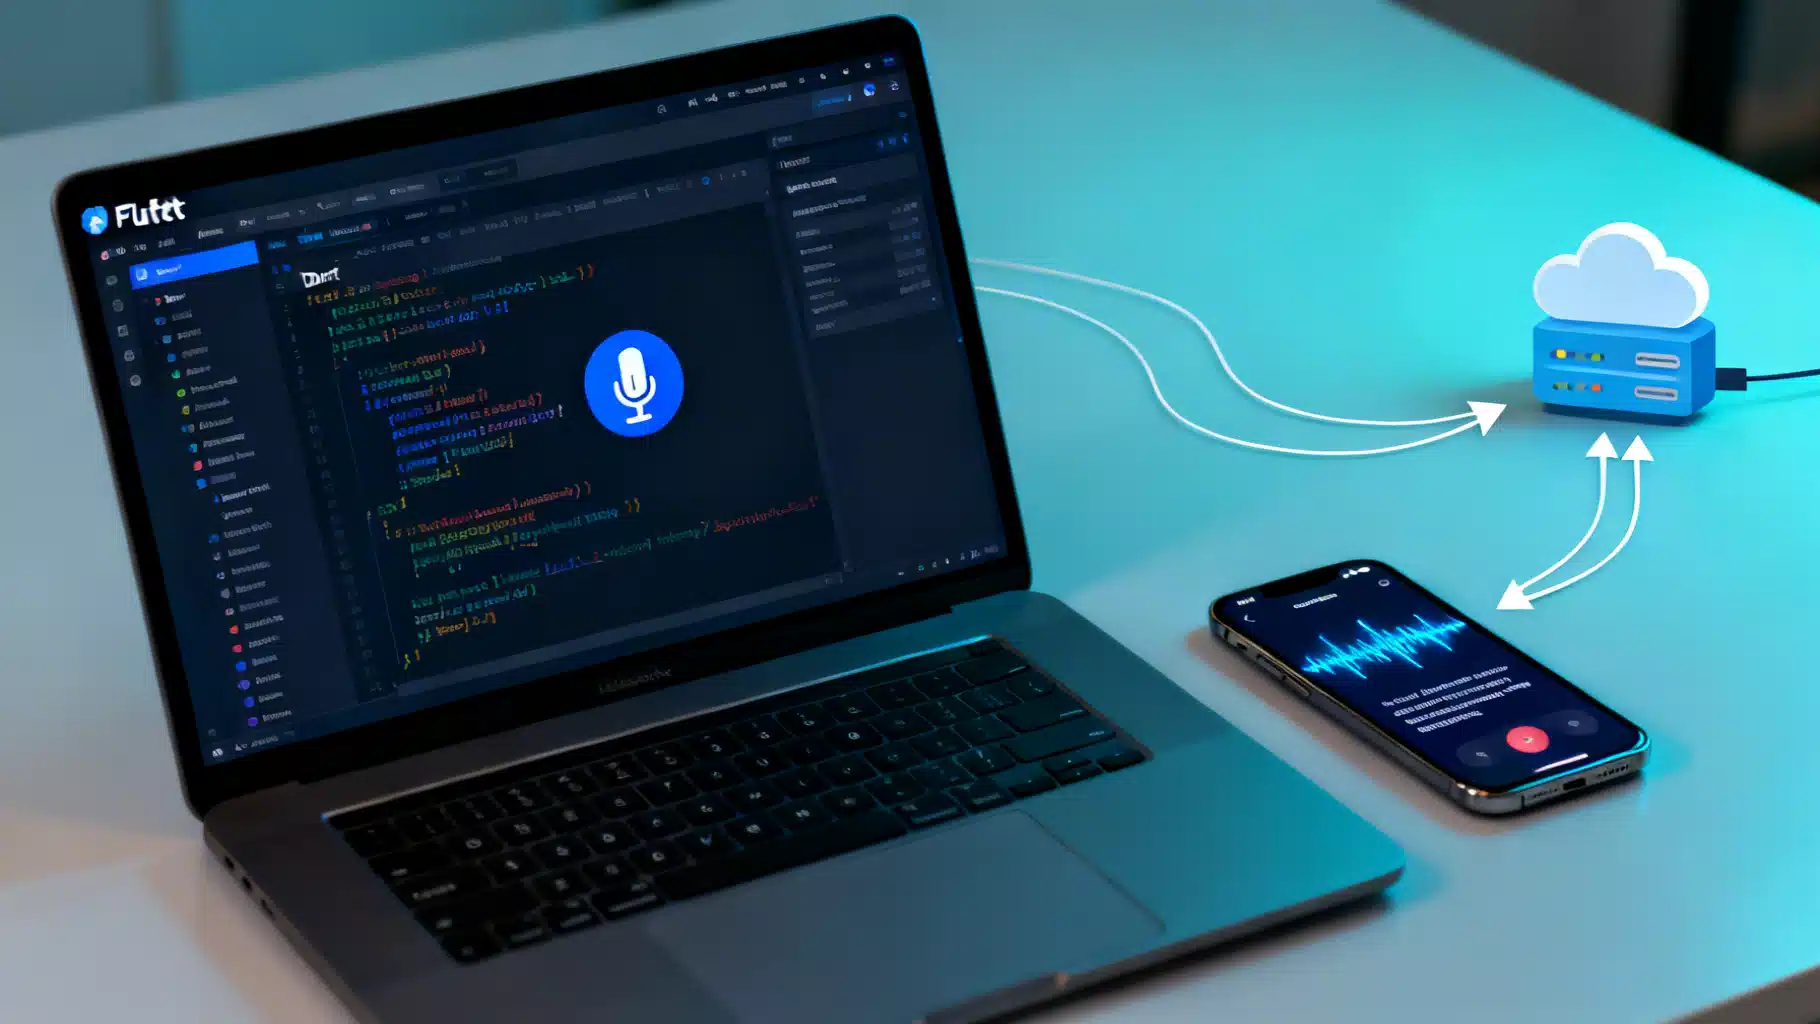
Image used for representation purposes only.
Overview
Building a great voice experience in Flutter is no longer a research project. With today’s AI voice assistant APIs, you can add hands‑free, natural conversations to your app in days—if you structure the integration right. This guide walks you through an end‑to‑end approach: from microphone permissions and speech recognition to calling an assistant API, speaking responses with TTS, streaming for low latency, and shipping a production‑ready UX.
What you’ll build:
- A Flutter view with a tap‑and‑hold mic or toggle button
- Real‑time speech recognition (STT) to capture user intent
- A call to an AI assistant API for reasoning and response
- Text‑to‑speech (TTS) playback with barge‑in handling
- A scalable architecture that supports streaming upgrades later
Architecture at a Glance
A pragmatic, modular voice stack for Flutter looks like this:
- Input: Microphone → Speech Recognition (local or cloud) → Recognized text
- Intelligence: AI Voice Assistant API (HTTP or WebSocket) → Text or speech response
- Output: TTS (on‑device) or server audio stream → Audio playback
- Orchestration: A VoiceController that coordinates capture, network calls, and playback
Keep each layer swappable. You may start with local STT and TTS for simplicity, then migrate to a streaming end‑to‑end API when you need lower latency or higher accuracy.
Prerequisites
- Flutter SDK installed
- A test device or emulator with a working microphone
- An AI voice assistant API key and endpoint (replace placeholders below with your provider)
Dependencies
Add the following packages to pubspec.yaml (omit versions here and pin them in your project):
dependencies:
  flutter:
    sdk: flutter
  speech_to_text: any       # STT for quick prototyping (tap-to-talk)
  flutter_tts: any          # Speak responses
  http: any                 # Simple request/response API calls
  web_socket_channel: any   # For streaming upgrades
  permission_handler: any   # Microphone permission prompts
Run:
flutter pub get
Platform Permissions
Android (AndroidManifest.xml):
<uses-permission android:name="android.permission.RECORD_AUDIO" />
iOS (Info.plist):
<key>NSMicrophoneUsageDescription</key>
<string>We use the microphone to capture your voice commands.</string>
<key>NSSpeechRecognitionUsageDescription</key>
<string>We use speech recognition to turn your voice into text.</string>
On Android 12+, request runtime permissions with permission_handler before capturing audio. On iOS, ensure you test on a real device for microphone access.
A Minimal VoiceController
The VoiceController coordinates: requesting mic permission, listening with STT, calling the assistant API, and playing TTS. It also cancels TTS when the user speaks (“barge‑in”).
import 'dart:async';
import 'dart:convert';
import 'package:flutter/foundation.dart';
import 'package:http/http.dart' as http;
import 'package:speech_to_text/speech_to_text.dart' as stt;
import 'package:flutter_tts/flutter_tts.dart';
import 'package:permission_handler/permission_handler.dart';

class VoiceController with ChangeNotifier {
  final _stt = stt.SpeechToText();
  final _tts = FlutterTts();

  bool _isListening = false;
  bool _isSpeaking = false;
  String _partialTranscript = '';
  String _finalTranscript = '';
  String _assistantReply = '';
  String? conversationId; // maintain context server-side

  bool get isListening => _isListening;
  bool get isSpeaking => _isSpeaking;
  String get partialTranscript => _partialTranscript;
  String get finalTranscript => _finalTranscript;
  String get assistantReply => _assistantReply;

  Future<bool> _ensureMicPermission() async {
    final status = await Permission.microphone.request();
    return status.isGranted;
  }

  Future<void> startListening() async {
    if (!await _ensureMicPermission()) return;

    // If TTS is speaking, stop to allow barge-in
    if (_isSpeaking) {
      await _tts.stop();
      _isSpeaking = false;
    }

    final available = await _stt.initialize(
      onStatus: (status) {},
      onError: (err) {
        debugPrint('STT error: $err');
      },
    );

    if (!available) return;

    _isListening = true;
    _partialTranscript = '';
    _finalTranscript = '';
    notifyListeners();

    await _stt.listen(
      onResult: (res) {
        _partialTranscript = res.recognizedWords;
        if (res.finalResult) {
          _finalTranscript = res.recognizedWords;
          _isListening = false;
          notifyListeners();
          _stt.stop();
          _sendToAssistant(_finalTranscript);
        } else {
          notifyListeners();
        }
      },
      listenMode: stt.ListenMode.confirmation,
      partialResults: true,
      cancelOnError: true,
    );
  }

  Future<void> stopListening() async {
    if (_isListening) {
      await _stt.stop();
      _isListening = false;
      notifyListeners();
    }
  }

  Future<void> _sendToAssistant(String text) async {
    if (text.trim().isEmpty) return;
    try {
      final resp = await http.post(
        Uri.parse('https://api.your-assistant.example/v1/chat'),
        headers: {
          'Authorization': 'Bearer YOUR_APP_TOKEN',
          'Content-Type': 'application/json',
        },
        body: jsonEncode({
          'conversation_id': conversationId,
          'user': text,
          'mode': 'text', // or 'voice' if your API accepts audio
        }),
      );
      if (resp.statusCode == 200) {
        final data = jsonDecode(resp.body) as Map<String, dynamic>;
        conversationId = data['conversation_id'] as String? ?? conversationId;
        _assistantReply = data['assistant'] as String? ?? '';
        notifyListeners();
        await _speak(_assistantReply);
      } else {
        debugPrint('Assistant error: ${resp.statusCode} ${resp.body}');
      }
    } catch (e) {
      debugPrint('Assistant exception: $e');
    }
  }

  Future<void> _speak(String text) async {
    if (text.isEmpty) return;
    _isSpeaking = true;
    notifyListeners();
    await _tts.setLanguage('en-US');
    await _tts.setSpeechRate(0.95); // slightly slower for clarity
    await _tts.speak(text);
    _isSpeaking = false;
    notifyListeners();
  }
}
A Simple UI
A minimal page with a mic button and transcript/result views:
import 'package:flutter/material.dart';
import 'voice_controller.dart';
import 'package:provider/provider.dart';

class VoicePage extends StatelessWidget {
  const VoicePage({super.key});

  @override
  Widget build(BuildContext context) {
    return ChangeNotifierProvider(
      create: (_) => VoiceController(),
      child: Scaffold(
        appBar: AppBar(title: const Text('AI Voice Assistant')),
        body: const _Body(),
        floatingActionButton: const _MicButton(),
        floatingActionButtonLocation: FloatingActionButtonLocation.centerFloat,
      ),
    );
  }
}

class _Body extends StatelessWidget {
  const _Body();
  @override
  Widget build(BuildContext context) {
    final c = context.watch<VoiceController>();
    return Padding(
      padding: const EdgeInsets.all(16),
      child: Column(
        crossAxisAlignment: CrossAxisAlignment.start,
        children: [
          Text('You said:', style: Theme.of(context).textTheme.titleMedium),
          const SizedBox(height: 8),
          Text(c.partialTranscript.isNotEmpty ? c.partialTranscript : c.finalTranscript),
          const Divider(height: 32),
          Text('Assistant:', style: Theme.of(context).textTheme.titleMedium),
          const SizedBox(height: 8),
          Text(c.assistantReply),
          const Spacer(),
          if (c.isSpeaking) const LinearProgressIndicator(minHeight: 2),
        ],
      ),
    );
  }
}

class _MicButton extends StatelessWidget {
  const _MicButton();
  @override
  Widget build(BuildContext context) {
    final c = context.watch<VoiceController>();
    return FloatingActionButton.extended(
      onPressed: () => c.isListening ? c.stopListening() : c.startListening(),
      icon: Icon(c.isListening ? Icons.stop : Icons.mic),
      label: Text(c.isListening ? 'Stop' : 'Speak'),
    );
  }
}
Securing Your API Key
Never ship long‑lived API keys inside a mobile app. Use a lightweight backend to mint short‑lived tokens and optionally proxy requests.
Flow:
- App requests an ephemeral token from your backend
- Backend authenticates the user (session/JWT), creates a short‑TTL token with the AI vendor, and returns it
- App uses the ephemeral token in Authorization headers
This prevents key leakage and lets you apply rate limits, quotas, and audit logging.
Maintaining Conversation Context
Most assistant APIs support a conversation or session ID. Send it with each request to keep memory across turns. Reset the ID when the user taps “New Chat” or when you time out idle sessions.
Example payload (HTTP):
{
  "conversation_id": "abc123",
  "user": "What are the top 3 things to do in Austin this weekend?",
  "mode": "text"
}
Upgrading to Real‑Time Streaming (WebSocket)
When you need faster turn‑taking and partial results, move to streaming. The high‑level steps are similar across providers:
- Connect a WebSocket: wss://api.your-assistant.example/v1/stream
- Send a start frame (session params: language, sample rate, diarization)
- Stream microphone audio frames (e.g., 16 kHz mono PCM in small chunks)
- Receive events: partial transcripts, final transcripts, tool calls, final response
- Optionally receive server TTS audio frames for immediate playback
Pseudocode for streaming events:
import 'dart:convert';
import 'package:web_socket_channel/web_socket_channel.dart';

late final WebSocketChannel channel;

void connect() {
  channel = WebSocketChannel.connect(Uri.parse('wss://api.your-assistant.example/v1/stream'));
  channel.sink.add(jsonEncode({
    'type': 'start',
    'token': 'EPHEMERAL_TOKEN',
    'config': {
      'language': 'en-US',
      'sample_rate_hz': 16000,
      'send_partial_results': true
    }
  }));

  channel.stream.listen((message) {
    final event = jsonDecode(message as String);
    switch (event['type']) {
      case 'partial_transcript':
        // update UI
        break;
      case 'final_transcript':
        // show final user text
        break;
      case 'assistant_delta':
        // stream assistant text or audio
        break;
      case 'end':
        // cleanup
        break;
      case 'error':
        // show error
        break;
    }
  });
}
For audio capture/playback in fully streamed setups, you’ll use a low‑latency recorder and an audio player capable of handling PCM/Opus frames. Start with the text‑in/text‑out flow above; then add streaming when you’re ready to tackle:
- Echo cancellation (stop TTS while mic is open)
- Barge‑in (interrupt response when user speaks)
- Buffer sizing (10–20 ms audio frames)
- Sample rate matching (avoid resampling penalties)
Latency and Quality Tuning
- Frame size: Smaller frames (10–20 ms) reduce latency but increase overhead. Balance for your network conditions.
- Wake strategies: Use a push‑to‑talk button first. Add wake words later with a small, on‑device model.
- Noise handling: Encourage users to hold the device close; consider VAD (voice activity detection) if your API supports it.
- TTS settings: Slow down speech slightly for clarity; adjust pitch and voice to match your brand.
Error Handling and Resilience
- Timeouts: Fail fast if the assistant doesn’t respond within a threshold (e.g., 10–15 s) and prompt the user to retry.
- Offline mode: Gracefully degrade to local prompts (“You’re offline. Try again when connected.”).
- Retries: For transient 5xx responses, retry with backoff. Avoid retrying user speech capture automatically.
- UI feedback: Always show state (Listening… Thinking… Speaking…).
UX Best Practices
- Clear mic affordance: Big central button with animated waveform while listening
- Partial transcripts: Show words as they’re recognized to build trust
- Read‑along highlighting: Highlight TTS text during playback
- Interruptibility: Let users stop or speak over the assistant at any time
- Accessibility: Respect system text scale and provide captions
Privacy and Compliance
- Consent: Explain how voice data is used. Provide an opt‑out.
- Data minimization: Don’t log raw audio longer than necessary.
- Redaction: Mask PII server‑side if you store transcripts.
- Region routing: If required, keep data within a specific geography.
Testing Checklist
- Devices: Test both iOS and Android, mid‑range hardware, and noisy environments
- Network: Simulate 3G/edge latency and packet loss
- Accents: Evaluate STT quality across accents and speaking rates
- Edge cases: Very short utterances, long monologues, silence, overlapping speech
- Recovery: Kill app mid‑session, background/foreground transitions, audio focus loss
Troubleshooting Guide
- The mic never starts: Check runtime permission and Info.plist/Manifest entries
- STT initializes but yields nothing: Test on a real device, confirm language code
- Assistant returns errors: Log status codes and response bodies (sanitize PII)
- Audio echoes: Ensure TTS is stopped while listening (barge‑in)
- Unstable streaming: Reduce frame size and verify sample rate alignment
What to Ship First vs. Later
Ship now:
- Push‑to‑talk
- Local TTS
- Text‑in/text‑out assistant
- Clear error states
Add later:
- Wake word and continuous VAD
- Full duplex streaming
- Multi‑turn memory with tool use (calendar, maps, etc.)
- Server‑side TTS with neural voices
Conclusion
You don’t need a bespoke DSP lab to build a high‑quality AI voice feature in Flutter. Start with a simple, reliable stack: on‑device STT, a secure call to your assistant API, and on‑device TTS for responses. Keep the layers modular, ship a solid push‑to‑talk MVP, then iterate toward streaming and advanced UX like barge‑in and read‑along highlighting. With the patterns above, you’ll have a maintainable foundation that scales from prototype to production.
Related Posts
Flutter sqflite Database Migration Guide: Safe, Incremental Upgrades with Confidence
A step-by-step Flutter sqflite migration guide: design, implement, and test safe schema upgrades with code patterns, tips, and pitfalls to avoid.

Flutter Charts: A Practical Data Visualization Guide
A practical, end-to-end Flutter charts guide: choose libraries, build beautiful charts, optimize performance, add interactivity, accessibility, and tests.
Flutter Local Notifications: A Complete Scheduling Guide (Android 13/14+ ready)
A practical Flutter guide to scheduling reliable local notifications on Android and iOS, updated for Android 13/14 exact-alarm and permission changes.