Build a Flutter QR Code Scanner and Generator in Flutter
Build a Flutter app that scans and generates QR codes with mobile_scanner and qr_flutter. Includes setup, code, exporting, UX, and tips.
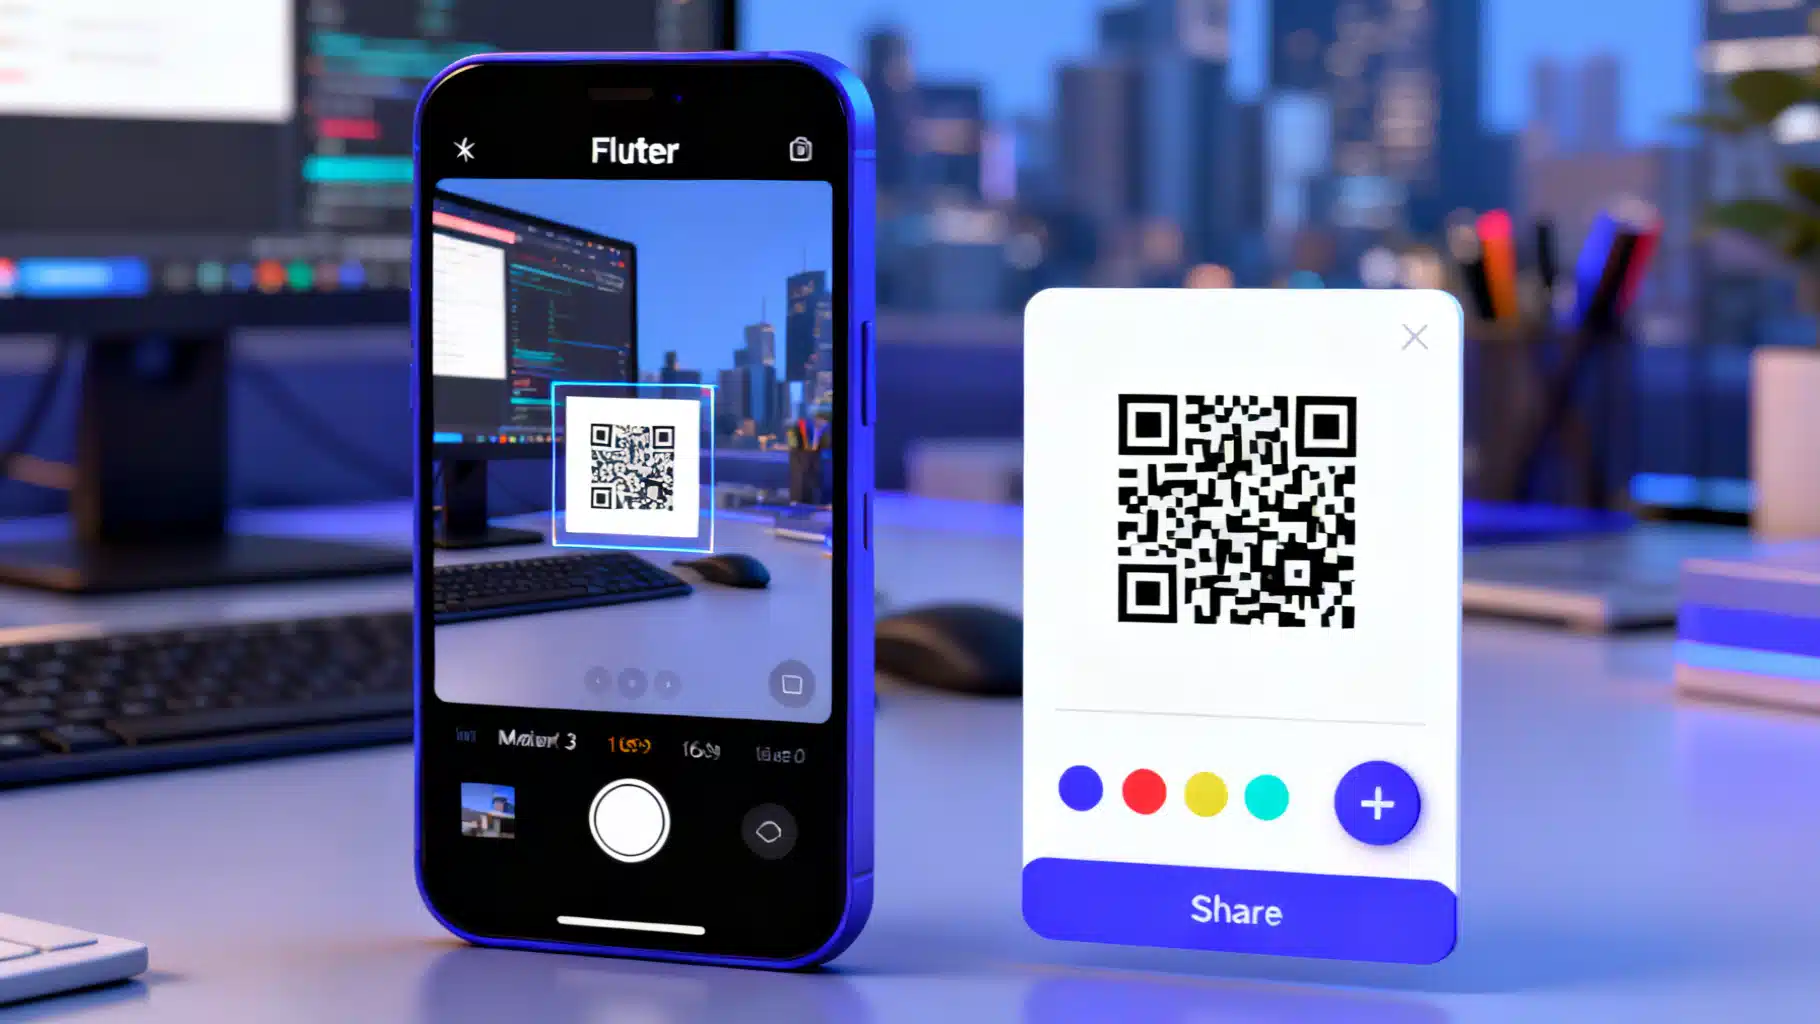
Image used for representation purposes only.
Overview
QR codes are everywhere—from contactless menus to payment links. In this article you’ll build a production‑ready Flutter app that does both jobs: scan existing QR codes and generate new ones you can share or save. We’ll use two well‑supported packages:
- mobile_scanner: a fast, ML‑powered camera scanner for Android, iOS, and Web
- qr_flutter: a flexible QR code widget with customization options
You’ll also learn about permissions, UX polish, exporting images, and common pitfalls.
What we’re building
A single‑screen app with two tabs:
- Scan: live camera preview that detects QR codes in real time, with torch and camera‑flip controls
- Generate: a form to enter text/URLs and instantly render a customizable QR code, with options to export/share as PNG
Prerequisites
- Flutter SDK installed (stable channel)
- Android Studio or Xcode for device emulators
- A physical device is recommended for testing the camera scanner
Project setup
- Create a project
flutter create qr_combo
cd qr_combo
- Add dependencies (use the latest versions from pub.dev):
# pubspec.yaml (excerpt)
dependencies:
  flutter:
    sdk: flutter
  mobile_scanner:    # scanner
  qr_flutter:        # generator
  share_plus:        # share PNG files
  path_provider:     # temp directory for exports
Then run:
flutter pub get
- Platform permissions
- Android: add camera permission.
<!-- android/app/src/main/AndroidManifest.xml -->
<manifest ...>
  <uses-permission android:name="android.permission.CAMERA"/>
  <application ...>
    <!-- no special activity config needed for mobile_scanner -->
  </application>
</manifest>
- iOS: add a camera usage description to Info.plist.
<!-- ios/Runner/Info.plist -->
<key>NSCameraUsageDescription</key>
<string>This app uses the camera to scan QR codes.</string>
- Web: camera access requires HTTPS (localhost is allowed). If deploying to the web, host the app over HTTPS for scanning to work.
App structure
We’ll keep it simple: a MaterialApp with a BottomNavigationBar switching between ScanPage and GeneratePage.
// lib/main.dart
import 'dart:typed_data';
import 'dart:ui' as ui;
import 'dart:io';

import 'package:flutter/material.dart';
import 'package:mobile_scanner/mobile_scanner.dart';
import 'package:qr_flutter/qr_flutter.dart';
import 'package:path_provider/path_provider.dart';
import 'package:share_plus/share_plus.dart';
import 'package:flutter/services.dart';

void main() {
  WidgetsFlutterBinding.ensureInitialized();
  runApp(const QRComboApp());
}

class QRComboApp extends StatelessWidget {
  const QRComboApp({super.key});

  @override
  Widget build(BuildContext context) {
    return MaterialApp(
      debugShowCheckedModeBanner: false,
      title: 'QR Combo',
      theme: ThemeData(
        colorScheme: ColorScheme.fromSeed(seedColor: Colors.indigo),
        useMaterial3: true,
      ),
      home: const HomeScreen(),
    );
  }
}

class HomeScreen extends StatefulWidget {
  const HomeScreen({super.key});
  @override
  State<HomeScreen> createState() => _HomeScreenState();
}

class _HomeScreenState extends State<HomeScreen> {
  int _index = 0;

  @override
  Widget build(BuildContext context) {
    final pages = [
      const ScanPage(),
      const GeneratePage(),
    ];

    return Scaffold(
      appBar: AppBar(title: Text(_index == 0 ? 'Scan QR' : 'Generate QR')),
      body: pages[_index],
      bottomNavigationBar: NavigationBar(
        selectedIndex: _index,
        destinations: const [
          NavigationDestination(icon: Icon(Icons.qr_code_scanner), label: 'Scan'),
          NavigationDestination(icon: Icon(Icons.qr_code_2), label: 'Generate'),
        ],
        onDestinationSelected: (i) => setState(() => _index = i),
      ),
    );
  }
}
Build the scanner
mobile_scanner renders the camera preview and emits barcode events. We’ll add torch/camera‑flip controls, a simple overlay, and debouncing so users don’t get multiple dialogs for one scan.
class ScanPage extends StatefulWidget {
  const ScanPage({super.key});
  @override
  State<ScanPage> createState() => _ScanPageState();
}

class _ScanPageState extends State<ScanPage> {
  final MobileScannerController _controller = MobileScannerController();
  bool _handlingResult = false;

  @override
  void dispose() {
    _controller.dispose();
    super.dispose();
  }

  Future<void> _onDetect(BarcodeCapture capture) async {
    if (_handlingResult) return; // debounce
    final codes = capture.barcodes;
    if (codes.isEmpty) return;

    final value = codes.first.rawValue ?? '';
    if (value.isEmpty) return;

    setState(() => _handlingResult = true);
    await _controller.stop();

    if (!mounted) return;
    await showDialog(
      context: context,
      builder: (ctx) {
        return AlertDialog(
          title: const Text('QR Code Found'),
          content: SelectableText(value),
          actions: [
            TextButton(
              onPressed: () {
                Clipboard.setData(ClipboardData(text: value));
                Navigator.of(ctx).pop();
              },
              child: const Text('Copy'),
            ),
            TextButton(
              onPressed: () => Navigator.of(ctx).pop(),
              child: const Text('Close'),
            ),
          ],
        );
      },
    );

    await _controller.start();
    if (mounted) setState(() => _handlingResult = false);
  }

  @override
  Widget build(BuildContext context) {
    return Stack(
      children: [
        MobileScanner(
          controller: _controller,
          onDetect: _onDetect,
          fit: BoxFit.cover,
        ),
        // Overlay for aiming
        IgnorePointer(
          child: Center(
            child: Container(
              width: 260,
              height: 260,
              decoration: BoxDecoration(
                border: Border.all(color: Colors.white, width: 2),
                borderRadius: BorderRadius.circular(16),
                color: Colors.transparent,
              ),
            ),
          ),
        ),
        // Controls
        Positioned(
          left: 16,
          right: 16,
          bottom: 32,
          child: Row(
            mainAxisAlignment: MainAxisAlignment.spaceEvenly,
            children: [
              FilledButton.tonal(
                onPressed: () => _controller.toggleTorch(),
                child: const Row(
                  mainAxisSize: MainAxisSize.min,
                  children: [Icon(Icons.flash_on), SizedBox(width: 8), Text('Torch')],
                ),
              ),
              FilledButton.tonal(
                onPressed: () => _controller.switchCamera(),
                child: const Row(
                  mainAxisSize: MainAxisSize.min,
                  children: [Icon(Icons.cameraswitch), SizedBox(width: 8), Text('Flip')],
                ),
              ),
            ],
          ),
        ),
      ],
    );
  }
}
Notes:
- stop()/start() prevents duplicate detections while the dialog is visible.
- You can further filter barcodes by format if you only want QR codes.
Build the generator
We’ll render a QR code from user input, show live previews, and export a high‑resolution PNG using RepaintBoundary.
class GeneratePage extends StatefulWidget {
  const GeneratePage({super.key});
  @override
  State<GeneratePage> createState() => _GeneratePageState();
}

class _GeneratePageState extends State<GeneratePage> {
  final _text = TextEditingController(text: 'https://flutter.dev');
  final GlobalKey _qrKey = GlobalKey();
  Color _fg = Colors.black;
  Color _bg = Colors.white;

  @override
  void dispose() {
    _text.dispose();
    super.dispose();
  }

  Future<Uint8List> _capturePng() async {
    final boundary = _qrKey.currentContext!.findRenderObject() as RenderRepaintBoundary;
    final ui.Image image = await boundary.toImage(pixelRatio: 4.0); // 4x scale for sharp PNG
    final byteData = await image.toByteData(format: ui.ImageByteFormat.png);
    return byteData!.buffer.asUint8List();
  }

  Future<void> _sharePng() async {
    final bytes = await _capturePng();
    final dir = await getTemporaryDirectory();
    final file = File('${dir.path}/qr_${DateTime.now().millisecondsSinceEpoch}.png');
    await file.writeAsBytes(bytes);
    await Share.shareXFiles([XFile(file.path)], text: 'My QR code');
  }

  @override
  Widget build(BuildContext context) {
    return Padding(
      padding: const EdgeInsets.all(16),
      child: Column(
        crossAxisAlignment: CrossAxisAlignment.stretch,
        children: [
          TextField(
            controller: _text,
            decoration: InputDecoration(
              labelText: 'Text or URL',
              prefixIcon: const Icon(Icons.edit),
              border: const OutlineInputBorder(),
              suffixIcon: IconButton(
                icon: const Icon(Icons.clear),
                onPressed: () => setState(() => _text.clear()),
              ),
            ),
            onChanged: (_) => setState(() {}),
          ),
          const SizedBox(height: 16),
          Expanded(
            child: Center(
              child: RepaintBoundary(
                key: _qrKey,
                child: Container(
                  color: _bg, // solid background for crisp exports
                  padding: const EdgeInsets.all(16),
                  child: QrImageView(
                    data: _text.text.isEmpty ? ' ' : _text.text.trim(),
                    version: QrVersions.auto,
                    size: 240,
                    eyeStyle: QrEyeStyle(eyeShape: QrEyeShape.square, color: _fg),
                    dataModuleStyle: QrDataModuleStyle(
                      dataModuleShape: QrDataModuleShape.square,
                      color: _fg,
                    ),
                    // Example: embed a logo
                    // embeddedImage: const AssetImage('assets/logo.png'),
                    // embeddedImageStyle: const QrEmbeddedImageStyle(size: Size(48, 48)),
                  ),
                ),
              ),
            ),
          ),
          const SizedBox(height: 8),
          Wrap(
            spacing: 8,
            runSpacing: 8,
            alignment: WrapAlignment.center,
            children: [
              FilledButton.icon(
                icon: const Icon(Icons.share),
                label: const Text('Share PNG'),
                onPressed: _sharePng,
              ),
              FilledButton.tonalIcon(
                icon: const Icon(Icons.format_color_fill),
                label: const Text('Background'),
                onPressed: () async {
                  final newColor = await showDialog<Color>(
                    context: context,
                    builder: (_) => _ColorPickerDialog(initial: _bg),
                  );
                  if (newColor != null) setState(() => _bg = newColor);
                },
              ),
              FilledButton.tonalIcon(
                icon: const Icon(Icons.palette),
                label: const Text('Foreground'),
                onPressed: () async {
                  final newColor = await showDialog<Color>(
                    context: context,
                    builder: (_) => _ColorPickerDialog(initial: _fg),
                  );
                  if (newColor != null) setState(() => _fg = newColor);
                },
              ),
            ],
          ),
        ],
      ),
    );
  }
}

class _ColorPickerDialog extends StatefulWidget {
  const _ColorPickerDialog({required this.initial});
  final Color initial;
  @override
  State<_ColorPickerDialog> createState() => _ColorPickerDialogState();
}

class _ColorPickerDialogState extends State<_ColorPickerDialog> {
  double h = 0, s = 0, v = 0;
  @override
  void initState() {
    super.initState();
    final hsv = HSVColor.fromColor(widget.initial);
    h = hsv.hue; s = hsv.saturation; v = hsv.value;
  }
  @override
  Widget build(BuildContext context) {
    return AlertDialog(
      title: const Text('Pick color'),
      content: Column(
        mainAxisSize: MainAxisSize.min,
        children: [
          Slider(value: h, min: 0, max: 360, onChanged: (x) => setState(() => h = x)),
          Slider(value: s, min: 0, max: 1, onChanged: (x) => setState(() => s = x)),
          Slider(value: v, min: 0, max: 1, onChanged: (x) => setState(() => v = x)),
        ],
      ),
      actions: [
        TextButton(
          onPressed: () => Navigator.pop(context),
          child: const Text('Cancel'),
        ),
        FilledButton(
          onPressed: () => Navigator.pop(context, HSVColor.fromAHSV(1, h, s, v).toColor()),
          child: const Text('Select'),
        ),
      ],
    );
  }
}
Tips:
- For logos, put your PNG in assets and declare it in pubspec.yaml. Keep logos small to maintain scan reliability.
- High contrast is critical: dark foreground on a light background works best.
Exporting and saving
We used share_plus to share a temp PNG. If you need to save directly to the gallery, add a plugin like image_gallery_saver and request storage/photos permissions as required by each platform. Consider asking for permissions only when the user taps “Save to Gallery.”
Web and desktop notes
- Web: Scanning works on HTTPS origins. On Chrome, users must grant camera permission. Some laptops expose multiple cameras; provide a camera‑switch button.
- Desktop: mobile_scanner may be limited by platform camera APIs; test on your target OS or gate the feature behind kIsWeb/Platform checks.
Testing checklist
- Scan common cases: Wi‑Fi config QR, URLs, vCard, calendar events
- Low light and glare: verify torch toggle works
- Distance and size: confirm scanner reads codes from 2–60 cm
- Duplicate prevention: ensure one dialog per scan
- Long content: try 1–2 KB payloads to check performance
- Accessibility: large tap targets and clear error messages
Performance and reliability
- Pause scanning while processing results to avoid frame‑flooding the UI.
- Keep the overlay transparent; avoid heavy rebuilds inside the camera preview.
- For generation, prefer RepaintBoundary exports with a pixelRatio of 3–4 for sharp prints and retina displays.
- If you embed images, leave enough quiet zone (padding) around the QR.
UX and privacy best practices
- Explain why you need the camera before the system prompt appears.
- Never auto‑open links without user confirmation; show the decoded value first.
- Avoid sending scanned data to servers unless strictly necessary; if you must, disclose clearly and use HTTPS.
- Provide a “Clear history” option if you store recent scans locally.
Troubleshooting
- “Black screen” on Android: ensure CAMERA permission is present and that another app isn’t using the camera.
- iOS build fails due to permissions: check NSCameraUsageDescription in Info.plist.
- Web scanner not working: confirm you’re on HTTPS (or localhost) and the site isn’t blocked by the browser’s permissions policy.
- Generated code won’t scan: increase contrast, remove logo, or increase module size by enlarging the image. Ensure there’s a white margin around the code.
- Duplicate detections: debounce results (as shown) or implement a short cooldown timer.
Where to go next
- Add barcode format filters (QR only)
- Scan from an image picked in the gallery
- Generate Wi‑Fi and vCard QR codes with structured forms
- Persist scan history with local search
- Theme support and internationalization
Conclusion
With mobile_scanner and qr_flutter you can assemble a robust, cross‑platform QR tool in a few dozen lines of Flutter. The scanner is responsive and privacy‑friendly, while the generator produces crisp, shareable images. From here, tailor the UI for your brand, expand into structured QR types, and ship.
Related Posts
Flutter + Google Maps: A Complete Integration Guide
Integrate Google Maps in Flutter: setup keys, Android/iOS config, markers, directions, clustering, styling, and best practices.

Flutter Push Notifications with Firebase Cloud Messaging (FCM): A Complete Setup Guide
Step-by-step guide to set up FCM push notifications in Flutter for Android and iOS, with code, permissions, background handling, and testing tips.
Build a Real‑Time Chat App in Flutter with WebSockets
Build a robust Flutter WebSocket real-time chat app: minimal server, resilient client with reconnection and heartbeats, security, scaling, and deployment.