Flutter Permission Handling Best Practices: A Practical, Privacy‑First Guide
Build privacy-first Flutter apps with robust permission handling across Android and iOS. Learn UX patterns, permission_handler code, and testing tips.
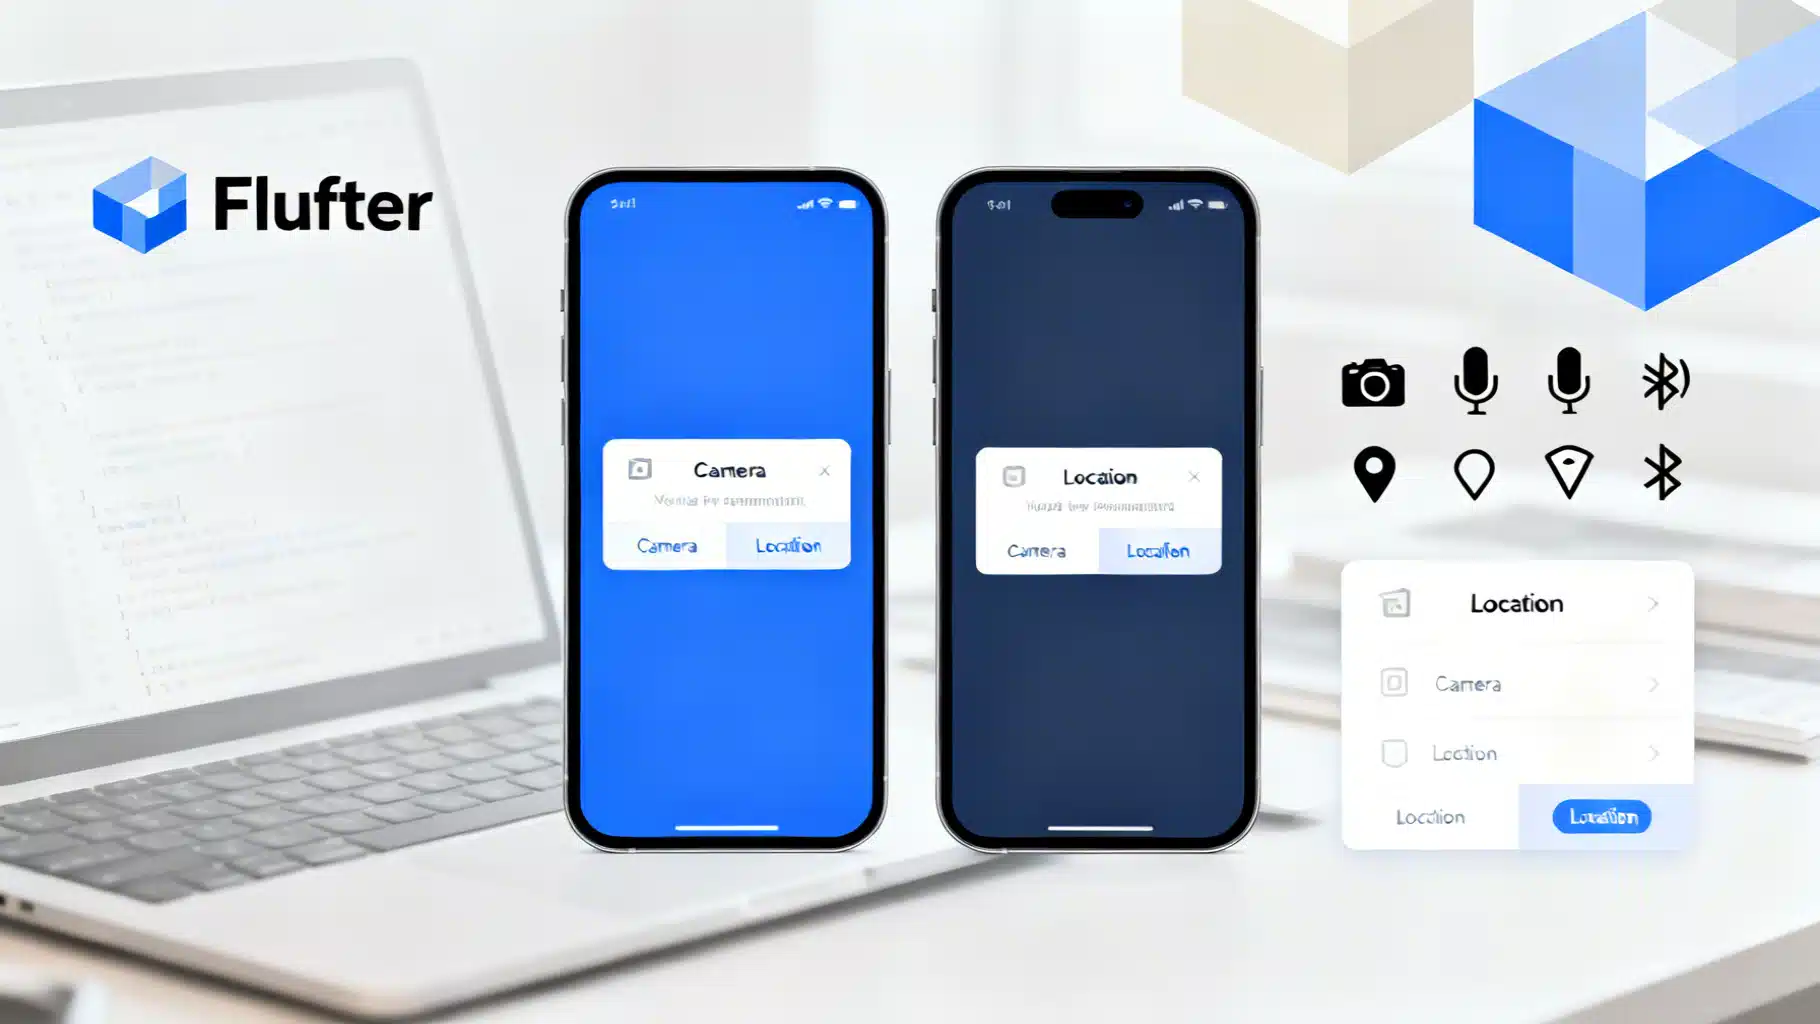
Image used for representation purposes only.
Why permissions matter in Flutter apps
Permissions gate access to users’ most sensitive data (location, camera, microphone, photos, contacts, notifications, Bluetooth devices, and more). Done well, permission handling builds trust, reduces churn, and improves conversion. Done poorly, it yields app store rejections, crashes (e.g., missing Info.plist keys), and frustrated users. This guide distills practical, cross‑platform best practices for Flutter.
Core principles
- Ask only for what you need, when you need it (just‑in‑time).
- Explain value before the system dialog (rationale screen), not after.
- Degrade gracefully with functional fallbacks.
- Treat denial as a valid choice and keep the user in control.
- Handle every state: granted, denied, permanently denied, restricted, and limited (iOS Photos).
- Keep platform differences explicit in your code and UI copy.
- Test every flow: first run, re‑prompts, background access, upgrades, and edge cases.
Platform nuances to respect
Android
- Runtime permissions began with Android 6.0 (API 23). Users can grant, deny, or select “Don’t ask again”.
- One‑time permissions and auto‑reset for unused apps affect your app’s long‑term behavior.
- Background location requires extra disclosure and a separate permission (ACCESS_BACKGROUND_LOCATION) plus foregound location.
- Android 13 (API 33) introduced runtime notification permission (POST_NOTIFICATIONS) and split media storage into READ_MEDIA_IMAGES/VIDEO/AUDIO.
- Android 12+ added new Bluetooth permissions (BLUETOOTH_SCAN/CONNECT) and approximate vs precise location.
iOS
- System dialogs are driven by Info.plist keys; missing or vague strings can cause rejection or crashes.
- iOS offers “Allow once”, “While Using the App”, and user‑controlled “Precise” location.
- Photos can be granted as “Limited Library” (iOS 14+). Your app should detect and guide users to select more photos if needed.
- Local Network, Bluetooth, and Motion have dedicated usage descriptions and sometimes additional configuration.
Project setup: declare what you need
AndroidManifest.xml
Declare only required permissions, and favor the minimum set:
<!-- Camera and audio -->
<uses-permission android:name="android.permission.CAMERA" />
<uses-permission android:name="android.permission.RECORD_AUDIO" />

<!-- Location -->
<uses-permission android:name="android.permission.ACCESS_FINE_LOCATION" />
<uses-permission android:name="android.permission.ACCESS_COARSE_LOCATION" />
<!-- Background location (only if truly required) -->
<uses-permission android:name="android.permission.ACCESS_BACKGROUND_LOCATION" />

<!-- Notifications (Android 13+) -->
<uses-permission android:name="android.permission.POST_NOTIFICATIONS" />

<!-- Media (Android 13+) -->
<uses-permission android:name="android.permission.READ_MEDIA_IMAGES" />
<uses-permission android:name="android.permission.READ_MEDIA_VIDEO" />
<uses-permission android:name="android.permission.READ_MEDIA_AUDIO" />

<!-- Bluetooth (Android 12+) -->
<uses-permission android:name="android.permission.BLUETOOTH_SCAN" />
<uses-permission android:name="android.permission.BLUETOOTH_CONNECT" />
iOS Info.plist
Use clear, user‑centric explanations (these strings appear in system dialogs):
<key>NSCameraUsageDescription</key>
<string>We use the camera to let you scan documents and add images to your profile.</string>
<key>NSMicrophoneUsageDescription</key>
<string>We use the microphone for voice notes and in‑app recordings.</string>
<key>NSPhotoLibraryUsageDescription</key>
<string>We access your photos so you can attach images to posts.</string>
<key>NSPhotoLibraryAddUsageDescription</key>
<string>We save edited images back to your library at your request.</string>
<key>NSLocationWhenInUseUsageDescription</key>
<string>We use your location to show nearby content while you use the app.</string>
<key>NSLocationAlwaysAndWhenInUseUsageDescription</key>
<string>We use background location for turn‑by‑turn navigation and safety alerts.</string>
<key>NSBluetoothAlwaysUsageDescription</key>
<string>We use Bluetooth to connect to nearby accessories you pair with the app.</string>
<key>NSLocalNetworkUsageDescription</key>
<string>We scan your local network only to discover and connect to your devices.</string>
Tip: Do not ship placeholder text like “App needs access”; reviewers expect specific value‑based reasons.
The go‑to package: permission_handler
The community standard for Flutter permissions is the “permission_handler” plugin. It wraps platform APIs into a unified Dart interface and helps you:
- Check status without prompting.
- Request one or multiple permissions.
- Detect permanently denied (Android) or restricted/limited (iOS) states.
- Open system settings.
Add it to pubspec.yaml and follow its platform install steps.
Just‑in‑time permission flow (recommended)
- Feature entry point shows value.
- Optional custom rationale view (why, what, and how to proceed without granting).
- Trigger the system prompt.
- Handle success or denial with clear next actions.
Minimal example
import 'package:flutter/material.dart';
import 'package:permission_handler/permission_handler.dart';

class CameraGate extends StatefulWidget {
  const CameraGate({super.key});
  @override
  State<CameraGate> createState() => _CameraGateState();
}

class _CameraGateState extends State<CameraGate> {
  Future<void> _requestCamera() async {
    final status = await Permission.camera.request();
    if (!mounted) return;

    switch (status) {
      case PermissionStatus.granted:
        // Proceed to camera screen
        Navigator.of(context).pushNamed('/camera');
        break;
      case PermissionStatus.limited: // iOS Photos; not used for camera
      case PermissionStatus.denied:
        _showSnack('Camera permission is needed to take photos.');
        break;
      case PermissionStatus.permanentlyDenied:
      case PermissionStatus.restricted:
        _showSettingsDialog();
        break;
    }
  }

  void _showSnack(String msg) => ScaffoldMessenger.of(context).showSnackBar(
        SnackBar(content: Text(msg)),
      );

  Future<void> _showSettingsDialog() async {
    final go = await showDialog<bool>(
      context: context,
      builder: (_) => AlertDialog(
        title: const Text('Enable camera'),
        content: const Text(
          'To take photos, enable camera access in Settings. You can still browse without it.',
        ),
        actions: [
          TextButton(onPressed: () => Navigator.pop(context, false), child: const Text('Not now')),
          ElevatedButton(onPressed: () => Navigator.pop(context, true), child: const Text('Open Settings')),
        ],
      ),
    );
    if (go == true) {
      await openAppSettings();
    }
  }

  @override
  Widget build(BuildContext context) {
    return Column(
      mainAxisAlignment: MainAxisAlignment.center,
      children: [
        const Text('Scan receipts quickly with your camera.'),
        const SizedBox(height: 12),
        ElevatedButton(onPressed: _requestCamera, child: const Text('Enable camera')),
        TextButton(
          onPressed: () {/* fallback: upload from gallery */},
          child: const Text('Continue without camera'),
        ),
      ],
    );
  }
}
Android rationale check
If you want to show a rationale before re‑prompting on Android, you can read the hint flag:
final showRationale = await Permission.camera.shouldShowRequestRationale;
if (showRationale) {
  // Show a custom explainer UI before calling request() again.
}
Requesting multiple permissions together
Request related permissions in one go to reduce dialog fatigue, but only if the feature truly needs them together (e.g., camera + microphone for video capture):
final statuses = await [
  Permission.camera,
  Permission.microphone,
].request();

if (statuses[Permission.camera].isGranted && statuses[Permission.microphone].isGranted) {
  // Start recording
}
Architect it: a small PermissionService
Centralize logic to keep widgets focused on UX.
import 'package:permission_handler/permission_handler.dart';

enum AppFeature { capturePhoto, voiceNote, nearbyDeviceScan, foregroundLocation, backgroundLocation }

class PermissionService {
  Future<PermissionStatus> ensure(AppFeature feature) async {
    switch (feature) {
      case AppFeature.capturePhoto:
        return _ensureAll([Permission.camera]);
      case AppFeature.voiceNote:
        return _ensureAll([Permission.microphone]);
      case AppFeature.nearbyDeviceScan:
        return _ensureAll([Permission.bluetoothScan, Permission.bluetoothConnect]);
      case AppFeature.foregroundLocation:
        return _ensureAll([Permission.locationWhenInUse]);
      case AppFeature.backgroundLocation:
        return _ensureAll([Permission.locationAlways]);
    }
  }

  Future<PermissionStatus> _ensureAll(List<Permission> perms) async {
    final results = await perms.request();
    // If any is permanently denied/restricted, return that status for the caller to route to settings.
    if (results.values.any((s) => s.isPermanentlyDenied || s.isRestricted)) {
      return results.values.firstWhere((s) => s.isPermanentlyDenied || s.isRestricted);
    }
    // Limited (iOS Photos) counts as partial grant; caller can check and provide an "add more" flow.
    if (results.values.every((s) => s.isGranted || s.isLimited)) return PermissionStatus.granted;
    return PermissionStatus.denied;
  }
}
UX copy that works
- Lead with benefit: “Scan receipts instantly with your camera”.
- Be specific: “We need background location to continue turn‑by‑turn directions when your screen is off.”
- Offer choice: primary button to enable, secondary to continue without.
- Avoid dark patterns (e.g., disabling the app until acceptance).
Special cases and edge behaviors
- Location: Prefer When‑In‑Use; request Always only if your core use case needs it (e.g., navigation, safety). On Android 10+, Always requires a separate step in Settings; design for a two‑step flow.
- Photos (iOS): If status is limited, guide users to “Select more photos” via a platform channel or a plugin that presents the limited library picker.
- Notifications: Ask after a moment of demonstrated value (e.g., after the first successful action), not on first launch. On Android 13+, treat it as a runtime permission, and provide an in‑app toggle.
- Bluetooth and Local Network: Be explicit that discovery pairs with user‑chosen accessories; avoid scanning in the background without clear value.
- Media on Android 13+: Request only the media type you truly need (images, video, or audio), not all three.
Fallbacks that keep users moving
- Camera denied: allow gallery upload or a text‑only flow.
- Location denied: let users search or set a manual location.
- Notifications denied: provide in‑app inbox and badges.
- Bluetooth denied: manual device entry or a QR code pairing alternative.
Testing your permission flows
Automate what you can and document manual scenarios.
Android (ADB)
# Revoke and grant examples
adb shell pm revoke com.example.app android.permission.CAMERA
adb shell pm grant  com.example.app android.permission.CAMERA

# Reset auto‑granted permissions to simulate fresh install
adb shell pm reset-permissions
Manual: test “Don’t ask again” and background location upgrade flows on real devices across API levels.
iOS (Simulator)
# Reset all permissions for the booted simulator
yes | xcrun simctl privacy booted reset all
# Grant/revoke targeted permissions (as supported by your Xcode version)
xcrun simctl privacy booted grant photos com.example.app
xcrun simctl privacy booted revoke photos com.example.app
Manual: verify Info.plist strings, limited Photos flows, and “Precise Location” off.
Observability and privacy
- Log only state transitions (e.g., “location_denied”) and the screen where it occurred; never log raw content, coordinates, or microphone input.
- Track conversion to permission grant to optimize the timing and copy, not to coerce.
- Respect user opt‑out in analytics.
Common pitfalls
- Missing or generic Info.plist usage descriptions causing rejections.
- Requesting everything on first launch.
- Not handling permanently denied/restricted states and failing to deep‑link to Settings.
- Assuming background location is granted immediately on Android 10+.
- Treating iOS Photos “limited” as “denied” and blocking the user.
- Forgetting Android 13 runtime notifications and split media permissions.
A practical checklist
- Define the permissions per feature and justify each.
- Add only necessary platform declarations (Manifest/Info.plist) with specific user‑facing text.
- Implement a PermissionService and UI gates with fallbacks.
- Show rationale before re‑prompts; never nag loops.
- Handle granted, denied, permanently denied, restricted, limited.
- Provide openAppSettings() paths and explain what to toggle.
- Test on multiple OS versions and device types; script resets.
- Review copy regularly and keep it honest and value‑focused.
Conclusion
Permission handling is as much UX as it is API calls. By asking at the right moment, explaining the why, handling every state, and testing thoroughly, you’ll ship a privacy‑first Flutter app that earns user trust—and still unlocks the capabilities you need to shine.
Related Posts
Flutter Video Streaming Player Tutorial: From video_player to Chewie (and Beyond)
Build a Flutter video streaming player with HLS/DASH using video_player and Chewie. Fullscreen, buffering, subtitles, PiP, and production tips.

Flutter Push Notifications with Firebase Cloud Messaging (FCM): A Complete Setup Guide
Step-by-step guide to set up FCM push notifications in Flutter for Android and iOS, with code, permissions, background handling, and testing tips.

Flutter Plugin Development with Native Code: Channels, Pigeon, and FFI
A practical, end-to-end guide to building robust Flutter plugins with native code, Pigeon, FFI, testing, and multi-platform best practices.