Flutter + Rive: A Complete Guide to Interactive Animations
A practical guide to integrating Rive animations in Flutter: setup, state machines, inputs, performance, testing, and fixes.
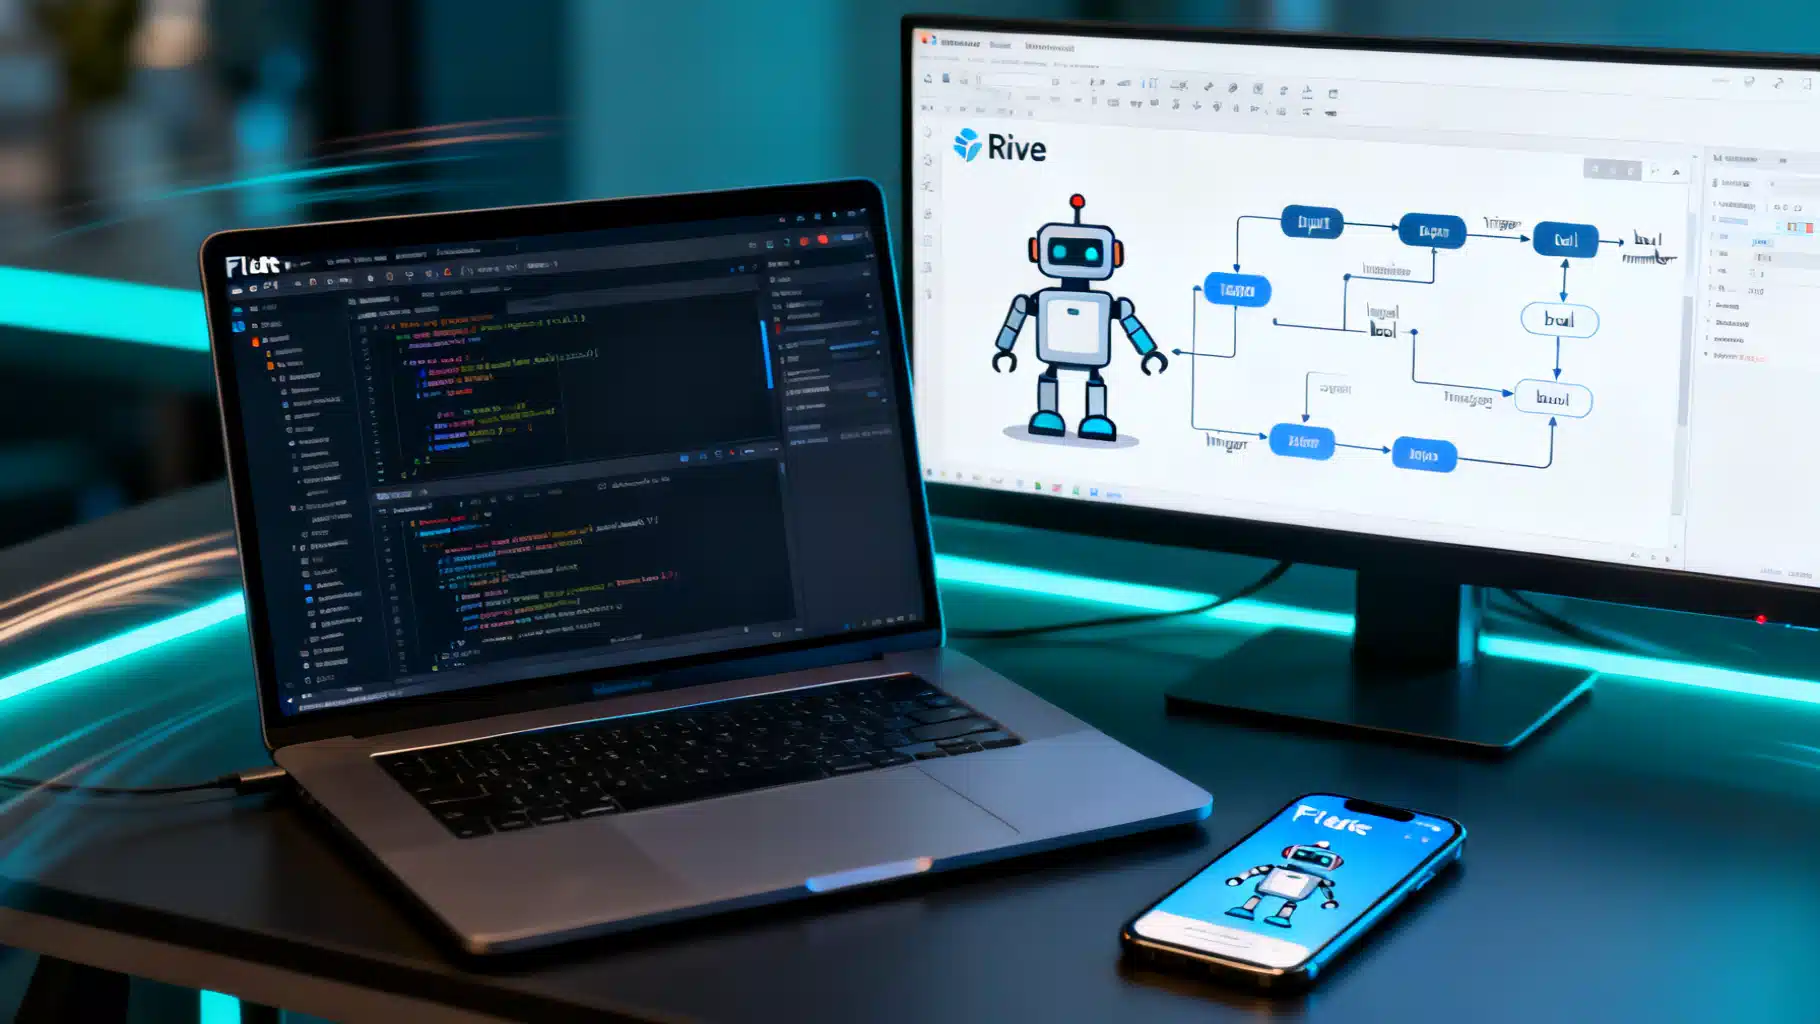
Image used for representation purposes only.
Overview
Rive brings interactive, resolution‑independent animations to Flutter with a lightweight runtime, built‑in state machines, and a workflow that keeps designers and developers in sync. This guide walks you through setup, common patterns, state machine inputs, performance tuning, testing, and troubleshooting so you can ship smooth, interactive motion on iOS, Android, desktop, and web.
What you’ll build
- Play timeline animations from a .riv file.
- Drive state machines with taps, drags, and app state.
- Structure your code so animations stay maintainable.
- Optimize for 60/120 FPS across platforms.
Prerequisites
- Flutter installed and a working project.
- A Rive file (.riv) exported from the Rive editor that includes either timeline animations or a State Machine.
1) Add dependencies and assets
Add the Rive runtime and your animation assets.
# pubspec.yaml
dependencies:
  flutter:
    sdk: flutter
  rive: ^x.y.z  # use a current compatible version

flutter:
  assets:
    - assets/animations/robot.riv
Directory structure example:
- assets/animations/robot.riv
Run:
flutter pub get
2) Quick start: play a timeline animation
If your file has a named timeline animation (e.g., “Idle”), you can play it directly with the high‑level widget.
import 'package:flutter/material.dart';
import 'package:rive/rive.dart';

class SimpleRiveDemo extends StatelessWidget {
  const SimpleRiveDemo({super.key});

  @override
  Widget build(BuildContext context) {
    return const Scaffold(
      body: Center(
        child: RiveAnimation.asset(
          'assets/animations/robot.riv',
          animations: ['Idle'],
          fit: BoxFit.contain,
        ),
      ),
    );
  }
}
Notes:
- animations accepts one or more timeline names.
- Use fit to control layout inside its box.
3) State machines: interactive animations
State machines let you switch animations and blend poses based on inputs (triggers, booleans, numbers). In the Rive editor, you’ll name inputs like fire, hover, progress.
Controller pattern
Use onInit to obtain the Artboard and attach a StateMachineController.
import 'package:flutter/material.dart';
import 'package:rive/rive.dart';

class StateMachineDemo extends StatefulWidget {
  const StateMachineDemo({super.key});

  @override
  State<StateMachineDemo> createState() => _StateMachineDemoState();
}

class _StateMachineDemoState extends State<StateMachineDemo> {
  StateMachineController? _controller;
  SMITrigger? _fire;      // one-shot pulse
  SMIBool? _hover;        // on/off state
  SMINumber? _progress;   // continuous value

  void _onInit(Artboard artboard) {
    final controller = StateMachineController.fromArtboard(
      artboard,
      'RobotMachine', // name of your State Machine in Rive
    );
    if (controller == null) return;

    artboard.addController(controller);
    _controller = controller;

    _fire = controller.findInput<bool>('fire') as SMITrigger?;
    _hover = controller.findInput<bool>('hover') as SMIBool?;
    _progress = controller.findInput<double>('progress') as SMINumber?;
  }

  @override
  Widget build(BuildContext context) {
    return Scaffold(
      appBar: AppBar(title: const Text('Rive State Machine')),
      body: Column(
        mainAxisAlignment: MainAxisAlignment.center,
        children: [
          Expanded(
            child: GestureDetector(
              onTap: () => _fire?.fire(),
              onLongPressStart: (_) => _hover?.value = true,
              onLongPressEnd: (_) => _hover?.value = false,
              child: RiveAnimation.asset(
                'assets/animations/robot.riv',
                onInit: _onInit,
                stateMachines: const ['RobotMachine'],
                fit: BoxFit.contain,
              ),
            ),
          ),
          Padding(
            padding: const EdgeInsets.all(16),
            child: Row(
              children: [
                const Text('Progress'),
                Expanded(
                  child: Slider(
                    value: _progress?.value.toDouble() ?? 0,
                    min: 0,
                    max: 100,
                    onChanged: (v) => setState(() => _progress?.value = v),
                  ),
                ),
                ElevatedButton(
                  onPressed: () => _fire?.fire(),
                  child: const Text('Fire'),
                ),
              ],
            ),
          ),
        ],
      ),
    );
  }
}
Key points:
- State machine and input names must match exactly (case‑sensitive).
- Triggers fire once; booleans toggle; numbers accept doubles.
- You can add multiple controllers to an artboard if needed, but keep it simple unless you have a strong reason.
4) Common integration patterns
a) Encapsulate animation logic
Keep your UI free of animation plumbing by creating a small wrapper widget or controller class.
class RobotController {
  StateMachineController? controller;
  SMITrigger? fire;
  SMIBool? hover;
  SMINumber? progress;

  void init(Artboard artboard) {
    controller = StateMachineController.fromArtboard(artboard, 'RobotMachine');
    if (controller == null) return;
    artboard.addController(controller!);
    fire = controller!.findInput<bool>('fire') as SMITrigger?;
    hover = controller!.findInput<bool>('hover') as SMIBool?;
    progress = controller!.findInput<double>('progress') as SMINumber?;
  }
}
Use this in multiple screens without repeating setup.
b) Drive with app state
Map your domain state to inputs: loading -> play spinner; success -> fire celebratory trigger.
void onCheckoutState(CheckoutState s) {
  switch (s) {
    case CheckoutState.loading:
      _progress?.value = 20;
      break;
    case CheckoutState.success:
      _progress?.value = 100;
      _fire?.fire();
      break;
    case CheckoutState.error:
      _hover?.value = false; // e.g., return to idle
      break;
  }
}
c) Gesture‑driven micro‑interactions
Wrap your RiveAnimation with GestureDetector/Listener to feed inputs with pan deltas, hover states, etc. For hover on desktop/web, use MouseRegion and set SMIBool accordingly.
5) Layout and responsiveness
- Provide constraints: wrap in SizedBox or AspectRatio to avoid unbounded layout warnings.
- Consider different artboards for compact vs expanded breakpoints.
- For pixel‑perfect control, keep your Rive artboard size consistent with intended display size; use fit + alignment to position.
6) Performance playbook
Rive is efficient, but real‑world UIs need care:
- Prefer state machines over manually starting/stopping multiple timelines; let the graph handle blends and transitions.
- Avoid unnecessarily rebuilding the Rive widget. Lift it up the tree and drive inputs via controllers.
- Pause when offscreen: remove controllers or set an input that returns to an idle, low‑cost state.
@override
void didChangeAppLifecycleState(AppLifecycleState state) {
  final active = state == AppLifecycleState.resumed;
  _hover?.value = active; // or remove/add controller
}
- Use const where possible around RiveAnimation to reduce rebuild cost.
- Keep vector complexity reasonable: simplify paths, reduce nodes, and avoid overly large blurred shadows.
- Sprite/bitmap usage: compress images and limit large textures.
- Lists/grids: Consider showing a static frame (export a PNG) until the item is interacted with; then mount the live Rive widget.
- Flutter web: the CanvasKit renderer generally yields smoother vector performance. When building for web, test with
--web-renderer canvaskit.
7) Asset delivery and versioning
- Bundle .riv files under assets; keep file sizes small for faster cold starts.
- If designers export frequently, adopt semantic versioning in filenames (robot_v3.riv) to avoid caching confusion.
- Hot reload doesn’t always pick new asset bytes; use a hot restart or bump an asset version query (e.g., network‑loaded .riv with
?v=3).
8) Debugging and tooling tips
- Use the Rive editor to preview state machine transitions and confirm input names.
- Log available artboards, animations, and state machines at runtime to catch naming issues early.
void inspectFile(ByteData data) {
  final file = RiveFile.import(data);
  for (final artboard in file.artboards) {
    debugPrint('Artboard: ${artboard.name}');
    for (final a in artboard.animations) {
      debugPrint('  Anim: ${a.name}');
    }
  }
}
9) Testing and accessibility
Widget and golden tests
- Pump your widget with RiveAnimation.asset and use golden tests for visual regressions.
- For logic, you can instantiate the controller and drive SMI inputs programmatically without user gestures.
// Pseudocode for a simple test
await tester.pumpWidget(const MyAnimatedButton());
// Interact
await tester.tap(find.byType(MyAnimatedButton));
await tester.pump(const Duration(milliseconds: 100));
// Then: match a golden or assert that a state flag changed
Accessibility
- Rive widgets are visual; provide semantics via wrappers:
Semantics(
  button: true,
  label: 'Submit',
  child: RiveAnimation.asset('assets/animations/submit_button.riv'),
)
- Ensure keyboard and screen reader users can activate the same behavior your animation affords.
10) Troubleshooting
- “State Machine not found”: The stateMachines list or name in
StateMachineController.fromArtboarddoesn’t match. Verify spelling and that the machine is exported. - “Input null”: The input name differs from the editor. Print all inputs or inspect in the editor.
- “Animation won’t play”: Ensure a controller is attached to the artboard and that the state machine’s entry state leads somewhere on the conditions you set.
- “Rive file uses a newer runtime”: Update the
rivepackage or re‑export the .riv using a compatible runtime version. - Jank on first frame: Precache by instantiating the widget/file before showing the screen; keep initial artboard simple.
11) Production checklist
- Names: Finalize state machine and input names; document them for developers.
- Idle states: Provide a cheap idle so screens don’t burn battery while static.
- Size/complexity: Optimize paths and images; remove unused animations and artboards.
- Web renderer: Validate performance in both HTML and CanvasKit; pick the best for your app.
- Fallbacks: If animation is integral to navigation, provide non‑animated fallbacks and semantics for accessibility.
12) Putting it together: interactive button example
class RiveActionButton extends StatefulWidget {
  const RiveActionButton({super.key, required this.onPressed});
  final VoidCallback onPressed;

  @override
  State<RiveActionButton> createState() => _RiveActionButtonState();
}

class _RiveActionButtonState extends State<RiveActionButton> {
  SMITrigger? _click;
  SMIBool? _hover;

  void _onInit(Artboard artboard) {
    final controller = StateMachineController.fromArtboard(artboard, 'Button');
    if (controller == null) return;
    artboard.addController(controller);
    _click = controller.findInput<bool>('click') as SMITrigger?;
    _hover = controller.findInput<bool>('hover') as SMIBool?;
  }

  @override
  Widget build(BuildContext context) {
    return MouseRegion(
      onEnter: (_) => _hover?.value = true,
      onExit: (_) => _hover?.value = false,
      child: GestureDetector(
        onTap: () {
          _click?.fire();
          widget.onPressed();
        },
        behavior: HitTestBehavior.opaque,
        child: Semantics(
          button: true,
          label: 'Primary action',
          child: SizedBox(
            width: 72,
            height: 72,
            child: RiveAnimation.asset(
              'assets/animations/button.riv',
              onInit: _onInit,
              stateMachines: const ['Button'],
              fit: BoxFit.contain,
            ),
          ),
        ),
      ),
    );
  }
}
Conclusion
Rive and Flutter make it practical to ship rich, interactive motion without bloating your app or rewriting animations for each platform. Keep inputs and state machines well‑named, encapsulate your controller logic, and test performance early—especially for web and long lists. With those patterns, you’ll deliver expressive, maintainable animations that elevate your product’s UX.
Related Posts

Flutter Isolates for Background Processing: Patterns, Pitfalls, and Production Examples
Build smooth Flutter apps with isolates: when to use them, compute vs spawn, TransferableTypedData, pools, pitfalls, and production patterns.
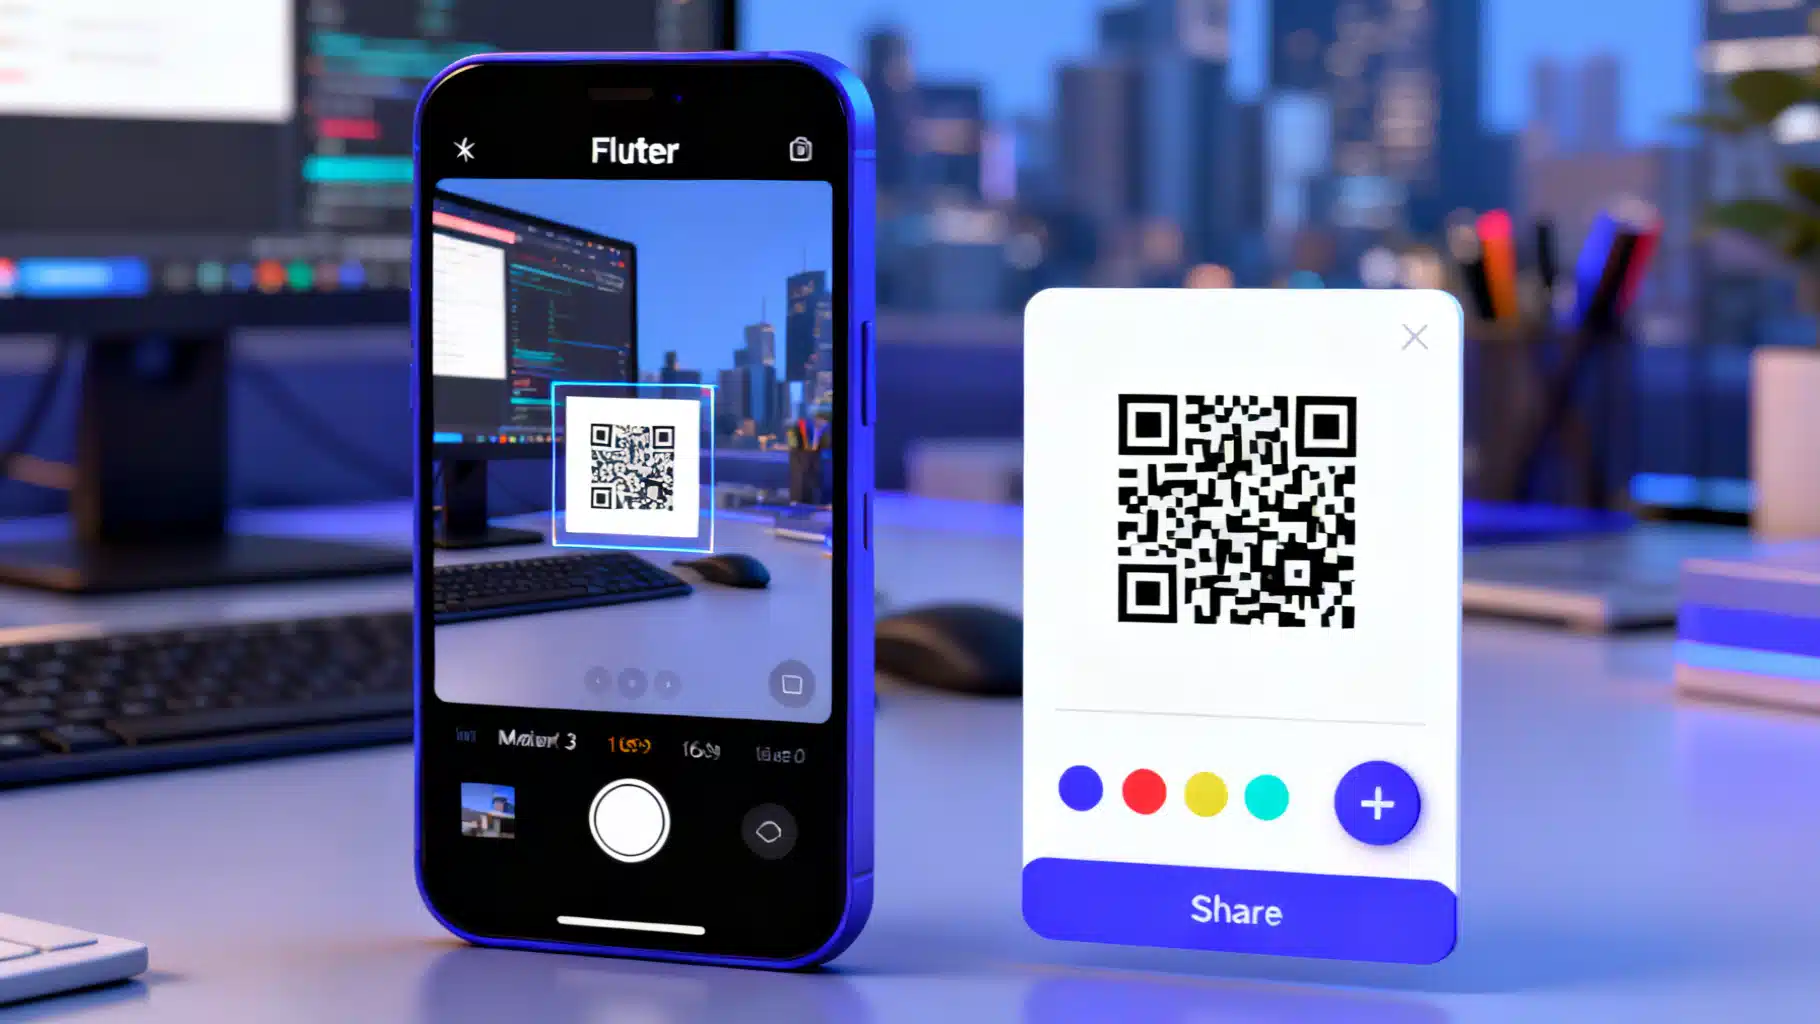
Build a Flutter QR Code Scanner and Generator in Flutter
Build a Flutter app that scans and generates QR codes with mobile_scanner and qr_flutter. Includes setup, code, exporting, UX, and tips.

Flutter Custom Dialogs and Bottom Sheets: A Practical Guide
A practical guide to building custom dialogs and bottom sheets in Flutter, with patterns, animations, keyboard-safe layouts, theming, and testing tips.