AI Object Detection API on Mobile: A Practical, End-to-End Tutorial
Build an Android and iOS app that streams camera frames to an AI object detection API, draws real-time boxes, and ships with production-ready patterns.
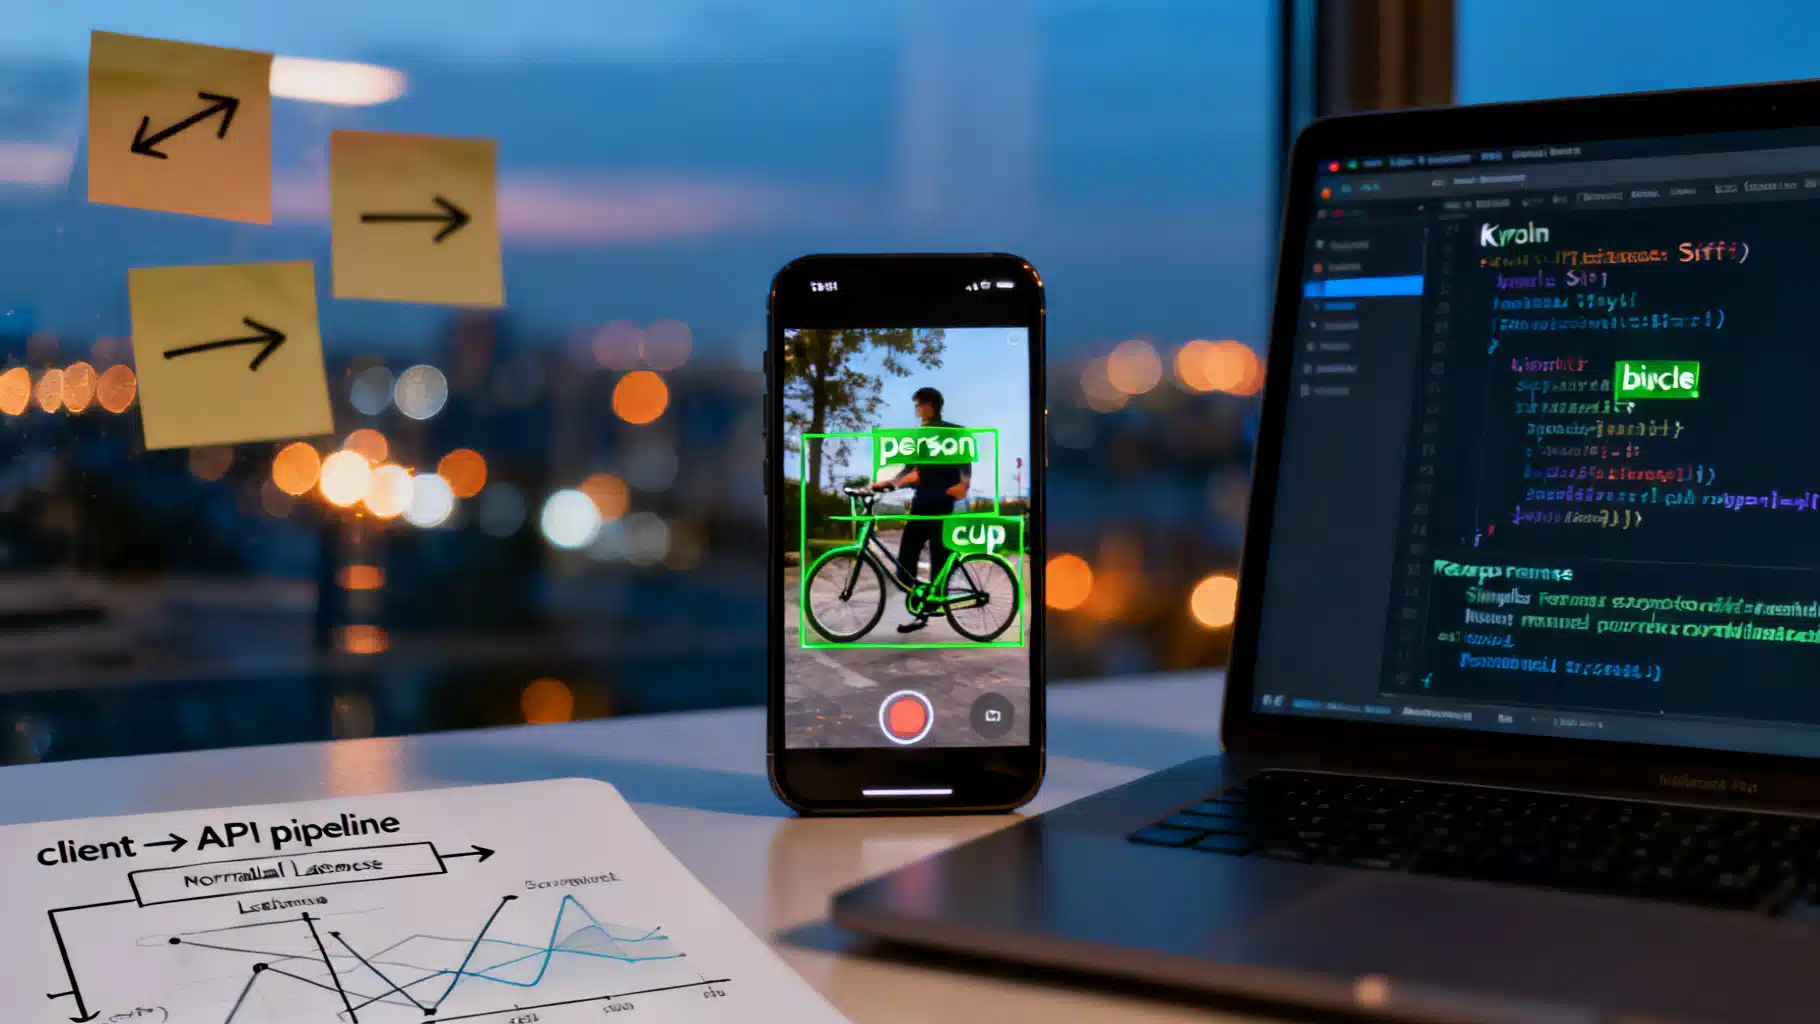
Image used for representation purposes only.
Overview
Object detection brings your camera feed to life—highlighting people, products, and scenes with labeled boxes. In this hands‑on tutorial, you’ll build a mobile app that streams frames to a hosted AI object detection API, renders bounding boxes in real time, and ships with production‑grade patterns for performance, privacy, and reliability.
We’ll cover:
- How detection APIs work (request/response contracts)
- Android (Kotlin + CameraX + OkHttp) implementation
- iOS (Swift + AVFoundation + URLSession) implementation
- Drawing overlays, throttling frames, and reducing latency
- Testing, evaluation, and deployment tips
All code targets a generic HTTPS API so you can adapt to any provider.
Prerequisites
- API key for an object detection service (e.g., your team’s inference endpoint).
- Basic Android Studio or Xcode setup.
- A modern device (Android 8+ or iOS 14+) with a rear camera.
What the API Looks Like
We’ll assume a simple REST endpoint:
- Method: POST /v1/detect
- Auth: Authorization: Bearer YOUR_API_KEY
- Body: multipart/form-data with image (JPEG/PNG) or base64 JSON
- Response: JSON with normalized boxes in [0,1] coordinates
Example request and response:
curl -X POST https://api.example.com/v1/detect \
  -H "Authorization: Bearer $API_KEY" \
  -F "image=@frame.jpg" \
  -F "threshold=0.35"
{
  "model":"yolovX-640",
  "time_ms": 42,
  "objects":[
    {"label":"person","confidence":0.94,"box":{"x":0.12,"y":0.18,"w":0.33,"h":0.64}},
    {"label":"bicycle","confidence":0.87,"box":{"x":0.51,"y":0.35,"w":0.42,"h":0.36}}
  ]
}
Notes:
- x,y are top‑left; w,h are width/height. All normalized to the input image size.
- Providers may return absolute pixels; convert as needed.
Architecture at a Glance
- Camera pipeline delivers frames (NV21/YUV on Android, CMSampleBuffer on iOS).
- We downscale and JPEG‑encode a frame periodically (e.g., every 200–300 ms).
- Send frame to API with threshold & optional categories filter.
- Parse JSON, map normalized boxes to the displayed preview size.
- Draw overlays on a transparent view above the preview.
- Debounce requests, queue at most one in‑flight call to avoid overload.
Security & Privacy Essentials
- Never hardcode API keys in source control. Use secure keystores (Android) or Keychain (iOS) and remote config.
- Prefer HTTPS/2 or HTTP/3; pin TLS if policy requires.
- Minimize PII in frames. Consider on‑device blurring of faces/license plates if policy mandates.
- Offer an opt‑in toggle and explain data use in your privacy notice.
Android Implementation (Kotlin + CameraX)
1) Dependencies
Add CameraX and OkHttp (or Retrofit) in app/build.gradle:
implementation "androidx.camera:camera-camera2:1.3.3"
implementation "androidx.camera:camera-lifecycle:1.3.3"
implementation "androidx.camera:camera-view:1.3.3"
implementation("com.squareup.okhttp3:okhttp:4.12.0")
2) Permissions
Request CAMERA at runtime (Android 6.0+). In AndroidManifest.xml:
<uses-permission android:name="android.permission.CAMERA" />
3) Layout
<!-- activity_main.xml -->
<androidx.camera.view.PreviewView
    android:id="@+id/previewView"
    android:layout_width="match_parent"
    android:layout_height="match_parent" />

<com.example.vision.OverlayView
    android:id="@+id/overlay"
    android:layout_width="match_parent"
    android:layout_height="match_parent" />
4) Start CameraX
class MainActivity : AppCompatActivity() {
  private lateinit var previewView: PreviewView
  private lateinit var overlay: OverlayView
  private var lastSentAt = 0L
  private var sending = false

  override fun onCreate(savedInstanceState: Bundle?) {
    super.onCreate(savedInstanceState)
    setContentView(R.layout.activity_main)
    previewView = findViewById(R.id.previewView)
    overlay = findViewById(R.id.overlay)

    if (ContextCompat.checkSelfPermission(this, Manifest.permission.CAMERA) == PackageManager.PERMISSION_GRANTED) {
      startCamera()
    } else {
      requestPermissions(arrayOf(Manifest.permission.CAMERA), 100)
    }
  }

  private fun startCamera() {
    val cameraProviderFuture = ProcessCameraProvider.getInstance(this)
    cameraProviderFuture.addListener({
      val cameraProvider = cameraProviderFuture.get()
      val preview = Preview.Builder().build().also {
        it.setSurfaceProvider(previewView.surfaceProvider)
      }
      val analyzer = ImageAnalysis.Builder()
        .setBackpressureStrategy(ImageAnalysis.STRATEGY_KEEP_ONLY_LATEST)
        .build()

      analyzer.setAnalyzer(Executors.newSingleThreadExecutor()) { imageProxy ->
        val now = System.currentTimeMillis()
        if (!sending && now - lastSentAt > 250) {
          sending = true
          lastSentAt = now
          processFrame(imageProxy)
        } else {
          imageProxy.close()
        }
      }

      cameraProvider.unbindAll()
      cameraProvider.bindToLifecycle(this, CameraSelector.DEFAULT_BACK_CAMERA, preview, analyzer)
    }, ContextCompat.getMainExecutor(this))
  }
}
5) Frame Encoding and Network Call
private val client = OkHttpClient.Builder()
  .callTimeout(Duration.ofSeconds(10))
  .build()

private fun processFrame(imageProxy: ImageProxy) {
  val jpgBytes = YuvToJpeg.encode(imageProxy, maxWidth = 640) // custom util
  val reqBody = MultipartBody.Builder().setType(MultipartBody.FORM)
    .addFormDataPart("image", "frame.jpg",
      jpgBytes.toRequestBody("image/jpeg".toMediaType()))
    .addFormDataPart("threshold", "0.35")
    .build()

  val request = Request.Builder()
    .url("https://api.example.com/v1/detect")
    .header("Authorization", "Bearer ${secureApiKey()}")
    .post(reqBody)
    .build()

  client.newCall(request).enqueue(object: Callback {
    override fun onFailure(call: Call, e: IOException) {
      sending = false
      imageProxy.close()
    }
    override fun onResponse(call: Call, response: Response) {
      response.use {
        val body = it.body?.string() ?: "{}"
        val result = parseDetections(body) // returns list of boxes
        runOnUiThread {
          overlay.updateDetections(result)
        }
        sending = false
        imageProxy.close()
      }
    }
  })
}
A simple YUV → JPEG helper (outline only):
object YuvToJpeg {
  fun encode(image: ImageProxy, maxWidth: Int): ByteArray {
    // Convert to Bitmap via YUV->RGB, scale maintaining aspect, then JPEG compress (80%).
    // Libraries like "androidx.camera:camera-core" + RenderScript (legacy) or ScriptIntrinsicYuvToRGB alt.
    // For brevity, implementation omitted.
    return byteArrayOf()
  }
}
6) Drawing the Overlay
class OverlayView(context: Context, attrs: AttributeSet): View(context, attrs) {
  private val boxes = mutableListOf<Detection>()
  private val paint = Paint().apply {
    color = Color.GREEN; style = Paint.Style.STROKE; strokeWidth = 4f; isAntiAlias = true
  }
  private val textPaint = Paint().apply {
    color = Color.WHITE; textSize = 36f; isAntiAlias = true
  }

  fun updateDetections(newBoxes: List<Detection>) {
    boxes.clear(); boxes.addAll(newBoxes); invalidate()
  }

  override fun onDraw(canvas: Canvas) {
    super.onDraw(canvas)
    for (d in boxes) {
      val left = d.x * width
      val top = d.y * height
      val right = left + d.w * width
      val bottom = top + d.h * height
      canvas.drawRect(left, top, right, bottom, paint)
      canvas.drawText("${d.label} ${(d.confidence*100).toInt()}%", left, max(0f, top - 8), textPaint)
    }
  }
}

data class Detection(val label:String, val confidence:Float, val x:Float, val y:Float, val w:Float, val h:Float)
Tip: Account for previewView’s scale type (fill/fit). If you letterbox the preview, compute offsets so boxes align.
iOS Implementation (Swift + AVFoundation)
1) Permissions & Setup
Add NSCameraUsageDescription to Info.plist. Create a capture session with AVCaptureVideoDataOutput.
final class CameraViewController: UIViewController, AVCaptureVideoDataOutputSampleBufferDelegate {
  private let session = AVCaptureSession()
  private let queue = DispatchQueue(label: "camera.queue")
  private var lastSent = Date(timeIntervalSince1970: 0)
  private var sending = false
  private let overlay = OverlayView()

  override func viewDidLoad() {
    super.viewDidLoad()
    setupCamera()
    view.addSubview(overlay)
    overlay.frame = view.bounds
    overlay.autoresizingMask = [.flexibleWidth, .flexibleHeight]
  }

  private func setupCamera() {
    session.beginConfiguration()
    session.sessionPreset = .high
    guard
      let device = AVCaptureDevice.default(.builtInWideAngleCamera, for: .video, position: .back),
      let input = try? AVCaptureDeviceInput(device: device)
    else { return }
    session.addInput(input)

    let output = AVCaptureVideoDataOutput()
    output.setSampleBufferDelegate(self, queue: queue)
    output.alwaysDiscardsLateVideoFrames = true
    session.addOutput(output)

    let previewLayer = AVCaptureVideoPreviewLayer(session: session)
    previewLayer.videoGravity = .resizeAspectFill
    previewLayer.frame = view.bounds
    view.layer.insertSublayer(previewLayer, at: 0)

    session.commitConfiguration()
    session.startRunning()
  }

  func captureOutput(_ output: AVCaptureOutput, didOutput sampleBuffer: CMSampleBuffer, from connection: AVCaptureConnection) {
    guard !sending, Date().timeIntervalSince(lastSent) > 0.25 else { return }
    sending = true; lastSent = Date()
    guard let jpegData = JPEGEncoder.encode(sampleBuffer: sampleBuffer, maxWidth: 640) else { sending = false; return }
    Task { await callAPI(jpegData: jpegData) }
  }

  private func callAPI(jpegData: Data) async {
    var req = URLRequest(url: URL(string: "https://api.example.com/v1/detect")!)
    req.httpMethod = "POST"
    req.setValue("Bearer \(secureApiKey())", forHTTPHeaderField: "Authorization")

    let boundary = UUID().uuidString
    req.setValue("multipart/form-data; boundary=\(boundary)", forHTTPHeaderField: "Content-Type")

    var body = Data()
    body.append("--\(boundary)\r\n".data(using: .utf8)!)
    body.append("Content-Disposition: form-data; name=\"image\"; filename=\"frame.jpg\"\r\n".data(using: .utf8)!)
    body.append("Content-Type: image/jpeg\r\n\r\n".data(using: .utf8)!)
    body.append(jpegData)
    body.append("\r\n--\(boundary)\r\n".data(using: .utf8)!)
    body.append("Content-Disposition: form-data; name=\"threshold\"\r\n\r\n0.35\r\n".data(using: .utf8)!)
    body.append("--\(boundary)--\r\n".data(using: .utf8)!)

    req.httpBody = body

    do {
      let (data, _) = try await URLSession.shared.data(for: req)
      let result = try JSONDecoder().decode(Detections.self, from: data)
      await MainActor.run { self.overlay.update(detections: result.objects) }
    } catch {
      // Handle error/log
    }
    sending = false
  }
}

struct Detections: Decodable { let objects: [Obj] }
struct Obj: Decodable { let label: String; let confidence: Double; let box: Box }
struct Box: Decodable { let x: Double; let y: Double; let w: Double; let h: Double }
A simple overlay view:
final class OverlayView: UIView {
  private var objs: [Obj] = []
  func update(detections: [Obj]) { self.objs = detections; setNeedsDisplay() }
  override func draw(_ rect: CGRect) {
    guard let ctx = UIGraphicsGetCurrentContext() else { return }
    ctx.setLineWidth(3); UIColor.systemGreen.setStroke()
    for o in objs {
      let r = CGRect(x: o.box.x * rect.width,
                     y: o.box.y * rect.height,
                     width: o.box.w * rect.width,
                     height: o.box.h * rect.height)
      ctx.stroke(r)
      let text = "\(o.label) \(Int(o.confidence*100))%"
      text.draw(at: CGPoint(x: r.minX, y: max(0, r.minY - 14)), withAttributes:[.font:UIFont.systemFont(ofSize: 12), .foregroundColor: UIColor.white])
    }
  }
}
Note: Align the preview gravity (.resizeAspectFill) with your normalization math; if you crop/letterbox, apply the same transform to boxes.
Cross‑Platform Options (Quick Glance)
- React Native: Use react-native-vision-camera for frames; send blobs via fetch or axios with FormData; draw using SVG overlays.
- Flutter: camera + http packages; draw using CustomPainter on a Stack.
Minimal React Native example for upload:
const form = new FormData();
form.append('image', { uri, name: 'frame.jpg', type: 'image/jpeg' });
form.append('threshold', '0.35');
await fetch('https://api.example.com/v1/detect', {
  method: 'POST',
  headers: { Authorization: `Bearer ${apiKey}` },
  body: form,
});
Performance Playbook
- Downscale frames: 480–640 px on the long side is often enough; preserves speed with minimal accuracy loss.
- Throttle intelligently: Sample 3–5 fps for API calls while preview runs at 30 fps.
- Compress at ~75–85% JPEG quality; measure the latency vs. size curve.
- Reuse HTTP connections: Keep‑alive, HTTP/2, a single OkHttp/URLSession instance.
- Queue control: Allow at most one in‑flight call; drop older frames.
- ROI (Region of Interest): Crop center or last‑known object region to reduce bytes when appropriate.
- Cache labels/colors by class for stable UI; avoid allocating in draw loops.
Reliability & Error Handling
- Timeouts: 8–12 s network timeout; back off with jitter on 429/5xx.
- Model versions: Read the response’s model field; surface in logs for debugs.
- Threshold tuning: Start at 0.35–0.5, then A/B for precision/recall needs.
- Offline mode: Detect connectivity; pause uploads and show UI hint.
- Observability: Log time_ms from responses; chart p50/p95 latency and success rates.
Testing & Evaluation
- Golden images: Keep a folder of labeled test frames and expected boxes; run a local script to diff IoU.
- Lighting and motion: Test low light, backlight, and motion blur.
- Edge cases: Tiny objects, occlusions, crowded scenes.
- Metrics to watch:
- Latency (camera → boxes on screen)
- Detection quality (precision/recall against your ground truth)
- Uptime (error rates and retries)
Production Checklist
- Secure key storage (Android Keystore, iOS Keychain); rotate keys.
- Privacy notice and opt‑in for data upload; provide a clear toggle.
- Rate limits respected; exponential backoff on 429.
- Graceful degradation when API unavailable; UI state synced.
- Analytics on confidence thresholds and user engagement.
- Battery impact audit: throttle when device is hot or on low power mode.
Troubleshooting
- Boxes misaligned: Check preview aspect transform; apply the same scale/crop to response boxes.
- High latency: Downscale more aggressively; ensure HTTP/2; warm up DNS (preconnect) on app launch.
- 415/400 errors: Verify multipart boundaries, field names, and MIME types.
- Dim/blur frames: Increase exposure or enable video stabilization; don’t over‑compress JPEG.
- Flickering labels: Apply temporal smoothing (e.g., EMA) over a small window of frames.
Next Steps
- Add class filters (only detect people/vehicles) for faster inference.
- Implement tap‑to‑track: Persist an ID from the API or run a lightweight on‑device tracker.
- Batch uploads for burst photos; or switch to a streaming endpoint if your provider supports it.
- Ship a debug screen: show last payload size, time_ms, and recent errors.
With these patterns, you’ve got a robust baseline: a responsive camera preview, efficient uploads, accurate overlays, and the operational guardrails needed for real‑world apps. Swap in any compatible endpoint and iterate on thresholds, sampling rates, and UI polish to meet your product goals.
Related Posts
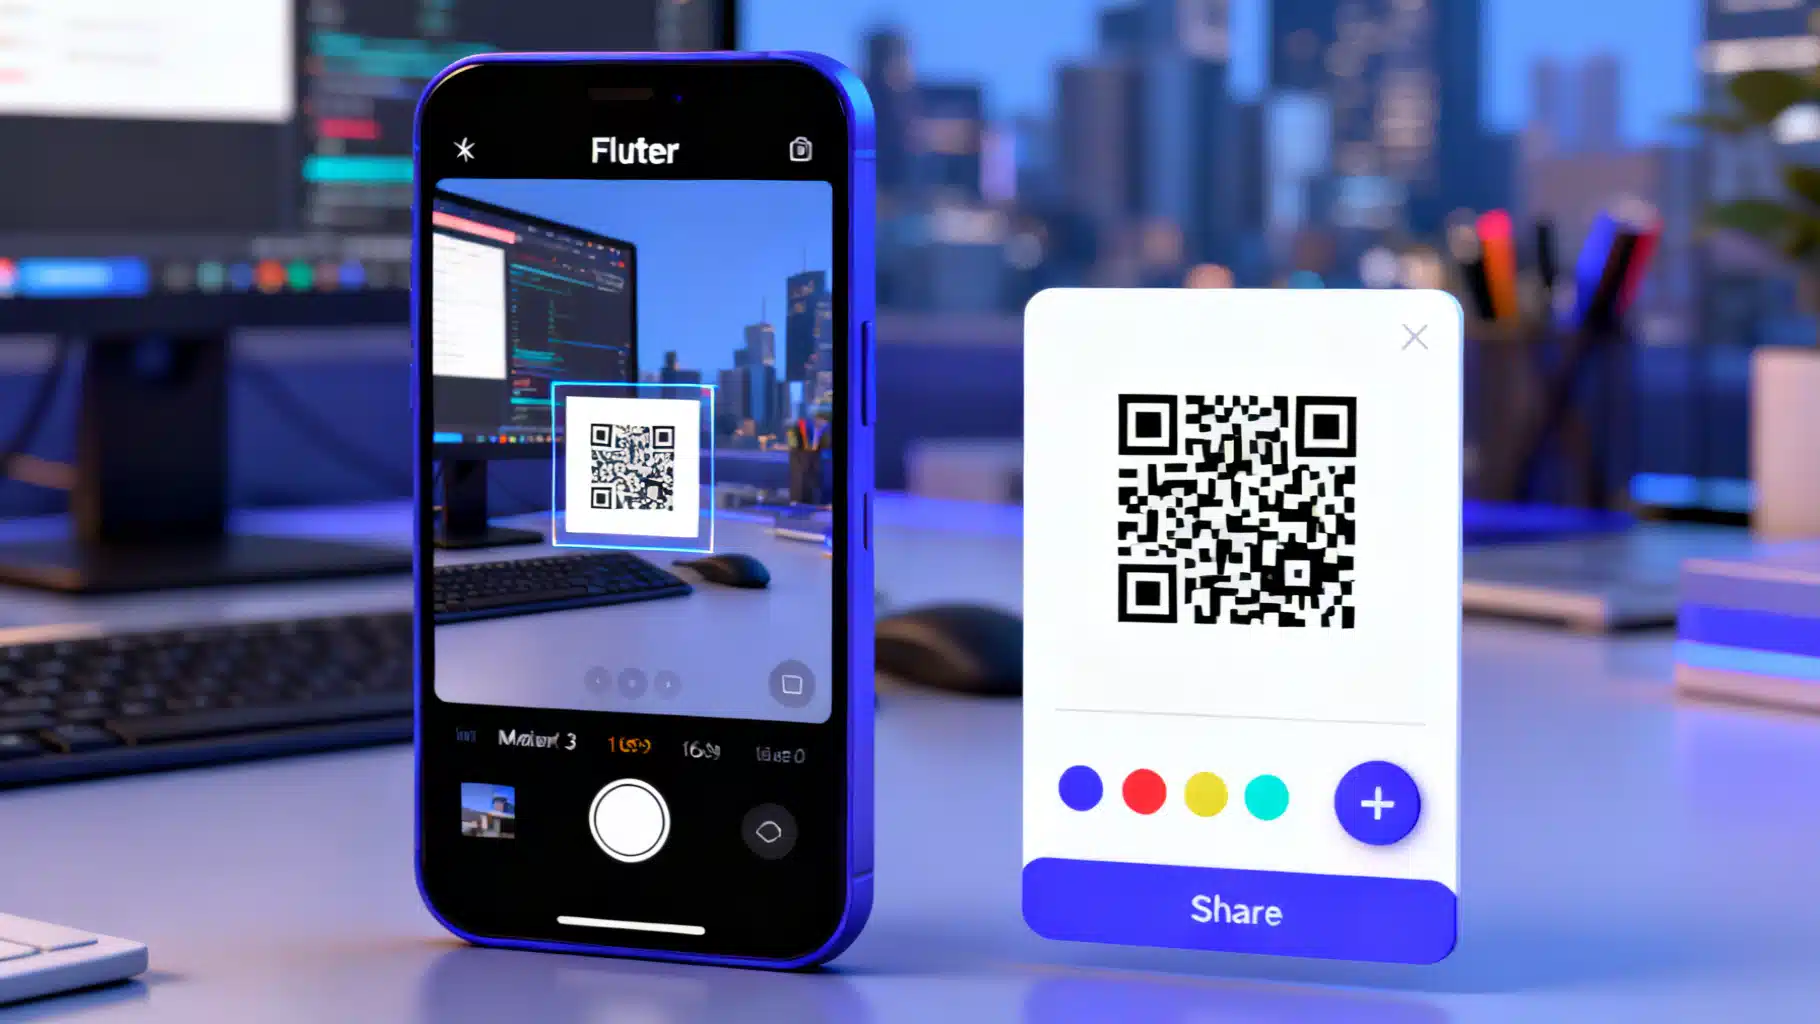
Build a Flutter QR Code Scanner and Generator in Flutter
Build a Flutter app that scans and generates QR codes with mobile_scanner and qr_flutter. Includes setup, code, exporting, UX, and tips.
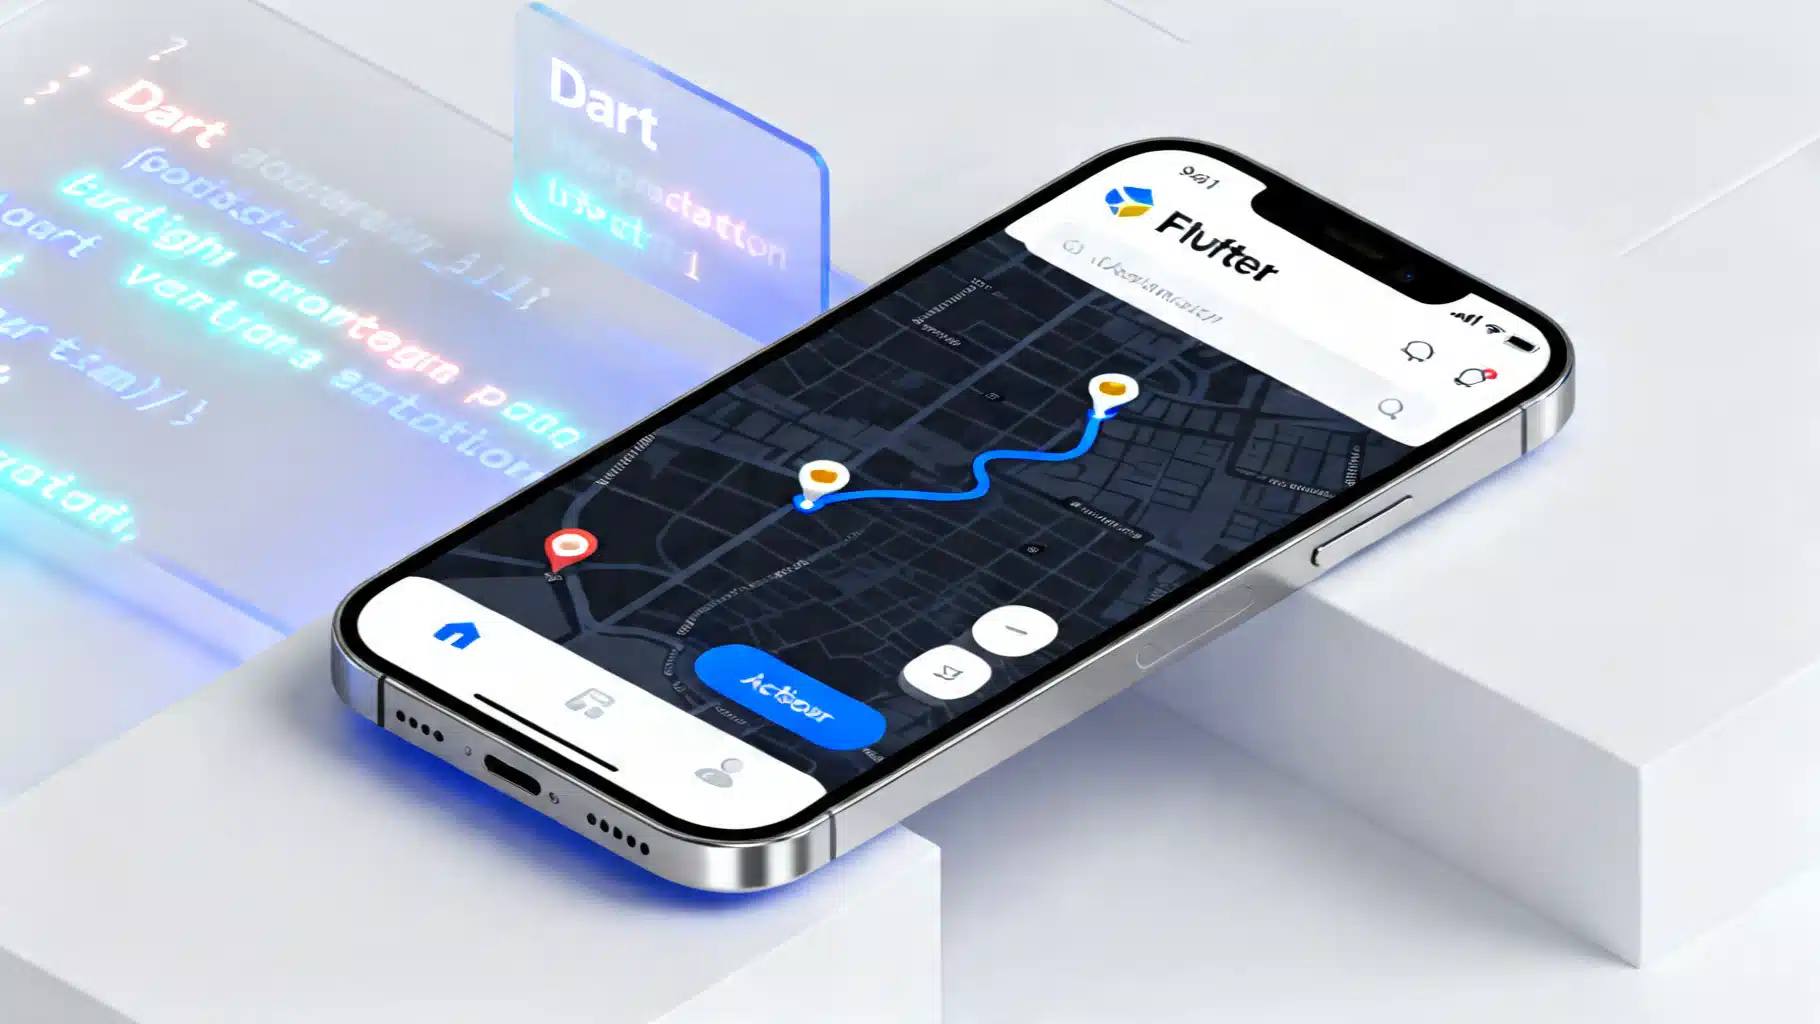
Flutter + Google Maps: A Complete Integration Guide
Integrate Google Maps in Flutter: setup keys, Android/iOS config, markers, directions, clustering, styling, and best practices.

Flutter Push Notifications with Firebase Cloud Messaging (FCM): A Complete Setup Guide
Step-by-step guide to set up FCM push notifications in Flutter for Android and iOS, with code, permissions, background handling, and testing tips.