Flutter + Stripe Payment Integration: PaymentSheet, Webhooks, and a Production Checklist
Step-by-step Flutter + Stripe integration using PaymentSheet, with backend setup, webhooks, wallets, testing, and a production checklist.
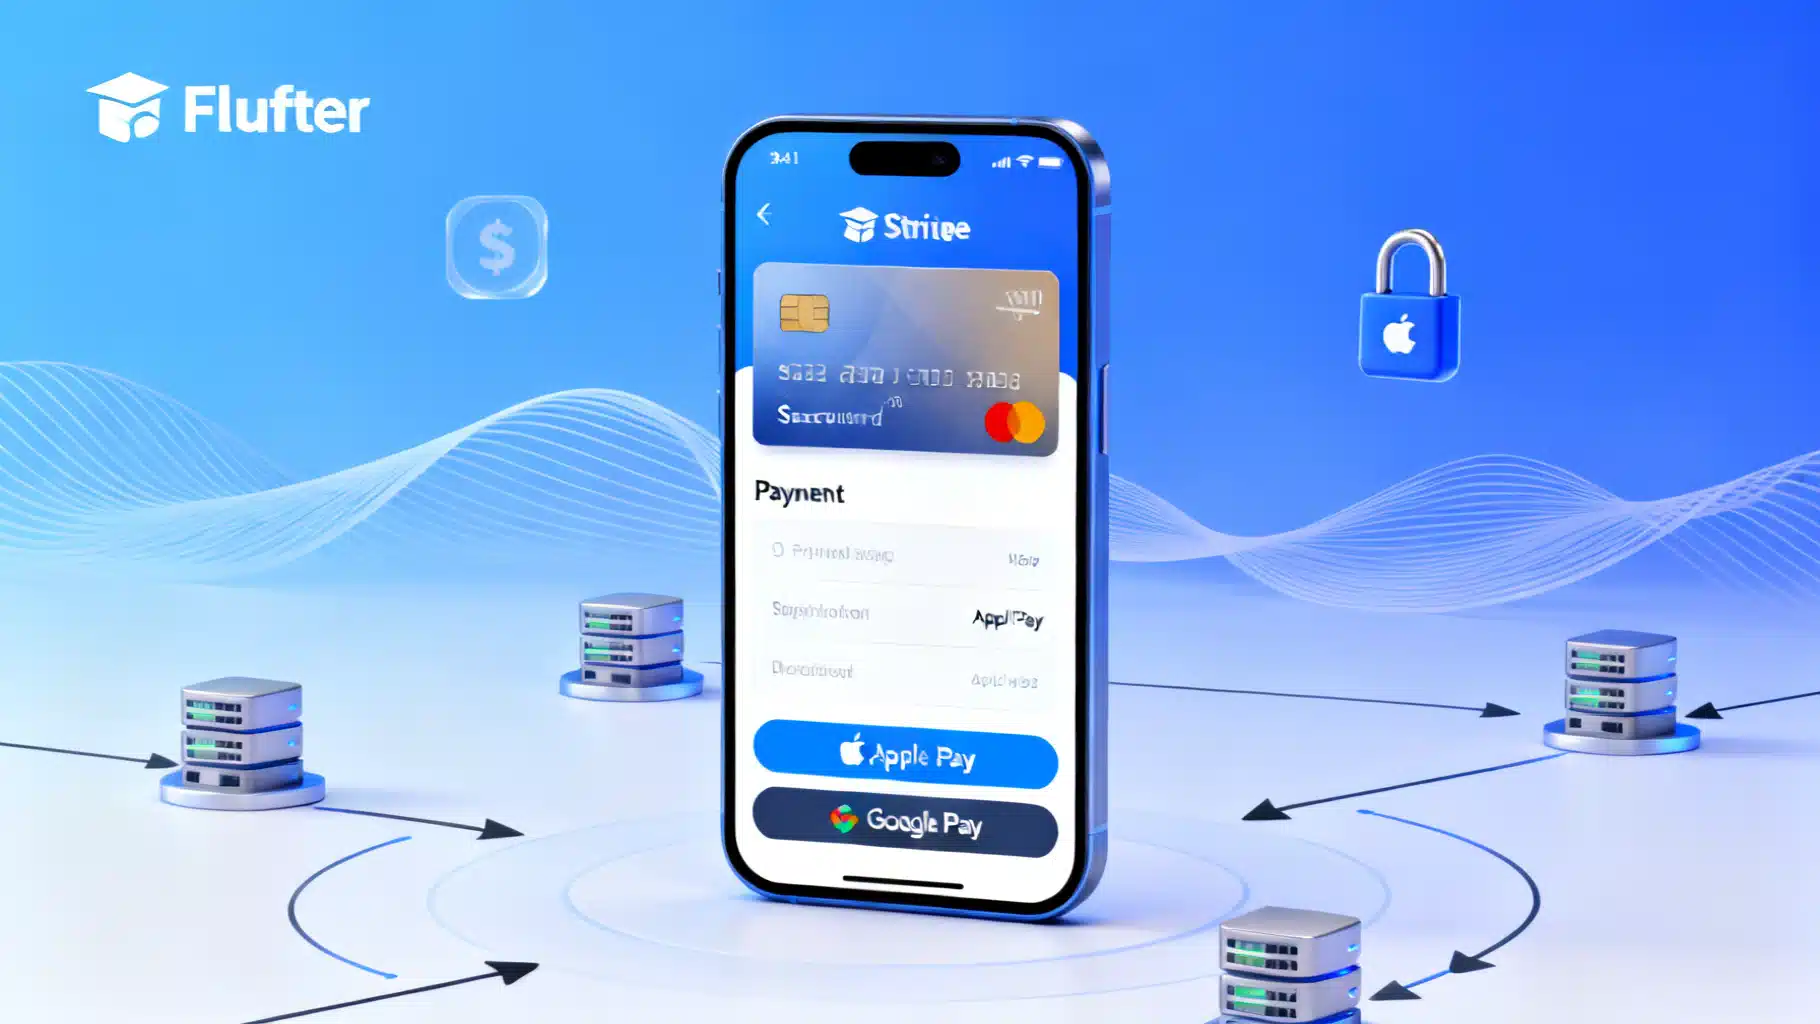
Image used for representation purposes only.
Overview
Stripe provides a modern, SCA-ready payments platform, and Flutter gives you a single codebase for iOS and Android. This guide walks you through a robust, production-oriented integration using PaymentSheet—the recommended native UI—plus the essential backend endpoints, webhooks, Apple Pay and Google Pay, testing, and a production checklist.
What You’ll Build
- A lightweight backend that creates PaymentIntents, returns client secrets, and handles webhooks.
- A Flutter client that initializes Stripe, launches PaymentSheet, and confirms payments.
- Optional support for saving cards, subscriptions, and Apple Pay/Google Pay.
Prerequisites
- Flutter installed and a working app (Android and/or iOS).
- A Stripe account with test mode enabled.
- Basic server environment (Node.js/Express shown; adapt to any backend).
- Publishable key (client) and secret key (server). Never expose your secret key in the Flutter app.
Architecture at a Glance
- Customer starts checkout in the Flutter app.
- App requests your server to create a PaymentIntent (and, optionally, a Customer + ephemeral key).
- Server returns the PaymentIntent client secret (and ephemeral key if using saved payment methods).
- App initializes and presents PaymentSheet. Stripe handles SCA/3DS flows when needed.
- Stripe finalizes the payment; your webhook confirms success and updates your order.
This split ensures PCI scope is minimized; your app never handles raw card numbers.
Choosing an Integration Path
- PaymentSheet (recommended): Fastest way to accept cards, wallets, and local payments in a native UI.
- Custom UI: Maximum control, higher effort and compliance responsibility.
- SetupIntent: Save a card for future use or pre-authorize without charging now.
- Subscriptions: Combine a SetupIntent with a Subscription created on the server.
We’ll focus on PaymentSheet for one-time payments, then cover variations.
Backend: Core Endpoints
The backend is responsible for creating PaymentIntents and handling webhooks. Below is a minimal Node.js/Express example; the same model applies to Python, Ruby, Go, Java, etc.
// server.js (Node.js/Express example)
import express from 'express';
import Stripe from 'stripe';
import bodyParser from 'body-parser';

const app = express();
const stripe = new Stripe(process.env.STRIPE_SECRET_KEY, {
  // Optionally pin API version here, e.g. apiVersion: '2024-10-28'
});

app.use(bodyParser.json());

// Create or fetch a customer from your DB if you want to save methods
async function getOrCreateCustomer(userId) {
  // Look up existing Stripe customer ID for userId in your DB
  // If none, create: const customer = await stripe.customers.create({ metadata: { userId } });
  // Return { id: 'cus_...' }
}

app.post('/create-payment-intent', async (req, res) => {
  try {
    const { amount, currency, userId, savePaymentMethod } = req.body;

    // Optionally link to a customer to allow saved payment methods and PaymentSheet reuse
    let customerId;
    if (userId) {
      const customer = await getOrCreateCustomer(userId);
      customerId = customer.id;
    }

    const paymentIntent = await stripe.paymentIntents.create({
      amount, // in the currency's smallest unit (e.g., cents)
      currency,
      customer: customerId,
      automatic_payment_methods: { enabled: true },
      setup_future_usage: savePaymentMethod ? 'off_session' : undefined,
    }, {
      idempotencyKey: `pi_${userId || 'guest'}_${Date.now()}`,
    });

    // If using PaymentSheet with a customer, create an ephemeral key
    let ephemeralKey;
    if (customerId) {
      ephemeralKey = await stripe.ephemeralKeys.create(
        { customer: customerId },
        { apiVersion: '2023-10-16' } // Must be set for ephemeral keys
      );
    }

    res.json({
      paymentIntentClientSecret: paymentIntent.client_secret,
      customerId,
      ephemeralKeySecret: ephemeralKey?.secret,
      publishableKey: process.env.STRIPE_PUBLISHABLE_KEY,
    });
  } catch (err) {
    res.status(400).json({ error: err.message });
  }
});

// Webhook to receive payment updates
app.post('/webhook', bodyParser.raw({ type: 'application/json' }), (req, res) => {
  const sig = req.headers['stripe-signature'];
  let event;

  try {
    event = stripe.webhooks.constructEvent(
      req.body,
      sig,
      process.env.STRIPE_WEBHOOK_SECRET
    );
  } catch (err) {
    return res.status(400).send(`Webhook Error: ${err.message}`);
  }

  switch (event.type) {
    case 'payment_intent.succeeded': {
      const pi = event.data.object;
      // Mark order as paid in your DB using pi.id and metadata
      break;
    }
    case 'payment_intent.payment_failed': {
      const pi = event.data.object;
      // Notify user/order of failure
      break;
    }
    // Add more events as needed
  }

  res.json({ received: true });
});

app.listen(4242, () => console.log('Server running on port 4242'));
Notes
- Always verify webhook signatures. Use a raw body parser for the webhook route.
- Use idempotency keys to protect against duplicate charges.
- Amount is in the currency’s smallest unit (e.g., 1099 = $10.99). Some currencies are zero-decimal; handle carefully.
Flutter: Package Setup and Initialization
Add dependencies to pubspec.yaml:
dependencies:
  flutter:
    sdk: flutter
  flutter_stripe: ^X.Y.Z
  http: ^1.0.0
Initialize Stripe early (e.g., in main). Keep the publishable key on the client only; secrets stay on the server.
import 'package:flutter/material.dart';
import 'package:flutter_stripe/flutter_stripe.dart';

void main() async {
  WidgetsFlutterBinding.ensureInitialized();

  // Optionally load this from remote config
  Stripe.publishableKey = 'pk_test_...';

  // Optional: apply platform-specific settings
  await Stripe.instance.applySettings();

  runApp(const MyApp());
}
For Apple Pay/Google Pay via PaymentSheet, you’ll pass flags during initialization (see below). For standalone wallet buttons, use the respective helpers provided by flutter_stripe.
Creating and Presenting PaymentSheet
A typical flow: fetch intent details from your server, initialize PaymentSheet, present it, then confirm.
import 'dart:convert';
import 'package:http/http.dart' as http;
import 'package:flutter_stripe/flutter_stripe.dart';

class CheckoutController {
  final String backendBaseUrl;
  CheckoutController(this.backendBaseUrl);

  Future<void> pay({
    required int amount,
    String currency = 'usd',
    String? userId,
    bool savePaymentMethod = false,
  }) async {
    // 1) Create PaymentIntent on your server
    final res = await http.post(
      Uri.parse('$backendBaseUrl/create-payment-intent'),
      headers: {'Content-Type': 'application/json'},
      body: jsonEncode({
        'amount': amount,
        'currency': currency,
        'userId': userId,
        'savePaymentMethod': savePaymentMethod,
      }),
    );

    if (res.statusCode != 200) {
      throw Exception('Failed to create PaymentIntent: ${res.body}');
    }

    final data = jsonDecode(res.body);
    final clientSecret = data['paymentIntentClientSecret'];

    // 2) Initialize PaymentSheet
    await Stripe.instance.initPaymentSheet(
      paymentSheetParameters: SetupPaymentSheetParameters(
        paymentIntentClientSecret: clientSecret,
        // If using a customer for saved PMs, pass these too:
        customerId: data['customerId'],
        customerEphemeralKeySecret: data['ephemeralKeySecret'],
        merchantDisplayName: 'Example, Inc.',
        style: ThemeMode.system,
        appearance: const PaymentSheetAppearance(),
        applePay: const PaymentSheetApplePay(merchantCountryCode: 'US'),
        googlePay: const PaymentSheetGooglePay(
          merchantCountryCode: 'US',
          testEnv: true,
        ),
        allowsDelayedPaymentMethods: true, // if you support them
      ),
    );

    // 3) Present PaymentSheet
    await Stripe.instance.presentPaymentSheet();

    // 4) Optional: retrieve PaymentIntent status from clientSecret or wait for webhook
  }
}
Error handling
- Catch StripeException from presentPaymentSheet to show user-friendly messages.
- For cancellations, detect the appropriate error code and reset UI state without logging as failures.
Saving Cards for Future Use
To let users save a card without immediate charge:
- Create a SetupIntent on the server and return its client secret.
- Initialize and present PaymentSheet with setupIntentClientSecret instead of paymentIntentClientSecret.
- The resulting PaymentMethod can be attached to the customer and reused for off-session billing.
Alternatively, set setup_future_usage: ‘off_session’ on your PaymentIntent (as shown) to save the card during a successful charge.
Subscriptions Flow (Outline)
- Collect and save a default payment method with a SetupIntent for the customer.
- On your server, create a Subscription for that customer with items/prices.
- Handle invoice.payment_succeeded/payment_failed webhooks to update subscription state and notify the user.
This avoids asking for card details every billing cycle and supports SCA with automatic 3DS when required.
Apple Pay and Google Pay
- PaymentSheet can surface Apple Pay/Google Pay if configured and available on the device.
- iOS: configure a Merchant ID in Apple Developer portal, enable Apple Pay capability, and ensure merchantCountryCode is correct.
- Android: ensure Google Play services are available; set merchantCountryCode and testEnv for development.
- For standalone wallet buttons (outside PaymentSheet), use the dedicated flutter_stripe APIs and confirm the resulting PaymentMethod with your PaymentIntent.
Webhooks: The Source of Truth
Even if the client reports success, treat the webhook as authoritative for order fulfillment.
- payment_intent.succeeded: mark order paid, grant access, send receipts.
- payment_intent.payment_failed or charge.refunded: roll back access, notify the user.
- Verify signatures and handle retries idempotently.
Testing
- Use Stripe’s test mode keys.
- Common test cards:
- 4242 4242 4242 4242 (successful card)
- 4000 0027 6000 3184 (requires 3DS authentication)
- 4000 0000 0000 9995 (insufficient funds)
- Trigger webhook events using the Stripe CLI or dashboard.
- Test zero-decimal currencies and rounding in your cart logic.
Security and Compliance Essentials
- Never send raw card data to your server; rely on Stripe’s SDKs and client secrets.
- Keep your secret key on the server; publishable key only in the app.
- Use ephemeral keys for any customer-related operations in mobile clients.
- Enforce HTTPS everywhere.
- Limit and audit who can access your Stripe dashboard and live keys.
Common Pitfalls and Fixes
- “No such payment_intent”: ensure you pass the latest client secret to the client and don’t reuse expired intents.
- “You cannot use a payment method from a different customer”: keep customer/payment method relationships consistent.
- Apple Pay not showing: verify Merchant ID capability, device is not a simulator for production tests, and country codes are correct.
- Google Pay disabled: device region, Google Pay setup, and testEnv flag in development.
- Webhook 400 errors: ensure raw body parsing and correct webhook secret.
Production Checklist
- Replace test keys with live keys in both app and server environments.
- Add robust error logging (client and server) and correlation IDs.
- Implement idempotency keys for all payment-creating requests.
- Handle refunds and chargebacks with clear business logic.
- Localize currency/amount display and provide clear receipts.
- Monitor webhook delivery and set up alerting.
Extending the Integration
- Support local payment methods (e.g., iDEAL, SEPA) by enabling automatic payment methods and verifying eligibility.
- Offer Link, Apple Pay, and Google Pay to improve conversion.
- Add a customer portal or in-app screens for managing saved payment methods and invoices.
Wrap Up
With PaymentSheet and a minimal backend, you can ship a secure, SCA-ready Flutter checkout quickly. Start with a one-time PaymentIntent, add webhooks, then expand to saved cards, subscriptions, and wallets. Maintain a strict separation of client and server responsibilities, verify webhooks, and ship with confidence.
Related Posts

Flutter SSL Certificate Pinning: A Practical, Battle‑Tested Guide
A practical, code-focused guide to implementing SSL certificate pinning in Flutter, with platform and Dart options, rotation strategy, and testing tips.
Flutter App Size Optimization: A Practical, Step‑by‑Step Guide
A practical, end-to-end guide to shrinking Flutter app size on Android, iOS, and Web with commands, configs, and a CI-friendly workflow.
Flutter In‑App Purchases with RevenueCat: A Complete Guide
Implement Flutter in‑app purchases with RevenueCat: setup, paywalls, purchases, entitlements, trials, testing, and production tips.