
Flutter Apple Pay and Google Pay Integration: An End-to-End Guide
A practical, end-to-end guide to adding Apple Pay and Google Pay to your Flutter app, from setup and UI to server token exchange and testing.
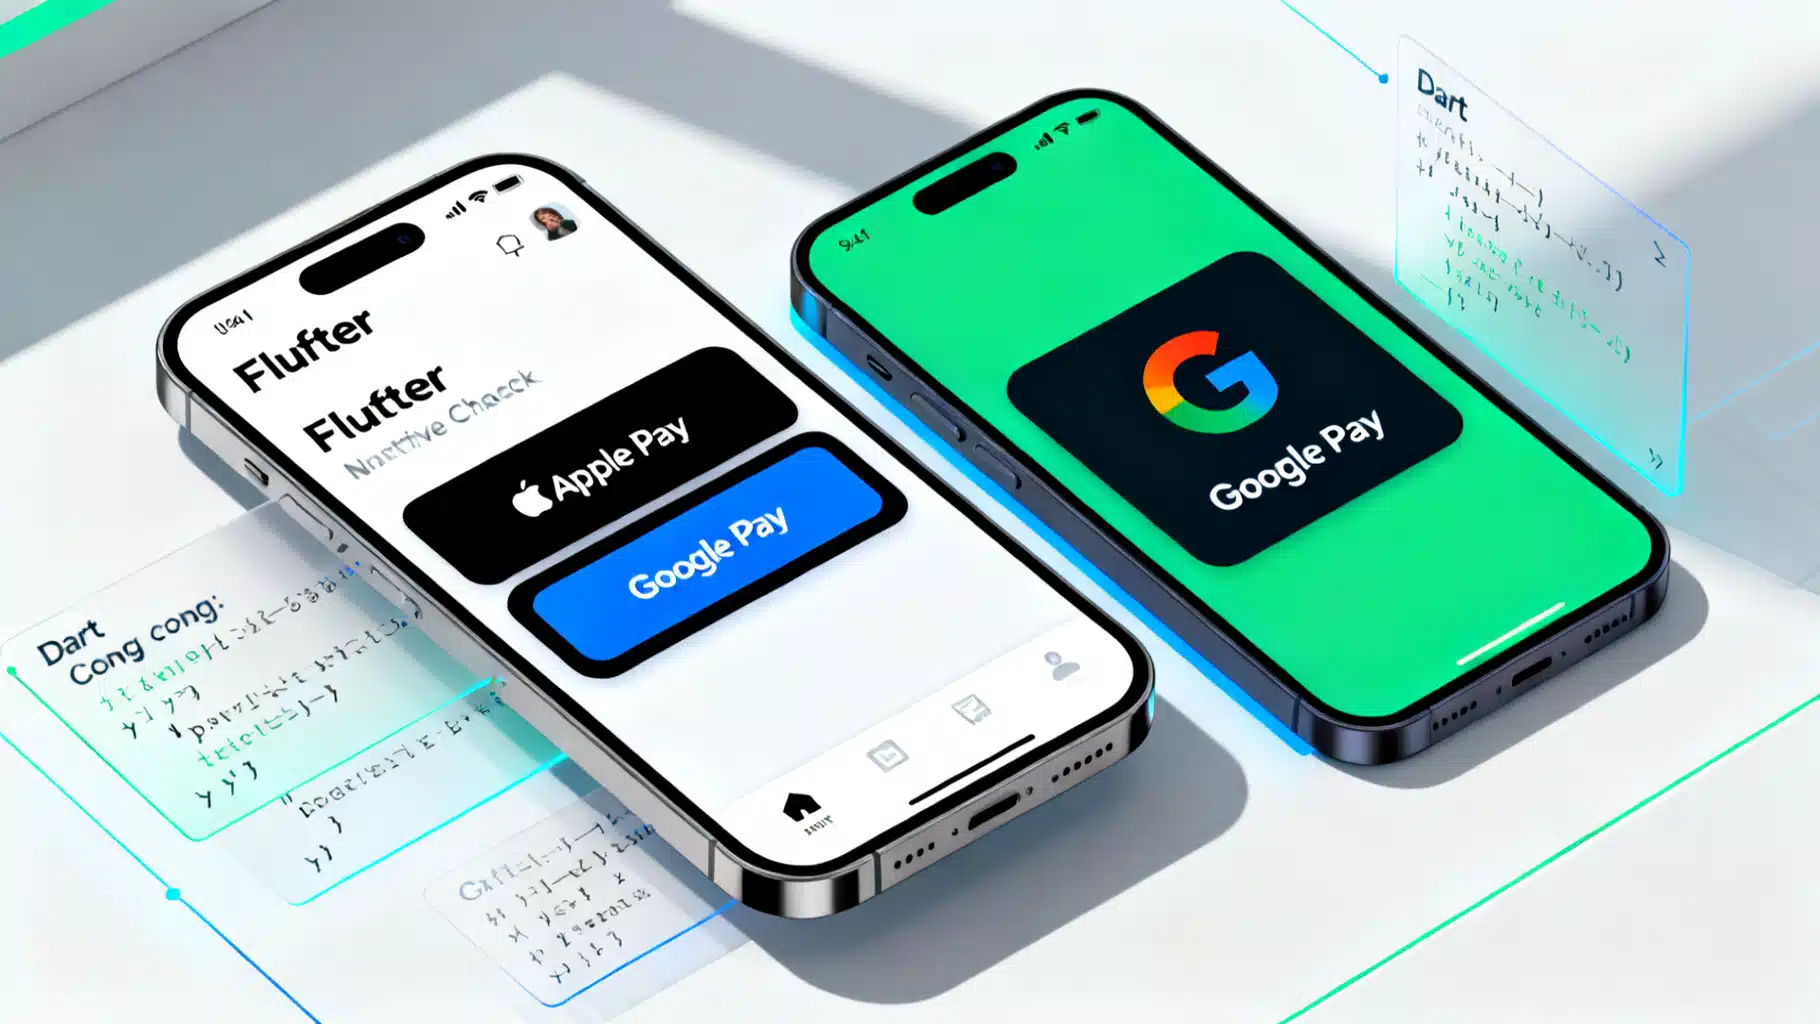
Image used for representation purposes only.
Overview
Apple Pay and Google Pay are the fastest, most trusted ways to accept cards in mobile apps. In Flutter, you can integrate both with a single codebase, deliver a native checkout experience, and receive network‑tokenized payment data you forward to your payment service provider (PSP) for authorization. This guide walks you end‑to‑end: concepts, setup, platform requirements, implementation, testing, and production hardening.
What you’ll build
- Show native Apple Pay and Google Pay buttons in your Flutter app.
- Configure platform entitlements and merchant details.
- Collect a payment token on‑device and send it to your server for capture via your PSP (e.g., Stripe, Adyen, Braintree, Checkout.com).
How the flow works (mental model)
- Buyer taps the native Pay button.
- The OS displays a secure sheet (Face ID/Touch ID on iOS; Google Wallet on Android).
- The device produces a cryptographically protected token representing the card and transaction.
- Your Flutter app receives that token and immediately POSTs it to your server.
- Your server exchanges the token with your PSP for an authorization/capture. The raw Primary Account Number (PAN) never touches your code; you remain out of PCI scope for card data collection on the client.
Tip: Never attempt to decrypt payment tokens yourself. Always hand them to a PCI‑certified PSP.
Prerequisites
- Flutter SDK installed and a working project.
- A PSP account that supports Apple Pay and Google Pay.
- Apple Developer Program membership to create a Merchant ID.
- Google Pay merchant profile (you can start in TEST mode without one).
- Real devices for final validation:
- iPhone/iPad with Apple Pay region enabled and a Wallet card (or Sandbox card).
- Android device with Google Wallet set up and Google Play services.
Library options in Flutter
- “pay” package (recommended for a provider‑agnostic UI). It offers ApplePayButton and GooglePayButton and reads configuration from JSON assets.
- PSP‑specific SDKs (e.g., a Stripe or Braintree Flutter plugin). These often include Apple Pay/Google Pay helpers tightly coupled to their server APIs.
This guide uses the provider‑agnostic approach with a single UI and externalized JSON config, which keeps your app PSP‑portable.
iOS requirements (Apple Pay)
- Xcode: Add the Apple Pay capability to your iOS target (Signing & Capabilities → + Capability → Apple Pay).
- Merchant ID: Create in the Apple Developer portal and attach it to your app ID.
- Entitlements: Xcode adds com.apple.developer.in‑app‑payments automatically when you enable Apple Pay.
- Real device testing: Simulators have limited Apple Pay support; verify on physical hardware before shipping.
Android requirements (Google Pay)
- Google Play services up to date on the device.
- In TEST environment you can proceed without a merchantId; for PRODUCTION you’ll use your Google Pay merchant info.
- Set minSdkVersion ≥ 21 for best coverage (most PSPs and wallet APIs target 21+). If your app is lower, ensure your chosen packages still support it.
Install dependencies
Add the payments UI package to pubspec.yaml. Example:
dependencies:
  flutter:
    sdk: flutter
  pay: ^<latest>
Then flutter pub get.
Create payment configuration assets
The “pay” package loads provider configuration from JSON you bundle in assets. Create two files in assets/pay/: gpay.json and applepay.json. Add the folder to pubspec.yaml:
flutter:
  assets:
    - assets/pay/gpay.json
    - assets/pay/applepay.json
Example gpay.json (TEST)
Note: Replace gateway parameters with those provided by your PSP. The amount comes from your Flutter code (PaymentItem list), not from this JSON.
{
  "provider": "google_pay",
  "data": {
    "environment": "TEST",
    "apiVersion": 2,
    "apiVersionMinor": 0,
    "allowedPaymentMethods": [
      {
        "type": "CARD",
        "parameters": {
          "allowedAuthMethods": ["PAN_ONLY", "CRYPTOGRAM_3DS"],
          "allowedCardNetworks": ["VISA", "MASTERCARD", "AMEX", "DISCOVER"],
          "billingAddressRequired": true,
          "billingAddressParameters": {"format": "FULL"}
        },
        "tokenizationSpecification": {
          "type": "PAYMENT_GATEWAY",
          "parameters": {
            "gateway": "stripe",
            "stripe:version": "2024-06-20",
            "stripe:publishableKey": "pk_test_12345"
          }
        }
      }
    ],
    "merchantInfo": {
      "merchantName": "Example, Inc.",
      "merchantId": "01234567890123456789"
    },
    "transactionInfo": {
      "countryCode": "US",
      "currencyCode": "USD"
    }
  }
}
Example applepay.json
Use your real merchantIdentifier and brand name. Supported networks and capabilities should reflect your PSP and contract.
{
  "provider": "apple_pay",
  "data": {
    "merchantIdentifier": "merchant.com.example.app",
    "displayName": "Example, Inc.",
    "merchantCapabilities": ["3DS", "debit", "credit"],
    "supportedNetworks": ["visa", "masterCard", "amex", "discover"],
    "countryCode": "US",
    "currencyCode": "USD",
    "requiredBillingContactFields": ["postalAddress", "name"],
    "requiredShippingContactFields": []
  }
}
Add native Pay buttons in Flutter
Create payment items that represent the line‑item summary and final price. The final item must have status final_price.
import 'package:flutter/material.dart';
import 'package:pay/pay.dart';

class CheckoutButtons extends StatelessWidget {
  CheckoutButtons({super.key});

  final List<PaymentItem> _items = const [
    PaymentItem(
      label: 'Subtotal',
      amount: '22.49',
      status: PaymentItemStatus.final_price, // or intermediate_price for non-final
    ),
    PaymentItem(
      label: 'Tax',
      amount: '2.50',
      status: PaymentItemStatus.final_price,
    ),
    PaymentItem(
      label: 'Total',
      amount: '24.99',
      status: PaymentItemStatus.final_price,
    ),
  ];

  void _handleResult(Object result) {
    // result is a map containing the wallet token payload
    // 1) Serialize result
    // 2) POST to your server
    // 3) Server authorizes/captures via your PSP
  }

  @override
  Widget build(BuildContext context) {
    return Column(
      crossAxisAlignment: CrossAxisAlignment.stretch,
      children: [
        // Google Pay
        GooglePayButton(
          paymentConfigurationAsset: 'assets/pay/gpay.json',
          paymentItems: _items,
          type: GooglePayButtonType.pay,
          margin: const EdgeInsets.only(top: 8),
          onPaymentResult: _handleResult,
          loadingIndicator: const CircularProgressIndicator(),
          onError: (e) => debugPrint('GPay error: $e'),
        ),
        // Apple Pay
        ApplePayButton(
          paymentConfigurationAsset: 'assets/pay/applepay.json',
          paymentItems: _items,
          style: ApplePayButtonStyle.black,
          type: ApplePayButtonType.buy,
          margin: const EdgeInsets.only(top: 8),
          onPaymentResult: _handleResult,
          onError: (e) => debugPrint('Apple Pay error: $e'),
        ),
      ],
    );
  }
}
Notes:
- The button widgets automatically render with the correct brand styling.
- You can conditionally show buttons by checking provider availability (e.g., query the package’s availability APIs) and by region. As a fallback, show your regular card form.
Server‑side exchange (outline)
Your app should send the wallet payload straight to your server. On the server:
- Validate basic fields (currency, amount, country).
- Call your PSP’s “confirm/authorize” endpoint using the received token.
- Use idempotency keys to guard against duplicate charges.
- Store only non‑sensitive references (e.g., PSP payment ID); never log raw tokens.
Pseudo‑flow:
Client: onPaymentResult(result)
  → POST /payments { amount, currency, walletPayload, orderId }
Server:
  1) Look up order and verify amount/currency
  2) PSP.authorize(walletPayload)
  3) Persist PSP paymentId & status
  4) Respond to client { status, receiptUrl }
If you use a PSP gateway mode in your JSON (recommended), the Google Pay token is already formatted for your PSP. Apple Pay returns an encrypted token your PSP natively accepts.
Testing checklist
- Google Pay TEST: Keep environment set to TEST. Use a test card in Google Wallet, or enable test mode in developer options when supported. Confirm the button only appears if Google Pay is set up on the device.
- Apple Pay Sandbox: In App Store Connect, add Sandbox Testers, sign into the device with a sandbox Apple ID, and add a sandbox card to Wallet.
- Amount accuracy: Verify totals in the sheet exactly match your receipt.
- Edge cases: Cancel flows, biometric failures, network loss, and retries.
- Regional configs: Try multiple currencyCode and countryCode values you intend to support.
Common pitfalls and fixes
- Environment mismatch: If your app uses TEST but your server or PSP expects LIVE (or vice versa), authorizations fail. Keep all three in sync: app JSON, server credentials, PSP mode.
- Missing Apple Pay entitlement: If the Apple Pay button doesn’t appear or throws entitlement errors, confirm the Merchant ID is added under Signing & Capabilities and that you build to a real device.
- Unsupported networks: If transactions fail for certain cards, add the network to supportedNetworks (Apple) or allowedCardNetworks (Google), and ensure your PSP contract includes those brands.
- Token decryption attempts: Do not parse or decrypt wallet tokens on your server unless you are the PSP. Instead, pass them through to your gateway as‑is.
- Locale assumptions: currencyCode ≠ user locale. Always send your order’s intended currency explicitly.
Handling shipping, taxes, and line items
Both wallets support dynamic line items and, on iOS, shipping methods:
- Present intermediate items (e.g., Subtotal, Shipping, Tax) and ensure the final item reflects the final_price.
- If shipping address affects totals, request shipping contact fields (Apple) and recompute totals when users change address or method.
Example items with a shipping adjustment:
final items = [
  PaymentItem(label: 'Items', amount: '39.00', status: PaymentItemStatus.final_price),
  PaymentItem(label: 'Shipping', amount: '5.00', status: PaymentItemStatus.final_price),
  PaymentItem(label: 'Total', amount: '44.00', status: PaymentItemStatus.final_price),
];
Security and compliance essentials
- Use HTTPS everywhere; pin TLS if your threat model requires it.
- Never log full wallet payloads or PII; redact before logging.
- Server calls to your PSP must be authenticated and idempotent.
- Keep your app and dependencies updated for the latest wallet and PSP requirements.
Production readiness checklist
- Apple Pay: Merchant ID, entitlement, supportedNetworks, displayName, live devices verified.
- Google Pay: environment set to PRODUCTION, merchantId configured, brand‑approved assets, live devices verified.
- PSP: Live credentials (keys/secrets), webhooks configured to capture asynchronous updates (3‑D Secure, delayed captures, refunds, chargebacks).
- Observability: Dashboards for success rate, declines by reason, latency, and retries.
- Fallback: Graceful downgrade to card form when wallets are unavailable.
Example: minimal server endpoint (pseudo‑code)
# Flask-style pseudo-code
@app.post('/payments')
def create_payment():
    data = request.json
    amount = data['amount']       # '24.99'
    currency = data['currency']   # 'USD'
    wallet_payload = data['walletPayload']

    # Validate order against your DB
    order = db.get_order(data['orderId'])
    assert order.total == Decimal(amount) and order.currency == currency

    # Forward token to PSP
    psp_response = psp.authorize(wallet_payload, amount=amount, currency=currency)

    # Persist
    db.save_payment(order.id, psp_response.id, psp_response.status)

    return { 'status': psp_response.status, 'paymentId': psp_response.id }
Troubleshooting quick answers
- “Button not visible on Android” → Ensure Google Wallet is set up on the device and the app is not filtered by unsupported country/currency.
- “Apple Pay authorization failed” → Check device region, card network support, and that the merchantIdentifier matches your entitlement.
- “PSP rejected token” → Confirm gateway parameters in JSON match your PSP docs and your account is enabled for network tokens.
Where to go next
- Add support for coupons and subscription flows (recurring payments usually use separate PSP primitives).
- Localize labels and currency.
- Instrument analytics around button impressions and conversion to quantify uplift vs. manual card entry.
Summary
With Flutter, you can deliver Apple Pay and Google Pay using one UI layer and two small JSON files. The wallets handle the sensitive bits; your job is to request the right data, reflect accurate totals, and exchange the token server‑side with a PSP. Ship with strong observability and clear fallbacks, and you’ll give users a checkout that’s fast, familiar, and secure.
Related Posts
Flutter Text-to-Speech (TTS) Integration: A Complete Guide with Code
Integrate Flutter text-to-speech with flutter_tts: setup, voices, events, mixing audio, long text chunking, and production-ready patterns with code.
Flutter Device Info Detection Tutorial: A Web‑Safe, Production Pattern
Build a robust, web-safe Flutter device info layer using device_info_plus, platform checks, screen metrics, caching, and privacy best practices.
Flutter WorkManager Scheduled Tasks: The Complete, Practical Guide (2026)
A practical guide to scheduling background tasks in Flutter with WorkManager on Android and iOS, with setup, periodic jobs, constraints, and debugging.