
Flutter Wear OS Smartwatch App Guide: Build, Bridge, and Ship
Build, test, and ship a Wear OS smartwatch app with Flutter, including UI, rotary input, performance, native Tiles, and Play Store tips.
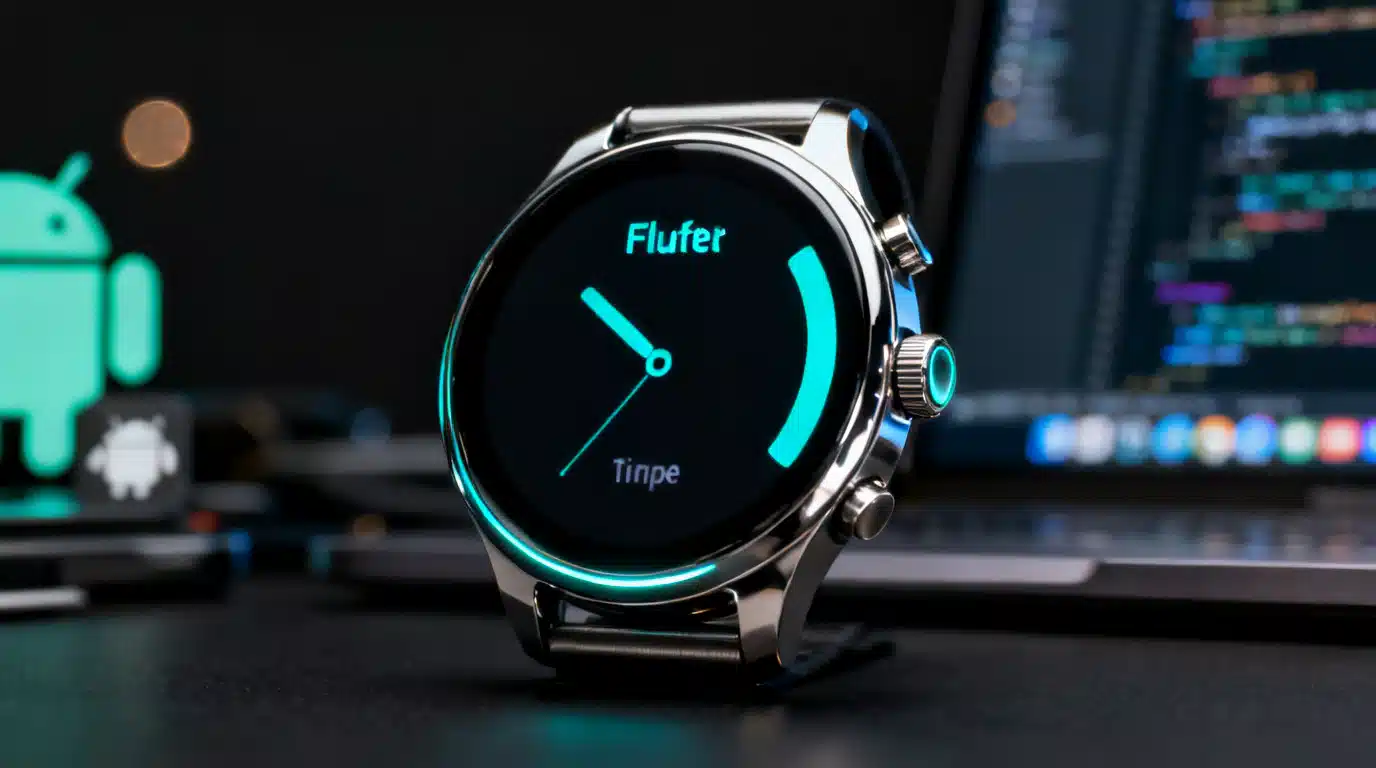
Image used for representation purposes only.
Overview
Flutter is a productive choice for building Wear OS apps when your primary experience is a touch-first, interactive app that runs on the watch. This guide walks you end‑to‑end—from project setup and UI patterns for tiny round screens, to handling the rotating crown, performance tuning, testing, and shipping to Google Play. You’ll also learn where Flutter shines on Wear OS and where you must bridge into native code for Tiles, Complications, or a Watch Face.
What Flutter can (and can’t) do on Wear OS
- Well-suited:
- Interactive apps with screens, navigation, gestures, animations, and networking
- Reusable business logic shared with your phone app
- Custom theming and brand polish
- Use native (Kotlin/Java) with platform channels for:
- Tiles (androidx.wear.tiles)
- Complications (Jetpack Complications APIs)
- Watch faces (Watch Face Format or Jetpack Watch Face)
- Some background behaviors (foreground services, Alarms)
Flutter renders inside an Activity, which is perfect for an “app-first” experience. Tiles, complications, and watch faces are system surfaces and must be implemented natively, then integrated with your Flutter app via platform channels for state/config.
Prerequisites
- Flutter SDK installed and on a recent stable channel
- Android Studio (with Wear OS emulator images) and Android toolchain configured
- A Wear OS device (optional but recommended) or a Wear OS emulator
- Basic Android/Gradle familiarity
Quick checks:
flutter doctor
flutter devices
Project setup
Create a new Flutter app:
flutter create wear_timer
cd wear_timer
Bump Android SDK levels to current in android/app/build.gradle:
android {
    compileSdkVersion 34
    defaultConfig {
        applicationId "com.example.wear_timer"
        minSdkVersion 26
        targetSdkVersion 34
        versionCode 1
        versionName "1.0"
    }
}
Add watch capabilities to AndroidManifest.xml (android/app/src/main/AndroidManifest.xml):
<manifest ...>
    <uses-feature android:name="android.hardware.type.watch" android:required="true" />
    <uses-feature android:name="android.hardware.screen.round" android:required="false" />
    <uses-feature android:name="android.hardware.touchscreen" android:required="false" />

    <application ...>
        <!-- Mark as standalone if your app does not require a phone companion -->
        <meta-data
            android:name="com.google.android.wearable.standalone"
            android:value="true" />
    </application>
</manifest>
These flags ensure Google Play treats the APK as a watch-first build and avoids installing it on phones.
UI patterns for tiny, round screens
Design for glanceability and minimal input:
- Layout
- Keep primary actions reachable (center/bottom area)
- Respect round insets; avoid clipped corners on square devices
- Prefer single-column, large-touch-target lists
- Typography
- 16–20sp body, 24–32sp headline; test for legibility in bright sunlight
- Color & contrast
- High contrast; consider AMOLED-friendly dark backgrounds
- Motion
- Use subtle animations; keep frame times under 16ms to save battery
Practical helpers in Flutter:
// Pad content away from the round screen edge
class BezelSafeArea extends StatelessWidget {
  final Widget child;
  const BezelSafeArea({super.key, required this.child});
  @override
  Widget build(BuildContext context) {
    final size = MediaQuery.sizeOf(context);
    final shortest = size.shortestSide;
    final bezel = shortest * 0.06; // ~6% padding for round screens
    return Padding(
      padding: EdgeInsets.all(bezel.clamp(8, 24)),
      child: child,
    );
  }
}
Input and interaction on Wear OS
- Touch: Keep targets ≥ 40–48dp, with generous spacing
- Gestures: Vertical scroll is primary; horizontal for paging
- Rotating crown (rotary encoder): Generates scroll events; default Scrollables respond automatically. You can also listen explicitly:
class RotaryList extends StatelessWidget {
  final controller = ScrollController();
  RotaryList({super.key});
  @override
  Widget build(BuildContext context) {
    return Listener(
      onPointerSignal: (signal) {
        if (signal is PointerScrollEvent) {
          controller.jumpTo(
            (controller.offset + signal.scrollDelta.dy).clamp(0.0, controller.position.maxScrollExtent),
          );
        }
      },
      child: ListView.builder(
        controller: controller,
        itemCount: 40,
        itemBuilder: (_, i) => ListTile(title: Text('Item $i')),
      ),
    );
  }
}
- Haptics: Use HapticFeedback.lightImpact() for confirmations sparingly
Sample app: a one-screen Pomodoro timer
Demonstrates glanceable UI, crown-adjustable duration, vibration on completion.
import 'dart:async';
import 'package:flutter/material.dart';
import 'package:flutter/services.dart';

void main() => runApp(const WearTimerApp());

class WearTimerApp extends StatelessWidget {
  const WearTimerApp({super.key});
  @override
  Widget build(BuildContext context) {
    return MaterialApp(
      debugShowCheckedModeBanner: false,
      theme: ThemeData(brightness: Brightness.dark, colorSchemeSeed: Colors.teal),
      home: const TimerScreen(),
    );
  }
}

class TimerScreen extends StatefulWidget {
  const TimerScreen({super.key});
  @override
  State<TimerScreen> createState() => _TimerScreenState();
}

class _TimerScreenState extends State<TimerScreen> {
  int minutes = 25; // adjustable via crown
  int remaining = 25 * 60;
  Timer? _timer;

  void _start() {
    _timer?.cancel();
    setState(() => remaining = minutes * 60);

    _timer = Timer.periodic(const Duration(seconds: 1), (t) async {
      if (remaining <= 1) {
        t.cancel();
        setState(() => remaining = 0);
        HapticFeedback.vibrate();
      } else {
        setState(() => remaining -= 1);
      }
    });
  }

  void _stop() => _timer?.cancel();

  @override
  void dispose() {
    _timer?.cancel();
    super.dispose();
  }

  @override
  Widget build(BuildContext context) {
    final m = (remaining ~/ 60).toString().padLeft(2, '0');
    final s = (remaining % 60).toString().padLeft(2, '0');

    return Scaffold(
      body: BezelSafeArea(
        child: Listener(
          onPointerSignal: (signal) {
            if (signal is PointerScrollEvent && _timer == null) {
              final delta = signal.scrollDelta.dy.sign.toInt();
              setState(() => minutes = (minutes + delta).clamp(1, 60));
            }
          },
          child: Column(
            mainAxisAlignment: MainAxisAlignment.center,
            children: [
              Text('$m:$s', style: const TextStyle(fontSize: 40, fontFeatures: [FontFeature.tabularFigures()])),
              const SizedBox(height: 8),
              Text('Duration: $minutes min', style: const TextStyle(fontSize: 16, color: Colors.white70)),
              const SizedBox(height: 16),
              Wrap(spacing: 12, children: [
                ElevatedButton.icon(onPressed: _start, icon: const Icon(Icons.play_arrow), label: const Text('Start')),
                ElevatedButton.icon(onPressed: _stop, icon: const Icon(Icons.stop), label: const Text('Stop')),
              ])
            ],
          ),
        ),
      ),
    );
  }
}

class BezelSafeArea extends StatelessWidget {
  final Widget child;
  const BezelSafeArea({super.key, required this.child});
  @override
  Widget build(BuildContext context) {
    final size = MediaQuery.sizeOf(context);
    final shortest = size.shortestSide;
    final bezel = shortest * 0.06;
    return Padding(padding: EdgeInsets.all(bezel.clamp(8, 24)), child: child);
  }
}
Bridging to native for Tiles, Complications, Watch Faces
Flutter can’t render these surfaces. The pattern is:
- Implement the native service (Kotlin)
- Persist or fetch tile/complication data from a shared store (e.g., Room/SharedPreferences)
- Allow your Flutter UI to configure that data via MethodChannel
Method channel from Flutter
import 'package:flutter/services.dart';

class NativeBridge {
  static const _ch = MethodChannel('wear_bridge');
  static Future<void> updateTileCountdown(int seconds) async {
    await _ch.invokeMethod('updateTileCountdown', {'seconds': seconds});
  }
}
Minimal TileService skeleton (Kotlin)
class PomodoroTileService : TileService() {
    override fun onTileRequest(requestParams: RequestBuilders.TileRequest): ListenableFuture<Tile> {
        val state = readSecondsFromPrefs()
        val timeline = Timeline.fromLayoutElement(
            LayoutElementBuilders.Text.Builder()
                .setText("${'$'}state s")
                .build()
        )
        return Futures.immediateFuture(
            Tile.Builder().setResourcesVersion("1").setTimeline(timeline).build()
        )
    }
}
Receiving method calls in Android (Kotlin)
class MainActivity: FlutterActivity() {
    private val channel = "wear_bridge"
    override fun configureFlutterEngine(flutterEngine: FlutterEngine) {
        super.configureFlutterEngine(flutterEngine)
        MethodChannel(flutterEngine.dartExecutor.binaryMessenger, channel).setMethodCallHandler { call, result ->
            when (call.method) {
                "updateTileCountdown" -> {
                    val seconds = call.argument<Int>("seconds") ?: 0
                    saveSecondsToPrefs(seconds)
                    requestTileUpdate(ComponentName(this, PomodoroTileService::class.java))
                    result.success(null)
                }
                else -> result.notImplemented()
            }
        }
    }
}
The same integration approach applies to Complications (data sources) and Watch Face configuration activities. Your Flutter UI acts as the rich configuration/companion app; the surface itself is native.
Notifications and background work
- Local notifications: trigger reminders or progress updates (use a well-maintained notifications plugin). Ensure channels are created and importance is appropriate for Wear.
- Push notifications: deliver via FCM; keep payloads small and actions glanceable.
- Background tasks: prefer scheduled work (WorkManager) or foreground services with a clear user benefit; avoid long-running background Dart code to conserve battery.
Performance and battery life
- Aim for 60 FPS with minimal jank; profile with Flutter DevTools (CPU, memory, frame times)
- Use const widgets and avoid rebuilding large trees
- Prefer vector assets (SVG via Picture widgets) or small, cached rasters
- Debounce network calls; batch or cache data on-device
- Test on-device with battery saver enabled to spot corner cases
Testing and debugging
- Emulator: create a Wear OS device in Android Studio’s Device Manager; run via
flutter run -d <emulator_id> - Physical device: enable ADB over Bluetooth or Wi‑Fi;
flutter devicesshould list the watch - Automated tests:
- Unit and widget tests for shared logic and UI
- Golden tests for small, round screens using constrained layouts (e.g., 384×384)
Packaging and Play distribution
- App icon: provide crisp, round-friendly launcher assets (monochrome variant recommended)
- Split builds:
- Use ABI splits to reduce size
- Consider product flavors for “wear” vs “mobile” targets if you share codebases
- Manifest sanity:
<uses-feature android:name="android.hardware.type.watch" android:required="true" />- Standalone meta-data if no phone dependency
- Store listing: add Wear OS screenshots (round and square), short description, and feature graphic
CI/CD tips
- Cache Gradle and Flutter artifacts to speed builds
- Use
flutter testandflutter analyzegates - Sign release with Play App Signing and upload via CLI (fastlane/Gradle Play Publisher)
Troubleshooting
- App appears on phone: Missing or incorrect
android.hardware.type.watchfeature flag - Rotary crown doesn’t scroll: Ensure your top-level widget isn’t intercepting pointer signals unintentionally; prefer default Scrollables
- Clipped UI on round screens: Add bezel-safe padding and test on multiple DPIs
- Jank on animations: Profile; reduce rebuilds; precompute layouts; lower image decode cost
Launch checklist
- Runs smoothly on at least two emulator sizes (small/large) and one physical watch
- Text legible at a glance; primary action reachable
- Offline behavior tested
- Battery impact acceptable after a 24‑hour cycle
- Store listing complete with Wear OS screenshots and a short demo video
Where to go next
- Add a native Tile that mirrors your app’s current state
- Provide a simple Complication data source (e.g., remaining minutes)
- Offer a Watch Face configuration Activity powered by your Flutter UI
- Harden for production: crash reporting, analytics, and strict ANR monitoring
With these patterns, you can ship a performant, glanceable Wear OS experience with Flutter for the app UI, while augmenting system surfaces natively where required.
Related Posts
Flutter Impeller Rendering Engine: A Performance Deep Dive and Tuning Guide
A practical performance deep dive into Flutter’s Impeller renderer: how it works, how to measure it, and tuning patterns for smooth, jank‑free UIs.
Flutter Apple Pay and Google Pay Integration: An End-to-End Guide
A practical, end-to-end guide to adding Apple Pay and Google Pay to your Flutter app, from setup and UI to server token exchange and testing.
Flutter Text-to-Speech (TTS) Integration: A Complete Guide with Code
Integrate Flutter text-to-speech with flutter_tts: setup, voices, events, mixing audio, long text chunking, and production-ready patterns with code.