Edge AI On-Device Inference Tutorial: From Model to Real-Time App
Build and deploy an edge AI model on-device: train, quantize to TFLite, and run on Raspberry Pi and Android with real-time profiling and optimization.
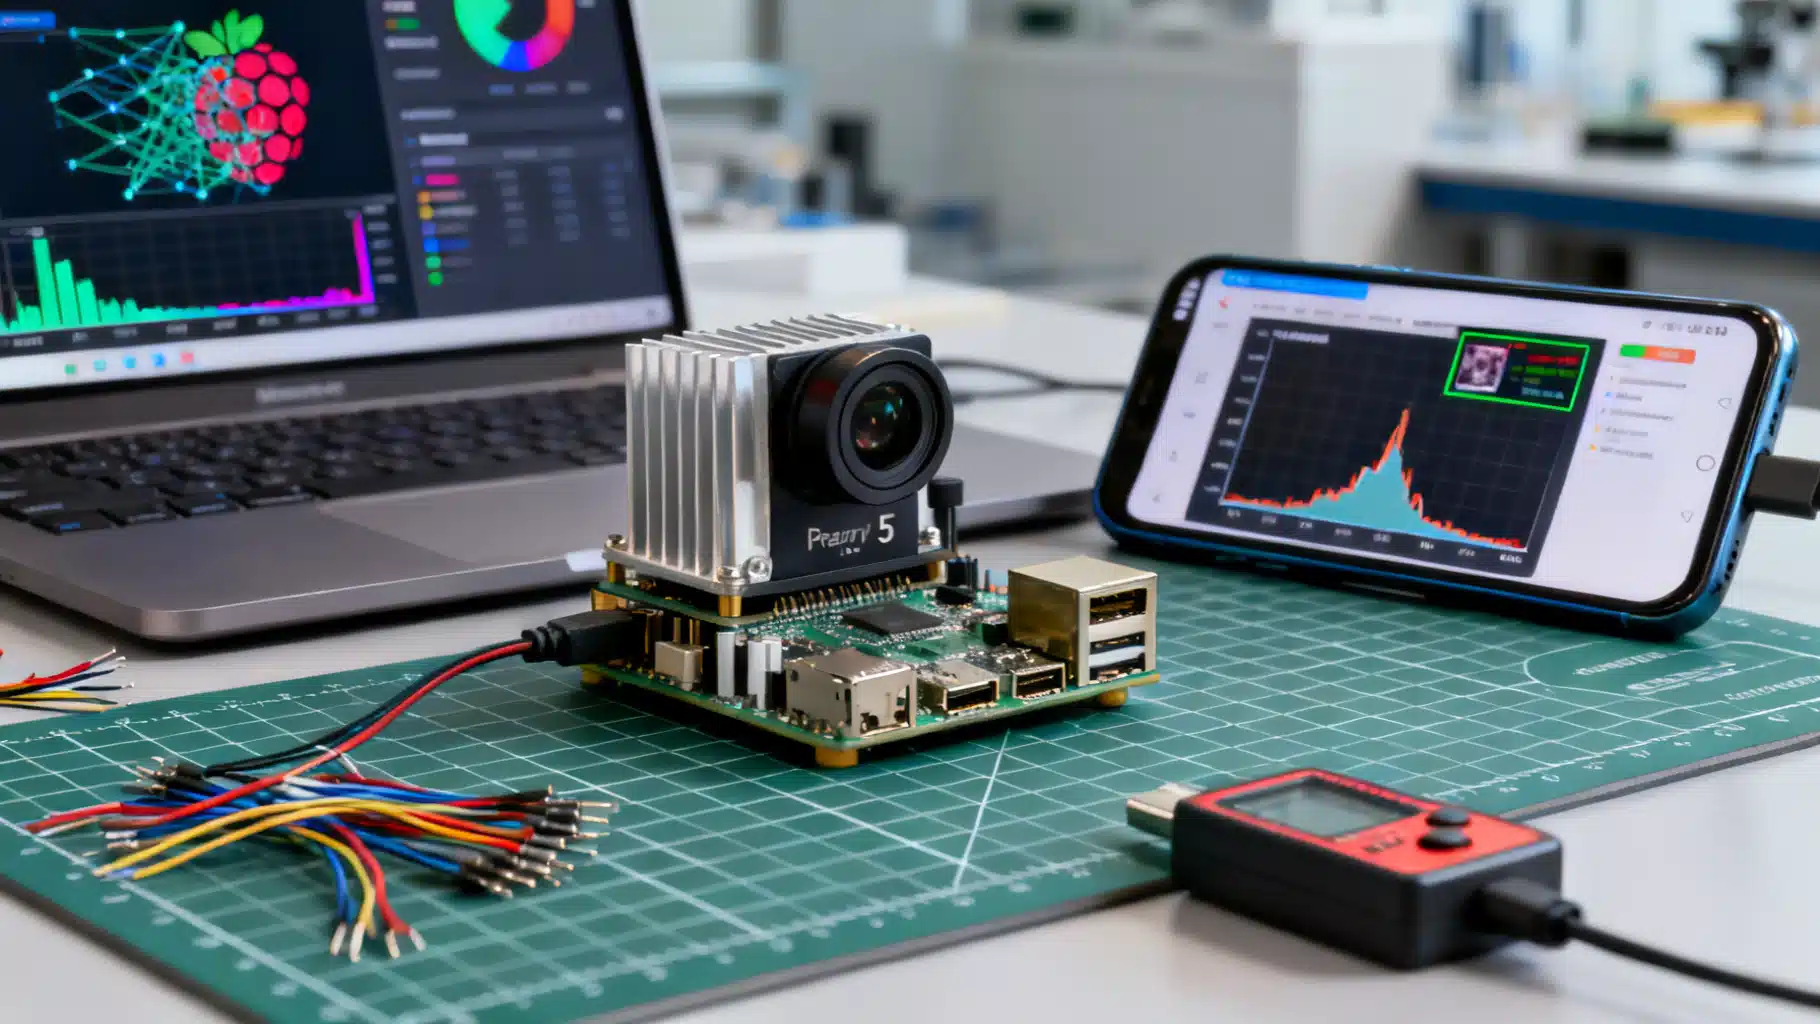
Image used for representation purposes only.
Overview
Edge AI moves machine learning from the cloud to devices like phones, single-board computers, and microcontrollers. Running models on-device cuts latency, preserves privacy, reduces bandwidth, and enables offline experiences. In this hands-on tutorial, you’ll train a compact image classifier, optimize it for on-device inference, convert it to TensorFlow Lite (TFLite), and deploy it on both a Raspberry Pi and an Android app—while learning how to measure and tune real-world performance.
What you’ll learn:
- Translate product goals into concrete device-side constraints (latency, memory, power, accuracy).
- Select efficient model families for edge targets.
- Apply post-training quantization (INT8, FP16) and evaluate accuracy/latency trade-offs.
- Run and profile inference on Raspberry Pi and Android, with hardware acceleration.
- Ship safely: model updates, privacy, robustness, and debugging tips.
What you’ll build
A real-time image classifier (e.g., “cat vs. dog” or “recyclable vs. landfill”) that:
- Runs <30 ms per frame on a modern smartphone and ~40–80 ms on a Raspberry Pi 4/5 (with optimization).
- Fits in <10 MB (quantized) and uses <64 MB peak RAM for inference.
- Sustains accuracy within ~1–2% of a float baseline after quantization (typical for small vision tasks).
Feel free to substitute your own dataset with N classes.
Prerequisites
- A Linux/Mac/Windows workstation with Python 3.9+ and pip.
- A small labeled image dataset (folder-per-class is fine).
- Optional hardware: Raspberry Pi 4/5 (+ camera) and an Android device (Android 10+).
- Android Studio (for the app portion).
Python packages (install as needed):
- tensorflow or tensorflow-cpu
- numpy, opencv-python, matplotlib (optional)
- tflite-runtime (on Raspberry Pi)
Define edge constraints early
Before writing code, set your targets:
- Latency: p50 < 30 ms, p95 < 50 ms per frame.
- Memory: peak < 64 MB for model + buffers.
- Model size: < 10 MB.
- Accuracy: drop ≤ 2% absolute vs. float.
- Power: stay under your device’s thermal limits; avoid sustained throttling.
Having explicit budgets anchors every decision you’ll make.
Step 1: Pick an edge-friendly model family
For mobile/embedded vision, start with:
- MobileNetV3 (Small or Large)—great balance of speed/accuracy.
- EfficientNet-Lite—slightly heavier but strong accuracy.
- MobileViT or MobileFormers—modern, compact transformer hybrids (check device support).
For this tutorial, we’ll fine-tune MobileNetV3Small at 224×224.
Step 2: Train or fine-tune a baseline
Use Keras to fine-tune on your dataset. Your images should be arranged like:
- data/train/<class_name>/*.jpg
- data/val/<class_name>/*.jpg
Sample training script:
import tensorflow as tf
from tensorflow import keras

IMG_SIZE = (224, 224)
BATCH_SIZE = 32
NUM_EPOCHS = 5
NUM_CLASSES = 5  # <-- set to your number of classes

train_ds = keras.utils.image_dataset_from_directory(
    "data/train", image_size=IMG_SIZE, batch_size=BATCH_SIZE)
val_ds = keras.utils.image_dataset_from_directory(
    "data/val", image_size=IMG_SIZE, batch_size=BATCH_SIZE)

# Performance tweaks
train_ds = train_ds.shuffle(1024).prefetch(tf.data.AUTOTUNE)
val_ds = val_ds.prefetch(tf.data.AUTOTUNE)

base = keras.applications.MobileNetV3Small(
    input_shape=IMG_SIZE + (3,), include_top=False, weights="imagenet")
base.trainable = False  # start with linear probe

inputs = keras.Input(shape=IMG_SIZE + (3,))
x = keras.applications.mobilenet_v3.preprocess_input(inputs)
x = base(x, training=False)
x = keras.layers.GlobalAveragePooling2D()(x)
x = keras.layers.Dropout(0.2)(x)
outputs = keras.layers.Dense(NUM_CLASSES, activation="softmax")(x)
model = keras.Model(inputs, outputs)

model.compile(optimizer=keras.optimizers.Adam(1e-3),
              loss="sparse_categorical_crossentropy",
              metrics=["accuracy"])

model.fit(train_ds, validation_data=val_ds, epochs=NUM_EPOCHS)
model.save("saved_model")
Optional: unfreeze top layers of the base for 1–3 more epochs at a lower LR (1e-4) to recover accuracy.
Step 3: Optimize and convert to TFLite
Start with post-training quantization. Two good defaults:
- Full INT8: best for CPU/DSP/NPUs; integer-only pipeline; smallest size.
- FP16: quick win on devices with fast FP16 (e.g., some mobile GPUs); minimal accuracy drop.
import tensorflow as tf
import numpy as np
from tensorflow import keras

IMG_SIZE = (224, 224)

# Reload datasets for calibration
calib_ds = keras.utils.image_dataset_from_directory(
    "data/train", image_size=IMG_SIZE, batch_size=1).take(200)

def representative_data_gen():
    for img, _ in calib_ds:
        yield [tf.cast(img, tf.float32)]

# 1) Full INT8
converter = tf.lite.TFLiteConverter.from_saved_model("saved_model")
converter.optimizations = [tf.lite.Optimize.DEFAULT]
converter.representative_dataset = representative_data_gen
converter.target_spec.supported_ops = [tf.lite.OpsSet.TFLITE_BUILTINS_INT8]
converter.inference_input_type = tf.int8
converter.inference_output_type = tf.int8
int8_tflite_model = converter.convert()
open("model_int8.tflite", "wb").write(int8_tflite_model)

# 2) FP16 (float input/output, smaller model)
converter = tf.lite.TFLiteConverter.from_saved_model("saved_model")
converter.optimizations = [tf.lite.Optimize.DEFAULT]
converter.target_spec.supported_types = [tf.float16]
fp16_tflite_model = converter.convert()
open("model_fp16.tflite", "wb").write(fp16_tflite_model)
Tip: Quantization-aware training (QAT) can further stabilize accuracy if your initial INT8 drop is too high.
Step 4: Validate TFLite accuracy locally
Quickly check accuracy with the TFLite Interpreter.
import numpy as np
import tensorflow as tf
from tensorflow import keras

interpreter = tf.lite.Interpreter(model_path="model_int8.tflite", num_threads=4)
interpreter.allocate_tensors()
input_det = interpreter.get_input_details()[0]
output_det = interpreter.get_output_details()[0]
scale, zero_point = input_det["quantization"]  # (scale, zero_point)

val_ds = keras.utils.image_dataset_from_directory(
    "data/val", image_size=(224,224), batch_size=1)

correct, total = 0, 0
for img, label in val_ds:
    x = img.numpy().astype(np.float32)
    if input_det["dtype"] == np.int8:
        x_q = (x / scale + zero_point).round().astype(np.int8)
        interpreter.set_tensor(input_det["index"], x_q)
    else:
        interpreter.set_tensor(input_det["index"], x)
    interpreter.invoke()
    pred = interpreter.get_tensor(output_det["index"])  # dequant auto-applied if int8
    pred_cls = int(np.argmax(pred, axis=-1))
    correct += int(pred_cls == int(label.numpy()[0]))
    total += 1

print("INT8 accuracy:", correct / total)
If accuracy loss > 2% absolute vs. the Keras model, try:
- Larger input size (e.g., 256→224 center-crop).
- Better calibration (use 500–1000 diverse images).
- Fine-tuning base layers or QAT.
Step 5: Run on Raspberry Pi (real-time inference)
Install runtime:
- tflite-runtime (choose a wheel matching your Pi and Python version)
- OpenCV for camera
Example script (USB or CSI camera):
import cv2, time, numpy as np
from tflite_runtime.interpreter import Interpreter, load_delegate

MODEL = "model_int8.tflite"
INTERP_THREADS = 4

interpreter = Interpreter(model_path=MODEL, num_threads=INTERP_THREADS)
# For Coral Edge TPU: interpreter = Interpreter(MODEL, experimental_delegates=[load_delegate('libedgetpu.so.1')])
interpreter.allocate_tensors()

in_det = interpreter.get_input_details()[0]
out_det = interpreter.get_output_details()[0]

h, w = in_det['shape'][1], in_det['shape'][2]
scale, zp = in_det['quantization']

cap = cv2.VideoCapture(0)
lat = []

while True:
    ok, frame = cap.read()
    if not ok: break
    img = cv2.resize(frame, (w, h))
    x = img.astype(np.float32)
    if in_det['dtype'] == np.int8:
        x = (x / scale + zp).round().astype(np.int8)
    x = np.expand_dims(x, axis=0)

    t0 = time.perf_counter()
    interpreter.set_tensor(in_det['index'], x)
    interpreter.invoke()
    y = interpreter.get_tensor(out_det['index'])[0]
    dt = (time.perf_counter() - t0) * 1000
    lat.append(dt)

    cls = int(np.argmax(y))
    conf = float(y[cls])
    cv2.putText(frame, f"cls={cls} conf={conf:.2f} {dt:.1f}ms", (8, 24),
                cv2.FONT_HERSHEY_SIMPLEX, 0.7, (0,255,0), 2)
    cv2.imshow("Edge AI", frame)
    if cv2.waitKey(1) & 0xFF == 27:  # ESC
        break

cap.release(); cv2.destroyAllWindows()
print("p50/p95:", np.percentile(lat, 50), np.percentile(lat, 95))
Notes:
- Use active cooling or a small heatsink for sustained performance.
- Tune threads for your Pi: 2–4 threads usually balance speed and thermals.
Step 6: Run on Android (with the TFLite Task Library)
Integrate your model into an Android app using the high-level Task API for fast setup.
Kotlin snippet (inference on a Bitmap):
import org.tensorflow.lite.task.vision.classifier.ImageClassifier
import org.tensorflow.lite.task.core.BaseOptions
import org.tensorflow.lite.support.image.TensorImage

val options = ImageClassifier.ImageClassifierOptions.builder()
    .setMaxResults(3)
    .setNumThreads(4)
    .setBaseOptions(BaseOptions.builder()
        .useNnapi()  // Or .useGpu() if supported
        .build())
    .build()

val classifier = ImageClassifier.createFromFileAndOptions(
    context, "model_int8.tflite", options)

val tensorImage = TensorImage.fromBitmap(bitmap)
val results = classifier.classify(tensorImage)
results.forEach { cat ->
    // cat.categories[0].label, cat.categories[0].score
}
Tips:
- Prefer NNAPI for CPU/DSP/TPU acceleration when available; fall back to XNNPACK.
- Reuse the classifier instance; avoid recreating per frame.
- Convert camera frames to the model’s expected color space (RGB) and size.
Step 7: Acceleration and device-specific paths
- TFLite delegates: XNNPACK (CPU), GPU (OpenGL/Metal/Vulkan), NNAPI (Android), Core ML (iOS), Hexagon/EdgeTPU (vendor-specific).
- ONNX Runtime Mobile alternative: supports Execution Providers (NNAPI, CoreML, TensorRT). If your pipeline starts in PyTorch → export ONNX → ORT Mobile on-device.
- FP16 can be strong on mobile GPU; INT8 often wins on CPU/DSP/NPUs.
Step 8: Measure what matters
Profile representative scenarios:
- Cold vs. warm latency: first-inference costs can be higher due to JITs and cache misses.
- Percentiles: report p50/p90/p95, not just averages.
- Throughput under load: try different threads and camera resolutions.
- Energy: a USB power meter reveals efficiency gaps; prefer “ms per joule” improvements, not just raw speed.
Android tools: Android Profiler, Systrace, Perfetto. iOS: Instruments. Linux: perf, top, powertop. For Pi, watch temps to prevent throttling.
Step 9: Shrink further if needed
- Structured pruning: remove channels/filters, then fine-tune.
- Knowledge distillation: train a small “student” to mimic a larger “teacher.”
- Input resolution search: 160–224 can be a sweet spot.
- Operator fusions and pre/post-processing on GPU/DSP to reduce CPU copies.
Robustness and privacy on device
- Pre/post-processing must exactly match training-time transforms.
- Handle camera edge cases: low light, motion blur, orientation.
- Secure the model: code-signing, integrity checks, optional model encryption at rest.
- Respect privacy: keep raw frames on-device; only send anonymous metrics.
Shipping and updates
- A/B model rollout with rollback if accuracy or latency regresses.
- Telemetry: send aggregated, privacy-preserving stats (latency percentiles, crash rates, version).
- Detect concept drift: periodic on-device evaluation with a small held-out set or human-in-the-loop review.
Troubleshooting checklist
- Accuracy too low after quantization?
- Improve calibration set; try QAT; unfreeze more layers.
- Latency spikes (p95 high)?
- Warm up; pin threads; reduce GC pressure; batch work; throttle camera FPS.
- Thermal throttling?
- Reduce threads, resolution, or frame rate; apply active cooling.
- Memory issues?
- Use smaller batch (1), FP16/INT8 models, and avoid large intermediate tensors.
What’s next
- Try object detection (e.g., EfficientDet-Lite or NanoDet) with INT8.
- Explore ExecuTorch or ONNX Runtime Mobile if your stack is PyTorch-first.
- Add streaming post-processing (temporal smoothing) to stabilize predictions.
Conclusion
You built an end-to-end edge AI pipeline: trained a compact model, optimized it with quantization, validated accuracy, and deployed it to Raspberry Pi and Android—then profiled and tuned it for real-world constraints. The same blueprint scales to detection, segmentation, audio keyword spotting, and more. With clear budgets and disciplined profiling, on-device inference is both practical and production-ready.
Related Posts
Flutter App Size Optimization: A Practical, Step‑by‑Step Guide
A practical, end-to-end guide to shrinking Flutter app size on Android, iOS, and Web with commands, configs, and a CI-friendly workflow.
Flutter In‑App Purchases with RevenueCat: A Complete Guide
Implement Flutter in‑app purchases with RevenueCat: setup, paywalls, purchases, entitlements, trials, testing, and production tips.
Build a Flutter QR Code Scanner and Generator in Flutter
Build a Flutter app that scans and generates QR codes with mobile_scanner and qr_flutter. Includes setup, code, exporting, UX, and tips.