
Flutter Image Cropping and Editing: From Quick Wins to Pro Workflows
A practical Flutter guide to image picking, cropping, and editing using image_cropper, crop_your_image, ExtendedImage, and image_editor—Web, iOS, Android.
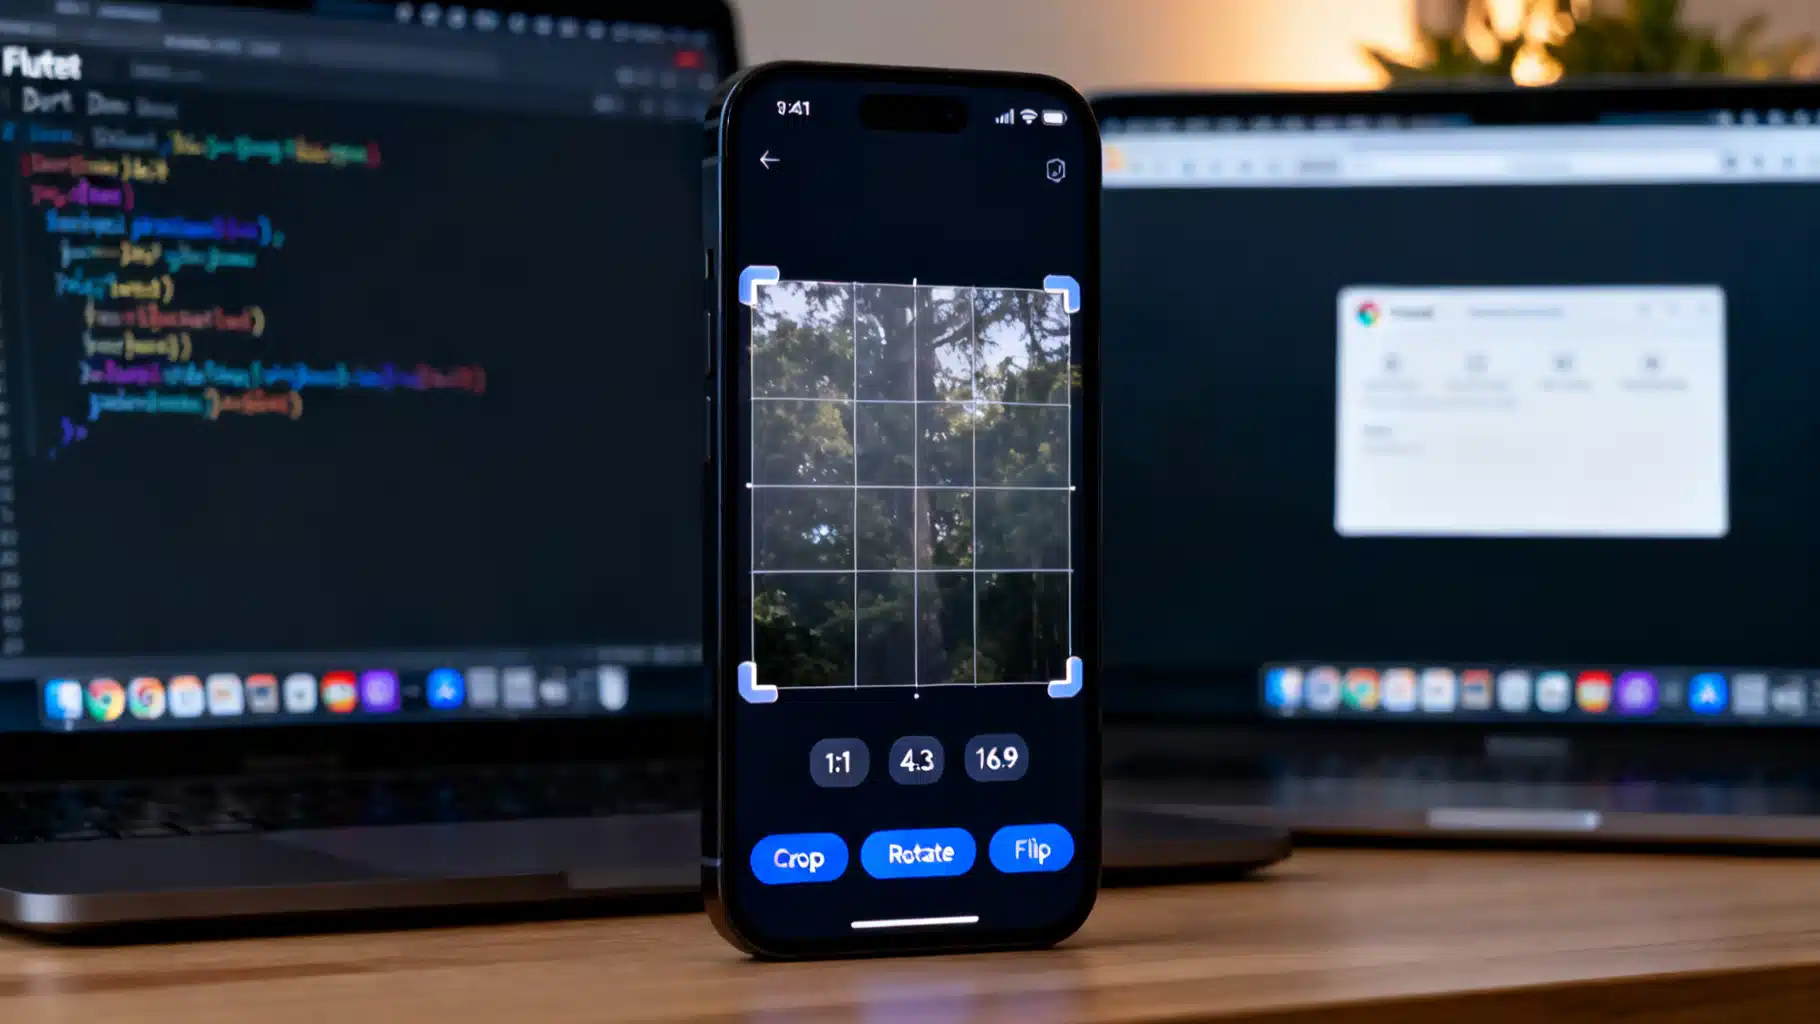
Image used for representation purposes only.
Overview
Building image cropping and lightweight editing into a Flutter app is straightforward once you pick the right approach. In this tutorial you’ll learn three proven paths:
- A quick, native-feeling cropper in minutes with image_cropper.
- A fully custom, Flutter-first crop UI with crop_your_image.
- A pro-style editor (crop/rotate/flip + export) with ExtendedImage + image_editor.
Along the way, you’ll set up image picking, handle platform specifics for Android, iOS, and Web, and save results efficiently.
When to choose which approach
- Need a familiar, platform-native UI fast? Use image_cropper. It wraps uCrop (Android), TOCropViewController (iOS), and Cropper.js (Web) behind one API and returns a file you can persist. (pub.dev )
- Want a custom look, animations, or embed the cropper anywhere in your widget tree? Use crop_your_image. It’s a pure Flutter widget you orchestrate, with an imperative controller. It purposely doesn’t fetch images or apply non-crop transforms. (pub.dev )
- Need an in-app editor experience (zoom/pan, crop, rotate/flip, history) and fast exports? Pair ExtendedImage’s Editor mode with image_editor for native-speed processing. (pub.dev )
Prerequisites
- Flutter installed, a device/emulator for Android and/or iOS, and optionally Chrome for Web.
- Familiarity with async/await in Dart and Navigator routes.
Project setup
Add the packages you’ll use in this tutorial (versions shown as of July 10, 2026):
dependencies:
  flutter: { sdk: flutter }
  image_picker: ^1.2.3
  image_cropper: ^12.2.1
  crop_your_image: ^2.0.0
  extended_image: ^10.0.0
  image_editor: ^1.6.0
Step 1: Pick an image (camera or gallery)
image_picker gives you a cross-platform API, now returning XFile objects. On iOS 14+ it uses PHPicker; on Android 13+ it integrates with the Android Photo Picker, reducing permission friction. Desktop uses file_selector under the hood with scoped capabilities. (pub.dev )
import 'package:image_picker/image_picker.dart';

final _picker = ImagePicker();
Future<XFile?> pickImage() async {
  // gallery, or use ImageSource.camera
  return _picker.pickImage(source: ImageSource.gallery);
}
Tip: If your app is killed while the external picker is open on Android, call retrieveLostData() at startup to recover the selection. (pub.dev
)
Step 2A: Fast native cropping with image_cropper
image_cropper bridges to native libraries (uCrop on Android, TOCropViewController on iOS, and Cropper.js on Web) for a polished, familiar UI. (pub.dev )
Platform setup highlights:
- Android: ensure UCropActivity is declared in AndroidManifest (the package readme shows an example). (pub.dev )
- Web: include Cropper.js CSS/JS in web/index.html. (pub.dev )
import 'package:image_cropper/image_cropper.dart';

Future<CroppedFile?> cropWithImageCropper(XFile input, BuildContext context) async {
  return ImageCropper().cropImage(
    sourcePath: input.path,
    uiSettings: [
      AndroidUiSettings(
        toolbarTitle: 'Crop',
        toolbarColor: const Color(0xFF1F2937),
        toolbarWidgetColor: const Color(0xFFFFFFFF),
        aspectRatioPresets: [
          CropAspectRatioPreset.original,
          CropAspectRatioPreset.square,
        ],
      ),
      IOSUiSettings(
        title: 'Crop',
      ),
      WebUiSettings(
        context: context,
      ),
    ],
  );
}
Notes:
- Results are saved to temporary app cache (iOS NSTemporaryDirectory and Android cache). If you need permanence, move the file yourself (e.g., to app documents). (pub.dev )
- Some compression fields differ on Web because the browser path uses Cropper.js. (pub.dev )
Minimal Web include (web/index.html head):
<link rel="stylesheet" href="https://cdnjs.cloudflare.com/ajax/libs/cropperjs/1.6.2/cropper.css" />
<script src="https://cdnjs.cloudflare.com/ajax/libs/cropperjs/1.6.2/cropper.min.js"></script>
Step 2B: Custom Flutter-first crop UI with crop_your_image
If you need full design control, crop_your_image exposes a Crop widget and CropController. It supports zoom/pan, fixed aspect ratios, rectangular or circular crops, and exposes detailed callbacks. It deliberately doesn’t fetch images, nor handle resizing/tilting—your app supplies the bytes and handles subsequent edits. (pub.dev
)
import 'package:crop_your_image/crop_your_image.dart';

class CustomCropper extends StatefulWidget {
  final Uint8List imageBytes;
  const CustomCropper({super.key, required this.imageBytes});
  @override
  State<CustomCropper> createState() => _CustomCropperState();
}

class _CustomCropperState extends State<CustomCropper> {
  final _controller = CropController();
  CropResult? _lastResult;

  @override
  Widget build(BuildContext context) {
    return Column(
      children: [
        Expanded(
          child: Crop(
            image: widget.imageBytes,
            controller: _controller,
            aspectRatio: 4 / 3, // set to null for freeform
            withCircleUi: false,
            interactive: true,
            onCropped: (result) => setState(() => _lastResult = result),
          ),
        ),
        Row(
          mainAxisAlignment: MainAxisAlignment.center,
          children: [
            ElevatedButton(onPressed: _controller.undo, child: const Text('Undo')),
            const SizedBox(width: 12),
            ElevatedButton(onPressed: _controller.redo, child: const Text('Redo')),
            const SizedBox(width: 12),
            FilledButton(onPressed: _controller.crop, child: const Text('Crop')),
          ],
        ),
      ],
    );
  }
}
Because you control the UI, you can layer custom overlays, progress indicators, or guidance lines. The package documents advanced hooks to predefine the initial crop rect and subscribe to interactions. (pub.dev )
Step 2C: Pro editor with ExtendedImage (UI) + image_editor (export)
ExtendedImage’s Editor mode turns an image into an interactive canvas with zoom/pan, crop aspect ratios, rotate/flip, undo/redo, and custom crop-layer painters. It’s ideal when you want an Instagram/Photos-style in-app editor feel. (pub.dev )
import 'package:extended_image/extended_image.dart';

final _editorController = ImageEditorController();

Widget buildEditor(Uint8List bytes) {
  return ExtendedImage.memory(
    bytes,
    fit: BoxFit.contain,
    mode: ExtendedImageMode.editor,
    initEditorConfigHandler: (state) {
      return EditorConfig(
        maxScale: 8,
        cropRectPadding: const EdgeInsets.all(20),
        cropAspectRatio: 4 / 3,
        controller: _editorController,
      );
    },
  );
}

void rotateRight() => _editorController.rotate();
void flipHorizontal() => _editorController.flip();
To export edits at native speed, read the crop rectangle and orientation, then apply the transforms with image_editor (Android/iOS native code under the hood):
import 'package:image_editor/image_editor.dart' as ie;

Future<Uint8List> exportEdits(
  ExtendedImageEditorState state,
) async {
  final raw = state.rawImageData; // original bytes
  final cropRect = state.getCropRect();
  final actions = state.editAction; // rotate/flip state

  final opts = ie.ImageEditorOption();
  if (actions.hasRotateDegrees) {
    opts.addOption(ie.RotateOption(actions.rotateDegrees.toInt()));
  }
  if (actions.flipY == true) {
    opts.addOption(const ie.FlipOption(horizontal: true));
  }
  if (cropRect != null) {
    opts.addOption(ie.ClipOption.fromRect(cropRect));
  }
  return ie.ImageEditor.editImage(
    image: raw,
    imageEditorOption: opts,
  );
}
Why this pair? ExtendedImage provides the UX, while image_editor efficiently applies the edits using native implementations (crop/rotate/flip/scale/mix) for fast, low-GC processing. (pub.dev )
Putting it together: a simple flow
- Pick with image_picker → 2) Let users choose between Quick Crop or Advanced Edit → 3) Persist results.
Future<void> editFlow(BuildContext context) async {
  final picked = await pickImage();
  if (picked == null) return;

  // QUICK: image_cropper
  final cropped = await cropWithImageCropper(picked, context);
  if (cropped != null) {
    // save or upload cropped.path (remember it lives in a temp dir)
  }

  // ADVANCED: ExtendedImage + image_editor
  // Navigate to a screen hosting buildEditor(bytes) and call exportEdits.
}
Platform specifics and gotchas
- Android 13+ uses Android Photo Picker by default with image_picker, reducing storage permission prompts. On Android 12− you can still opt into it. (pub.dev )
- iOS uses PHPicker on iOS 14+, with known HEIC limitations in the simulator; test on a real device. (pub.dev )
- Web with image_cropper requires including Cropper.js assets; some options differ from mobile (e.g., compression). (pub.dev )
- image_cropper returns temp files; move them to a permanent location if needed. (pub.dev )
Performance tips
- Heavy image decoding or transforming should run off the UI isolate to keep scrolling/snaps smooth. ExtendedImage’s docs demonstrate isolate helpers and load balancers for decoding large images before editing. (pub.dev )
- Prefer native-backed transforms for large photos (image_editor) over pure-Dart pipelines when you hit memory/time constraints. (pub.dev )
Testing checklist
- Exercise portrait/landscape images and very large files (>10 MB).
- Verify different aspect ratios (1:1, 4:3, 16:9) and circle crops.
- Test Android 13+ and iOS 14+ pickers, and Web with Cropper.js present.
- Persist to app documents and ensure you handle app restarts.
Conclusion
For most apps, image_cropper gets you to “done” fastest with a native UI. If brand control is key, crop_your_image lets you build your own Flutter crop experience. And if you’re shipping a creator-grade editor, ExtendedImage + image_editor delivers the tooling and export speed you’ll need. With image_picker handling acquisition (Android Photo Picker, PHPicker, and desktop wrappers), you can offer a smooth, cross-platform editing flow today. (pub.dev )
Related Posts

Flutter Typography Guide: Custom Fonts, TextThemes, and Best Practices
Learn how to add and manage custom fonts in Flutter—assets, Google Fonts, text themes, scaling, fallbacks, and best practices for readable apps.

Building a Flutter Barcode Inventory Management App: Architecture, Scanning, and Offline Sync
Build a fast, offline-first Flutter barcode inventory app: architecture, scanning, data model, sync, UI/UX, printing, testing, and deployment.
Flutter Foreground Service Notifications: A Complete Guide
How to implement a robust Flutter foreground service notification: Android setup, Dart code, permissions, iOS realities, testing, and best practices.