
Flutter Sign in with Apple: A Complete Step-by-Step Tutorial
Step-by-step Flutter Sign in with Apple: iOS/macOS setup, Android web flow, secure nonce, Firebase integration, testing, and troubleshooting.
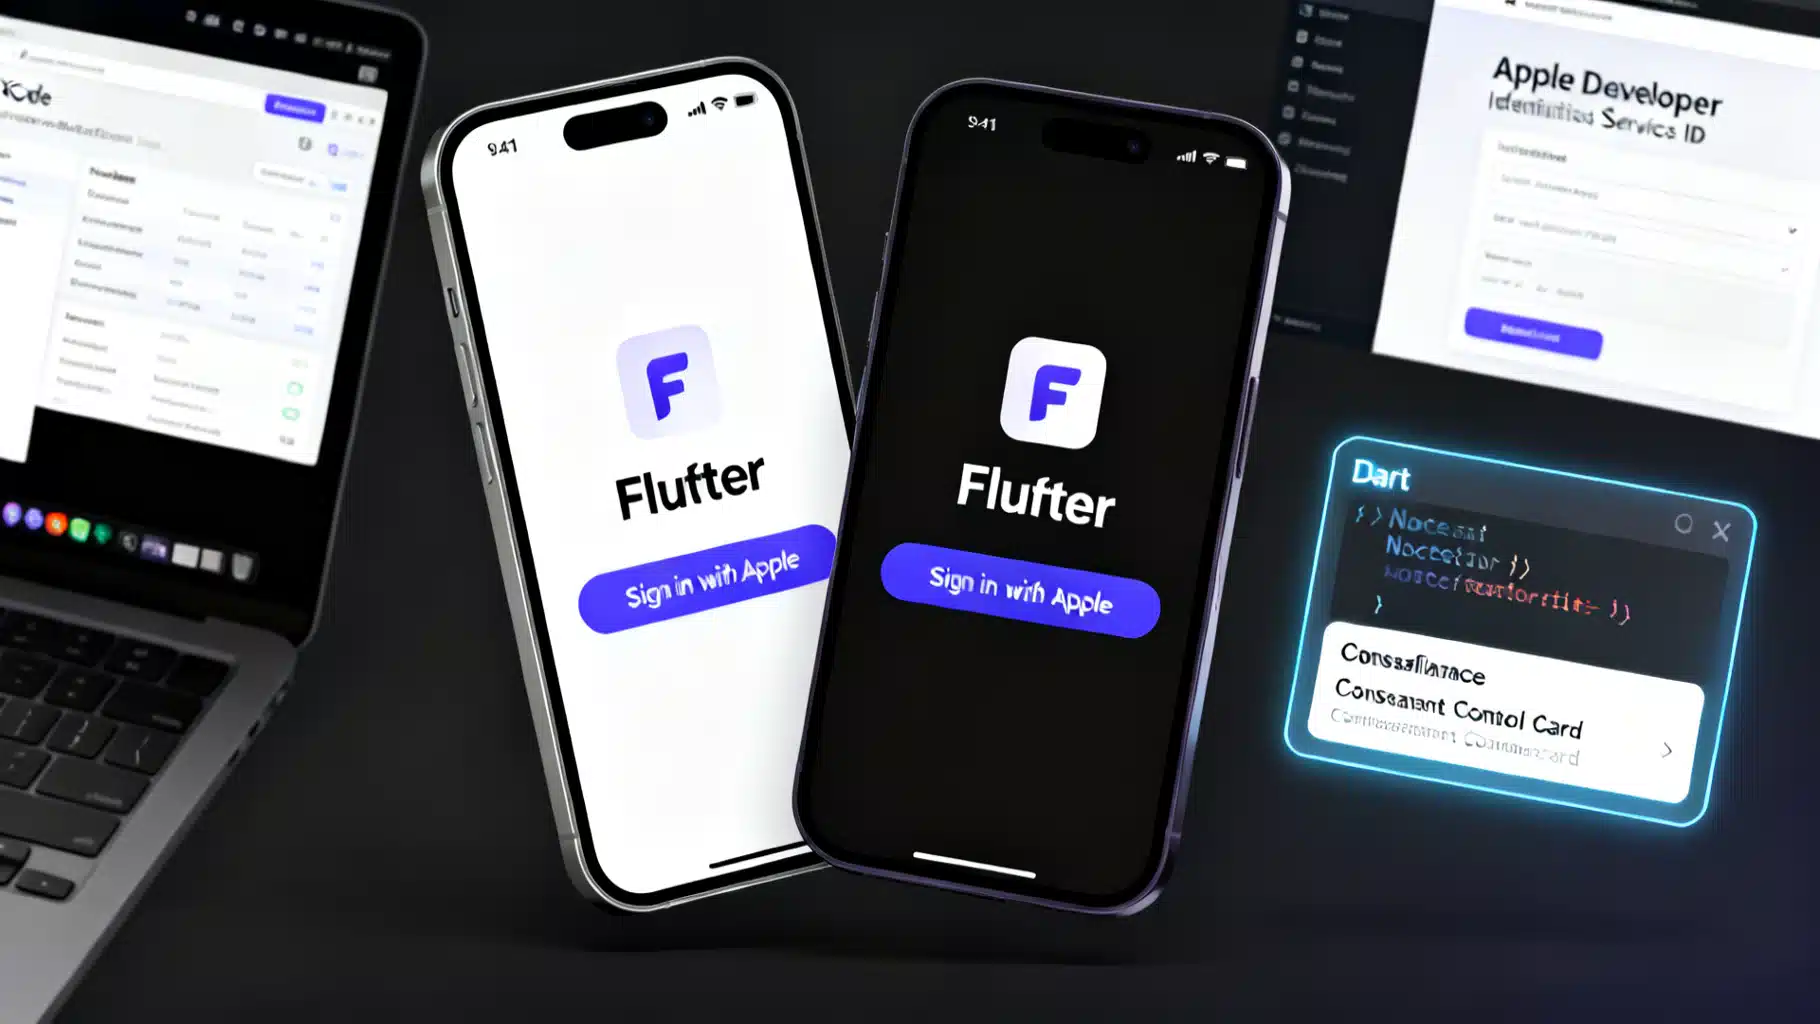
Image used for representation purposes only.
Overview
Sign in with Apple gives your Flutter app a privacy‑focused, low‑friction authentication option that users already trust. In this tutorial you’ll configure iOS (and optionally macOS), add Android support via Apple’s web flow, write production‑ready Dart code with a secure nonce, and—if you choose—connect everything to Firebase Authentication. You’ll also learn how to test with Apple’s sandbox accounts and how to fix common setup errors quickly.
What you’ll build
- A Flutter screen with a native “Sign in with Apple” button
- An authentication flow that returns a verified Apple identity token (JWT)
- Optional: a Firebase Authentication sign‑in using Apple as the provider
- Optional: a backend‑driven web flow suitable for Android
Prerequisites
- Flutter 3.16+ installed
- An Apple Developer Program account (required to enable the capability)
- Xcode 15+ (for iOS/macOS builds)
- A test device signed into an Apple ID (recommended)
If you plan to support Android using Apple’s web flow:
- A domain you control for the redirect URI (https, no custom schemes)
- Optionally, a backend capable of creating a Sign in with Apple client secret (JWT)
Project setup
-
Create a Flutter app or open an existing one.
-
Set the iOS deployment target to 13.0 or higher.
In ios/Podfile:
platform :ios, '13.0'
If you target macOS, use 10.15+.
- Add the package:
dependencies:
  sign_in_with_apple: ^5.0.0 # use the latest stable
Then run:
flutter pub get
iOS (and macOS) configuration
- Enable the capability in the Apple Developer portal:
- Go to Certificates, Identifiers & Profiles → Identifiers.
- Select your App ID (matching your iOS bundle identifier).
- Enable “Sign In with Apple” and save.
- Add the capability in Xcode:
- Open ios/Runner.xcworkspace.
- Select Runner → Signing & Capabilities → “+ Capability”.
- Add “Sign In with Apple”. Ensure the correct team is selected.
- Build and run on a device or simulator (iOS 13+).
That’s it for native iOS/macOS. No Info.plist entries are required specifically for Apple Sign‑In.
Android support via Apple’s web flow
Apple’s native framework is iOS/macOS‑only. On Android, you can still let users sign in with their Apple ID via the web flow.
High‑level steps:
- Create a “Services ID” in the Apple Developer portal (Identifiers → Services IDs). This is your OAuth client_id (e.g., com.example.myapp.web).
- Add your https redirect URI to that Services ID (e.g., https://auth.example.com/callbacks/sign_in_with_apple ).
- In your Android app, launch the flow using sign_in_with_apple’s WebAuthenticationOptions and handle the returned credentials. The plugin launches a browser (Custom Tab). The redirect returns to your https endpoint, which should immediately instruct the browser to close and hand control back to the app (via app links or by the plugin capturing the code/id_token if you keep the flow within the same tab). In production, most teams route the callback through a backend for validation.
Tip: Prefer a backend‑mediated flow on Android. Your server handles the code exchange with Apple, validates tokens, and returns your own session/JWT to the app. This avoids embedding long‑lived Apple refresh tokens on device and simplifies security.
Writing the sign‑in code (Dart)
Import the package:
import 'dart:convert';
import 'dart:math';
import 'package:crypto/crypto.dart';
import 'package:flutter/material.dart';
import 'package:sign_in_with_apple/sign_in_with_apple.dart';
Helpers to create a cryptographically strong nonce (required if you use Firebase, recommended regardless):
String _generateNonce([int length = 32]) {
  const charset = '0123456789ABCDEFGHIJKLMNOPQRSTUVXYZabcdefghijklmnopqrstuvwxyz-._';
  final random = Random.secure();
  return List.generate(length, (_) => charset[random.nextInt(charset.length)]).join();
}

String _sha256ofString(String input) {
  final bytes = utf8.encode(input);
  final digest = sha256.convert(bytes);
  return digest.toString();
}
Core sign‑in logic for iOS/macOS (and Android via web flow):
Future<AuthorizationCredentialAppleID?> signInWithApple({
  bool requestEmailAndName = true,
  String? webClientId, // required for Android/web flows
  Uri? webRedirectUri, // required for Android/web flows
}) async {
  try {
    final rawNonce = _generateNonce();
    final nonce = _sha256ofString(rawNonce);

    final scopes = <AppleIDAuthorizationScopes>[
      if (requestEmailAndName) AppleIDAuthorizationScopes.email,
      if (requestEmailAndName) AppleIDAuthorizationScopes.fullName,
    ];

    final credential = await SignInWithApple.getAppleIDCredential(
      scopes: scopes,
      nonce: nonce,
      webAuthenticationOptions: (webClientId != null && webRedirectUri != null)
          ? WebAuthenticationOptions(
              clientId: webClientId,
              redirectUri: webRedirectUri,
            )
          : null,
    );

    // credential contains identityToken (JWT), authorizationCode, userIdentifier, etc.
    return credential;
  } on SignInWithAppleAuthorizationException catch (e) {
    if (e.code == AuthorizationErrorCode.canceled) {
      debugPrint('User canceled Apple Sign-In');
      return null;
    }
    rethrow; // handle/notify as appropriate
  }
}
A production‑ready button (matches Apple HIG, supports light/dark):
class AppleSignInButton extends StatelessWidget {
  final VoidCallback onPressed;
  const AppleSignInButton({super.key, required this.onPressed});

  @override
  Widget build(BuildContext context) {
    return SignInWithAppleButton(
      onPressed: onPressed,
      style: Theme.of(context).brightness == Brightness.dark
          ? SignInWithAppleButtonStyle.white
          : SignInWithAppleButtonStyle.black,
      cornerRadius: 8,
    );
  }
}
Usage:
AppleSignInButton(
  onPressed: () async {
    final credential = await signInWithApple(
      webClientId: 'com.example.myapp.web',
      webRedirectUri: Uri.parse('https://auth.example.com/callbacks/sign_in_with_apple'),
    );

    if (credential == null) return; // user canceled

    // Example: parse the name (only available the first time the user authorizes)
    final fullName = credential.givenName != null
        ? '${credential.givenName} ${credential.familyName ?? ''}'.trim()
        : null;

    debugPrint('Apple user: ${credential.userIdentifier}, name: $fullName');
  },
)
Optional: Integrate with Firebase Authentication
Firebase makes token verification simpler. You’ll pass Apple’s identityToken (id_token) to Firebase using the OAuthProvider for “apple.com” along with the raw nonce.
Add Firebase packages and initialize Firebase as usual. Then:
import 'package:firebase_auth/firebase_auth.dart';

Future<UserCredential?> signInWithAppleToFirebase() async {
  // 1) Generate a nonce and its SHA-256 hash
  final rawNonce = _generateNonce();
  final nonce = _sha256ofString(rawNonce);

  // 2) Get Apple credentials (iOS native or Android web)
  final appleCred = await SignInWithApple.getAppleIDCredential(
    scopes: [AppleIDAuthorizationScopes.email, AppleIDAuthorizationScopes.fullName],
    nonce: nonce, // Important: the SHA-256 hash of the raw nonce
    webAuthenticationOptions: WebAuthenticationOptions(
      clientId: 'com.example.myapp.web',
      redirectUri: Uri.parse('https://auth.example.com/callbacks/sign_in_with_apple'),
    ),
  );

  if (appleCred.identityToken == null) {
    throw StateError('Missing identityToken from Apple.');
  }

  // 3) Build a credential for Firebase using the raw nonce (not hashed)
  final oauthProvider = OAuthProvider('apple.com');
  final firebaseCred = oauthProvider.credential(
    idToken: appleCred.identityToken,
    rawNonce: rawNonce,
  );

  // 4) Sign in to Firebase
  final userCredential = await FirebaseAuth.instance.signInWithCredential(firebaseCred);
  return userCredential;
}
Notes:
- Firebase verifies that the id_token’s nonce matches the SHA‑256 hash you sent to Apple. Always pass rawNonce to Firebase and the hashed nonce to Apple.
- You only get the user’s name and email on the first successful authorization. Save them immediately if you need them.
Optional: Backend‑mediated flow (for Android and web)
If you prefer to exchange the authorization code on your server, you must create a “Sign in with Apple” key and generate a client secret (a signed JWT). The server exchanges code → tokens with Apple, verifies the id_token, and returns your own session to the app.
Example of generating the client secret (Node.js):
import jwt from 'jsonwebtoken';

// Values from Apple Developer portal
const teamId = 'YOUR_TEAM_ID';
const clientId = 'com.example.myapp.web'; // your Services ID
const keyId = 'YOUR_KEY_ID';
const privateKey = process.env.APPLE_PRIVATE_KEY_P8; // contents of AuthKey_KEYID.p8

export function createAppleClientSecret() {
  const now = Math.floor(Date.now() / 1000);
  return jwt.sign(
    {
      iss: teamId,
      iat: now,
      exp: now + 15777000, // ~6 months (Apple allows up to 6 months)
      aud: 'https://appleid.apple.com',
      sub: clientId,
    },
    privateKey,
    {
      algorithm: 'ES256',
      keyid: keyId,
      header: { typ: 'JWT' },
    }
  );
}
Then POST to Apple’s token endpoint with: client_id, client_secret (the JWT above), code, grant_type, and redirect_uri. Validate the id_token (JWT) signature and claims. Finally, mint your own secure session for the app.
UX best practices
- Use Apple’s official button styles. The package provides SignInWithAppleButton with correct typography, corner radius, and icons.
- Offer the button wherever you present other sign‑in options; on iOS, place it prominently.
- Respect dark mode: use the black or white style appropriately.
- Explain why you request email/full name and that these are available only on first authorization.
Testing your integration
- Sandbox testers: In App Store Connect → Users and Access → Sandbox Testers, create a tester Apple ID. Use it on device or in the simulator.
- Revoke access to test the first‑run experience again: iOS Settings → Apple ID → Password & Security → Apps Using Your Apple ID → Your App → Stop Using Apple ID.
- On Android, verify your https redirect domain and ensure your callback page closes the tab promptly.
Troubleshooting
- Missing entitlement (com.apple.developer.applesignin): Ensure the capability is enabled both in the Developer portal and in Xcode’s Signing & Capabilities.
- “AuthorizationErrorCode.canceled”: This is user‑initiated cancel. Handle gracefully and allow retry.
- Name/email missing after first sign‑in: This is expected. Apple returns those scopes only once. Persist them on first login.
- invalid_client or invalid_redirect_uri on Android: Double‑check your Services ID client_id, the exact https redirect URI registered in Apple Developer, and that your app/endpoint uses the same value.
- Firebase errors about nonce mismatch: Ensure you pass the hashed nonce to Apple and the raw nonce to Firebase’s credential.
Security checklist
- Always use a strong, random nonce.
- Validate Apple’s id_token on your backend when using a server flow.
- Treat authorizationCode and refresh_token as secrets—store only on the server.
- Keep your .p8 private key out of your repository (use secrets management).
Complete example widget
class AppleAuthDemo extends StatefulWidget {
  const AppleAuthDemo({super.key});
  @override
  State<AppleAuthDemo> createState() => _AppleAuthDemoState();
}

class _AppleAuthDemoState extends State<AppleAuthDemo> {
  bool _busy = false;
  String? _status;

  Future<void> _handleAppleSignIn() async {
    setState(() => _busy = true);
    try {
      final cred = await signInWithApple(
        webClientId: 'com.example.myapp.web',
        webRedirectUri: Uri.parse('https://auth.example.com/callbacks/sign_in_with_apple'),
      );
      if (cred == null) {
        setState(() => _status = 'Canceled');
        return;
      }
      setState(() => _status = 'OK: ${cred.userIdentifier}');
    } catch (e) {
      setState(() => _status = 'Error: $e');
    } finally {
      setState(() => _busy = false);
    }
  }

  @override
  Widget build(BuildContext context) {
    return Scaffold(
      appBar: AppBar(title: const Text('Sign in with Apple')),
      body: Center(
        child: Column(
          mainAxisSize: MainAxisSize.min,
          children: [
            if (_busy) const CircularProgressIndicator(),
            if (!_busy) AppleSignInButton(onPressed: _handleAppleSignIn),
            const SizedBox(height: 16),
            Text(_status ?? 'Not signed in'),
          ],
        ),
      ),
    );
  }
}
Wrap‑up
You’ve added a secure, standards‑compliant Sign in with Apple flow to your Flutter app, complete with iOS/macOS native integration, Android web support, and optional Firebase authentication. With careful handling of nonces, token validation, and a clean redirect flow, you’ll deliver a smooth sign‑in experience that meets user expectations and platform requirements.
Related Posts
Flutter BLE Integration: A Production-Ready Guide
A practical, production-ready guide to integrating Bluetooth Low Energy (BLE) in Flutter apps on Android and iOS, with code, setup, and best practices.
Flutter Geolocation Tracking App Tutorial: Maps, Routes, and Background Updates
Build a production-ready Flutter geolocation tracker with maps, live routes, distance, and background updates. Permissions, battery, and privacy included.
Flutter Home Widget Creation Guide: Cross‑Platform Widgets for Android and iOS
Step-by-step Flutter guide to build home screen widgets for Android and iOS using native WidgetKit/AppWidget with Dart-driven updates.