
Flutter Screen Recording Tutorial: Widget Capture and Native APIs
A practical Flutter screen recording tutorial: record widgets with FFmpeg or use native APIs (MediaProjection, ReplayKit), with code and performance tips.
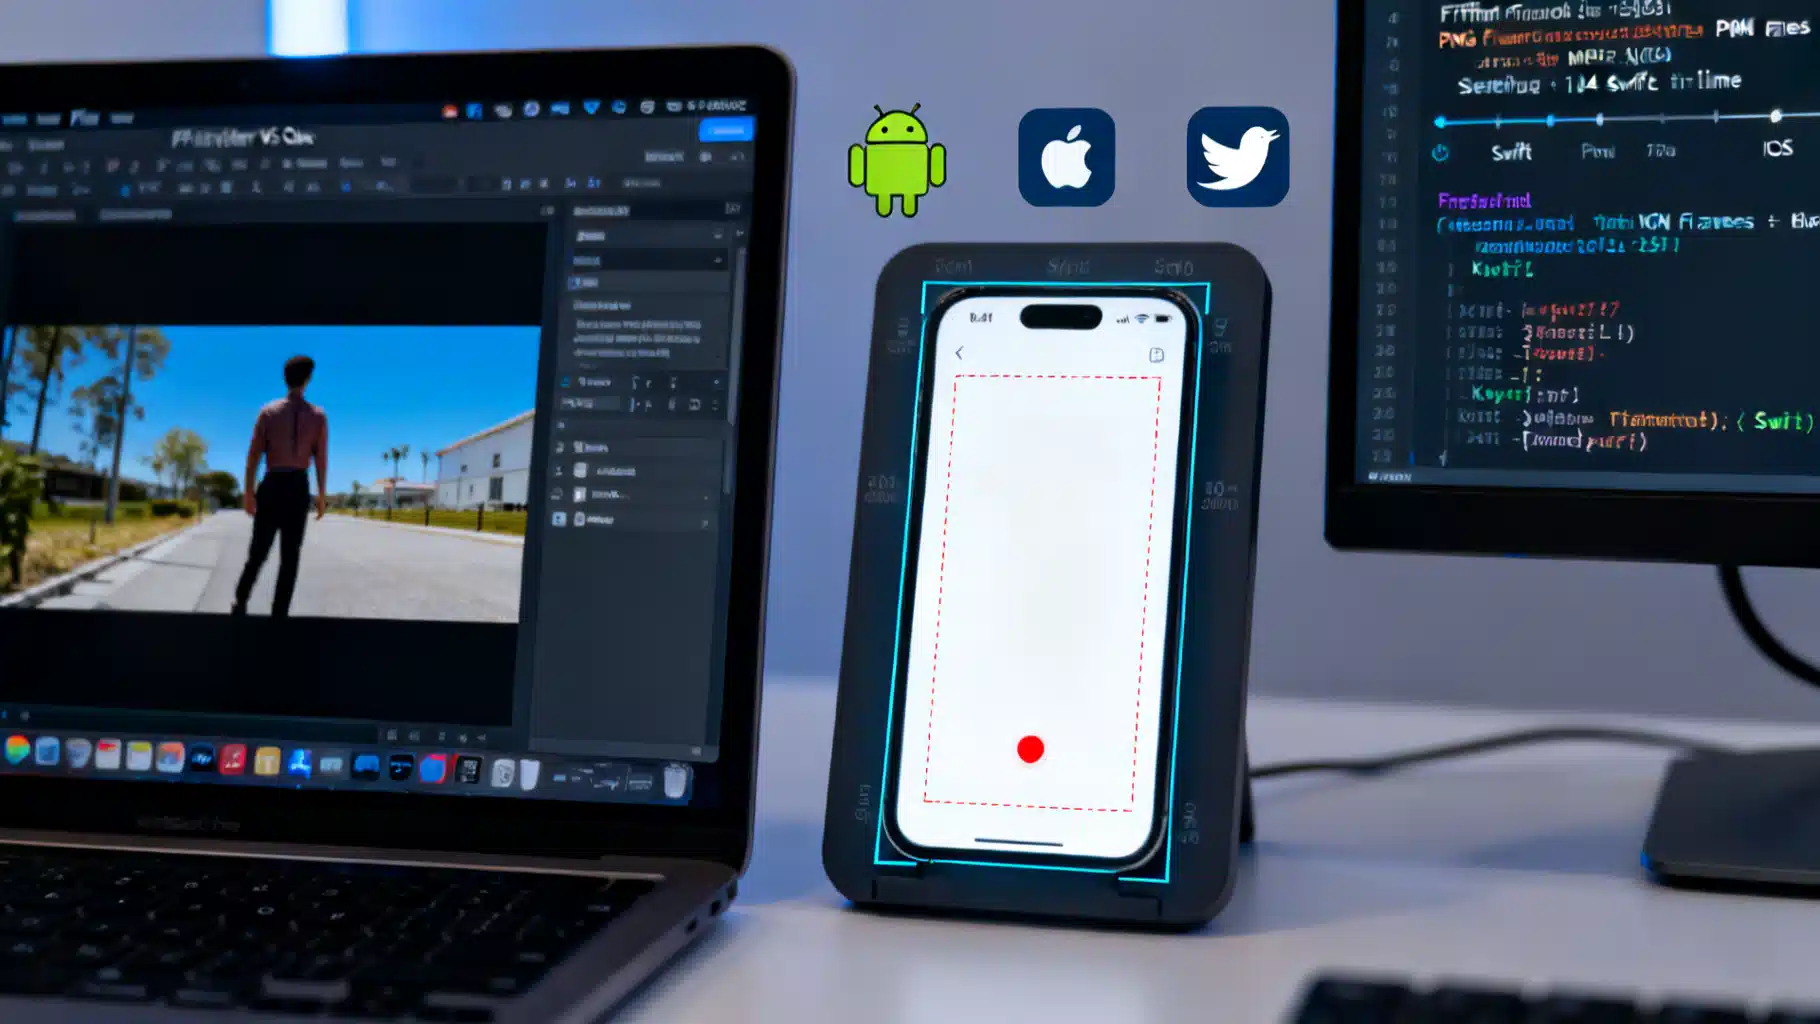
Image used for representation purposes only.
Overview
Want to add screen recording to your Flutter app? This tutorial walks you through two practical paths:
- Record any Flutter widget tree to a high‑quality MP4 using 100% Dart code and FFmpeg.
- Record the full device screen using native platform APIs (Android MediaProjection, iOS ReplayKit) via platform channels.
You’ll learn the trade‑offs, performance tips, and how to add microphone audio. By the end, you can ship a robust recording feature tailored to your app’s needs.
Choosing the right approach
-
Widget capture (Dart + FFmpeg)
- Pros: Single codebase, predictable visuals, works on emulators, no special OS permissions, captures exactly your UI.
- Cons: Does not capture other apps or system overlays; CPU/memory heavy if you record the whole screen at high DPI.
-
Full device screen (native APIs)
- Pros: Records everything visible on screen (your app or even other apps, depending on platform and consent flow).
- Cons: Requires platform channels and native code, OS prompts/UX caveats, extension targets on iOS for broadcast, more QA.
Pick widget capture if you’re building tutorials, replays, or exports of your own UI. Pick native APIs if you truly need full device capture.
Prerequisites
- Flutter 3.x+
- Basic familiarity with Dart async/isolates
- A real device for performance checks (simulators are fine for basic testing)
Approach A: Record a Flutter widget tree to video (Dart‑only)
This method repeatedly snapshots a RepaintBoundary at a target frame rate, saves frames to disk, and stitches them into MP4 with FFmpeg.
1) Add dependencies
pubspec.yaml
dependencies:
  flutter:
    sdk: flutter
  path_provider: ^2.x.x   # check pub.dev for the latest version
  path: ^1.x.x            # check pub.dev for the latest version
  ffmpeg_kit_flutter_min_gpl: ^x.y.z  # check pub.dev for the latest
Why FFmpeg Kit? It’s a maintained successor to older FFmpeg bindings and runs fully on‑device.
2) Wrap the UI with a RepaintBoundary
You’ll capture everything inside this boundary. You can target a full screen Scaffold or just a specific widget.
import 'package:flutter/material.dart';

class RecorderHost extends StatelessWidget {
  const RecorderHost({super.key, required this.child, required this.boundaryKey});
  final Widget child;
  final GlobalKey boundaryKey;

  @override
  Widget build(BuildContext context) {
    return RepaintBoundary(
      key: boundaryKey,
      child: child,
    );
  }
}
3) Implement the screen recorder service
This service captures PNG frames at a fixed FPS and then calls FFmpeg to assemble an MP4.
import 'dart:async';
import 'dart:io';
import 'dart:ui' as ui;
import 'package:flutter/rendering.dart';
import 'package:path_provider/path_provider.dart';
import 'package:path/path.dart' as p;
import 'package:ffmpeg_kit_flutter_min_gpl/ffmpeg_kit.dart';
import 'package:ffmpeg_kit_flutter_min_gpl/return_code.dart';

class WidgetScreenRecorder {
  WidgetScreenRecorder(this.boundaryKey);
  final GlobalKey boundaryKey;

  Timer? _timer;
  Directory? _workDir;
  int _frame = 0;

  Future<void> start({int fps = 30, double pixelRatio = 1.0}) async {
    _workDir = await getTemporaryDirectory();
    _frame = 0;
    final interval = Duration(milliseconds: (1000 / fps).round());

    // Wait for at least one frame to paint.
    await Future.delayed(const Duration(milliseconds: 50));

    _timer = Timer.periodic(interval, (_) async {
      try {
        final boundary = boundaryKey.currentContext?.findRenderObject() as RenderRepaintBoundary?;
        if (boundary == null) return;
        final ui.Image image = await boundary.toImage(pixelRatio: pixelRatio);
        final byteData = await image.toByteData(format: ui.ImageByteFormat.png);
        if (byteData == null) return;
        final file = File(p.join(
          _workDir!.path,
          'frame_${_frame.toString().padLeft(6, '0')}.png',
        ));
        await file.writeAsBytes(byteData.buffer.asUint8List(), flush: true);
        _frame++;
      } catch (_) {
        // Ignore dropped frames; you may log for diagnostics.
      }
    });
  }

  Future<File> stop({int fps = 30}) async {
    _timer?.cancel();

    final outPath = p.join(
      _workDir!.path,
      'capture_${DateTime.now().millisecondsSinceEpoch}.mp4',
    );

    // Assemble frames into an MP4 using H.264.
    final cmd = [
      '-y',
      '-framerate', '$fps',
      '-i', p.join(_workDir!.path, 'frame_%06d.png'),
      '-pix_fmt', 'yuv420p',
      '-r', '$fps',
      outPath,
    ].join(' ');

    final session = await FFmpegKit.execute(cmd);
    final rc = await session.getReturnCode();
    if (!ReturnCode.isSuccess(rc)) {
      throw Exception('FFmpeg failed with code: $rc');
    }

    // Optional: clean up frames to save space.
    try {
      for (final f in Directory(_workDir!.path)
          .listSync()
          .whereType<File>()
          .where((f) => f.path.endsWith('.png'))) {
        f.deleteSync();
      }
    } catch (_) {}

    return File(outPath);
  }

  void dispose() {
    _timer?.cancel();
  }
}
4) Wire it up in your app
final recorderKey = GlobalKey();
late final WidgetScreenRecorder recorder;

@override
void initState() {
  super.initState();
  recorder = WidgetScreenRecorder(recorderKey);
}

@override
void dispose() {
  recorder.dispose();
  super.dispose();
}

// UI example
Scaffold(
  appBar: AppBar(title: const Text('Recorder Demo')),
  body: RecorderHost(
    boundaryKey: recorderKey,
    child: YourFancyDemo(),
  ),
  floatingActionButton: Row(
    mainAxisAlignment: MainAxisAlignment.end,
    children: [
      FloatingActionButton(
        heroTag: 'start',
        onPressed: () async => recorder.start(fps: 30, pixelRatio: 1.0),
        child: const Icon(Icons.fiber_manual_record),
      ),
      const SizedBox(width: 12),
      FloatingActionButton(
        heroTag: 'stop',
        onPressed: () async {
          final file = await recorder.stop(fps: 30);
          // Present a snackbar, share the file, etc.
        },
        child: const Icon(Icons.stop),
      ),
    ],
  ),
);
5) Add microphone audio (optional)
Record mic audio in parallel with a simple recording plugin, then mux it into the video using FFmpeg. After you have video.mp4 and audio.m4a:
# copy video stream, re-encode audio if needed, and trim to the shorter stream
ffmpeg -y -i video.mp4 -i audio.m4a -c:v copy -c:a aac -shortest out_with_audio.mp4
Integrate this second pass in your Dart code using FFmpeg Kit just like the first command.
Performance tips
- Capture only what you need: wrap the smallest subtree that demonstrates the action.
- Reduce pixelRatio to 1.0 (or even 0.75) for large devices.
- Prefer 24–30 fps; 60 fps significantly increases CPU and I/O.
- Run on a release build for realistic performance and thermal behavior.
- Keep memory pressure in check; periodically delete frames or encode in chunks.
- Consider dynamic frame sampling: if UI is idle, skip frames to save work.
Export and sharing
- Store the final MP4 in your app’s documents directory and expose it via the system share sheet.
- For long recordings, stream frames to storage instead of holding them in RAM.
- Show a visible recording indicator and estimated remaining time (based on free space).
Approach B: Full device screen recording with platform channels
If you must capture outside your Flutter view (system UI or other apps), use platform APIs.
Android: MediaProjection overview (Kotlin)
Key pieces:
- Request user consent via
MediaProjectionManager.createScreenCaptureIntent(). - Create a
MediaProjectionand attach aVirtualDisplay. - Encode via
MediaRecorderorMediaCodecSurface. - Forward lifecycle events; stop and release resources on pause/stop.
Minimal flow (activity code):
private lateinit var projectionManager: MediaProjectionManager
private var mediaProjection: MediaProjection? = null

private val REQUEST_CAPTURE = 1001

fun startScreenCapture() {
    projectionManager = getSystemService(Context.MEDIA_PROJECTION_SERVICE) as MediaProjectionManager
    startActivityForResult(projectionManager.createScreenCaptureIntent(), REQUEST_CAPTURE)
}

override fun onActivityResult(requestCode: Int, resultCode: Int, data: Intent?) {
    super.onActivityResult(requestCode, resultCode, data)
    if (requestCode == REQUEST_CAPTURE && resultCode == Activity.RESULT_OK && data != null) {
        mediaProjection = projectionManager.getMediaProjection(resultCode, data)
        // Configure MediaRecorder/MediaCodec and VirtualDisplay surface here
        // Start encoding
    }
}

fun stopScreenCapture() {
    // Stop recorder/codec first, then release projection
    mediaProjection?.stop()
}
You’ll expose startScreenCapture/stopScreenCapture through a Flutter MethodChannel and return the recorded file path. Remember:
- API 21+ is required; different devices vary in encoder/bitrate quality.
- Use a Foreground Service for long recordings.
- Show a persistent notification while recording.
iOS: ReplayKit overview (Swift)
Two modes:
- In‑app recording using
RPScreenRecorder(captures your app’s screen, mic, and app audio with consent). - Broadcast Upload Extension for system‑level capture (e.g., live streaming), launched from Control Center with a custom extension target.
In‑app sample:
import ReplayKit

class RecorderHelper {
    let recorder = RPScreenRecorder.shared()
    var isRecording = false

    func start(completion: @escaping (Error?) -> Void) {
        guard !isRecording else { completion(nil); return }
        recorder.isMicrophoneEnabled = true
        recorder.startRecording { error in
            self.isRecording = (error == nil)
            completion(error)
        }
    }

    func stop(completion: @escaping (URL?, Error?) -> Void) {
        guard isRecording else { completion(nil, nil); return }
        recorder.stopRecording { previewVC, error in
            self.isRecording = false
            // Export the movie file from previewVC or use RPPreviewViewControllerDelegate
            completion(nil, error)
        }
    }
}
Expose start and stop via a MethodChannel, and surface either the preview UI or a saved file URL back to Flutter. For broadcast, implement a Broadcast Upload Extension that receives CMSampleBuffers and encodes/uploads them; your Flutter host app can coordinate start/stop via channels or app groups.
Platform‑specific UX and policies
- Always display a conspicuous recording indicator.
- Obtain user consent and explain what’s captured (screen, mic, app audio).
- Respect privacy: never capture sensitive fields without masking.
- Handle interruptions (calls, PiP, split screen) gracefully.
Testing checklist
- Record short and long sessions; verify A/V sync and file sizes.
- Test on low‑end and high‑end devices; adjust bitrate and resolution if using native encoders.
- Verify background/lock screen behavior (many platforms pause or stop recording).
- Ensure sufficient free space; report errors early when disk is low.
- Confirm output plays on common players (yuv420p pixel format improves compatibility).
Troubleshooting
- Stutters or dropped frames (Dart capture): lower pixelRatio and FPS; record only a subtree; use release mode.
- FFmpeg errors: print the full command/session logs; verify frame naming pattern and folder permissions.
- Green/pink videos (Android hardware encoders): switch to software codec or adjust color formats if using MediaCodec.
- No audio (iOS in‑app): ensure
isMicrophoneEnabled = trueand handle system prompts; some routes mute app audio. - Very large files: reduce FPS/bitrate or downscale; consider HEVC (H.265) where supported.
When to combine both approaches
A common hybrid is to use widget capture for predictable UI exports (e.g., tutorial clips) and reserve native screen recording for power users or QA builds. The code paths can coexist; present a toggle in developer settings.
Wrap‑up
- For most Flutter apps, widget capture with FFmpeg is the fastest path to a shippable, cross‑platform recording feature.
- If you need true system‑level capture, invest in platform channels with MediaProjection (Android) and ReplayKit (iOS).
- Prioritize UX, consent, and performance from day one to avoid regressions later.
Ship it, measure it, then tune FPS, resolution, and bitrates for your audience and devices.
Related Posts
Flutter NFC: Read and Write NDEF Tags on Android and iOS
Learn to read and write NFC tags in Flutter with nfc_manager: setup, NDEF records, code, UX, capacity, and cross‑platform pitfalls.
Flutter PDF Form Filling: A Complete, Practical Tutorial
Learn how to load, fill, flatten, and save AcroForm PDFs in Flutter with code examples, best practices, and troubleshooting tips.
Build a Flutter QR Code Scanner and Generator in Flutter
Build a Flutter app that scans and generates QR codes with mobile_scanner and qr_flutter. Includes setup, code, exporting, UX, and tips.